Fixing the panning in Logic Pro’s Drum can be simple. In just a few steps, you can correct the issue.
Panning problems in Logic Pro can disrupt your mix. Many users face challenges with drum tracks when panning is not set correctly. This guide will help you fix panning issues in Logic Pro’s Drum. Clear steps and tips will ensure your drums sound balanced.
Perfecting the panning will enhance your overall mix quality. Ready to learn? Let’s dive in and fix those panning problems together.

Credit: www.cinemasound.com
Introduction To Panning Issues
Introduction to panning issues can be frustrating for many music producers. Panning problems occur when the sound in your drum tracks is uneven or misplaced. This can make your mix sound unbalanced and amateurish. Understanding these issues is the first step to fixing them.
Common Panning Problems
One common issue is drums sounding too far to one side. This makes the mix feel lopsided. Another problem is panning that shifts unexpectedly. This can distract the listener and ruin the track’s flow. Panning inconsistencies can also create phase issues. These can cause certain sounds to cancel each other out.
Impact On Drum Tracks
Panning issues have a significant impact on drum tracks. Poor panning can make the drums lose their power. It can make the mix sound cluttered. This makes it hard for other instruments to stand out. A well-panned drum track provides a solid foundation for the entire mix. It helps to create a clear, professional sound.
Tools Required
Fixing panning issues in Logic Drum can be frustrating without the right tools. Knowing which tools to use can make the process easier and more effective. Let’s dive into the essential tools you need.
Software Tools
You’ll need specific software tools to fix panning issues in Logic Drum:
- Logic Pro – The main software for drum editing.
- Audio Plugins – Plugins like EQ and compressors.
- Drum Sample Libraries – High-quality drum samples.
Hardware Tools
While software is important, hardware tools are equally crucial. Here are some must-have hardware tools:
| Tool | Description |
|---|---|
| Audio Interface | Connects your computer with your instruments. |
| Studio Monitors | Allows you to hear true sound quality. |
| Headphones | Essential for detailed listening. |
Using the right tools can make your drum panning more precise and professional. Make sure to have both software and hardware tools ready for the best results.
Initial Setup
Starting with the right setup is crucial for fixing panning issues in Logic Drum. A proper initial setup ensures a smooth workflow and accurate sound results. Let’s dive into the steps to get you started on the right foot.
Configuring Your Software
Open Logic Pro and start a new project. Make sure your software is updated to the latest version. This ensures all features and bug fixes are available. Go to the Preferences menu and select Audio. Set the output device to your audio interface or speakers.
Next, check the input device settings. Ensure they match your recording setup. This is important for accurate monitoring. Under the General tab, enable the option for “Pan Law.” This helps balance the stereo field. Save these settings.
Setting Up Your Workspace
A clutter-free workspace boosts productivity. Clear your desk of unnecessary items. Place your speakers at ear level. This helps in accurate panning adjustments. Arrange your MIDI controllers within easy reach. This saves time during editing.
Ensure your computer is on a stable surface. Unstable setups can cause disruptions. Organize your cables to avoid tangles. This reduces the risk of damage or connection issues. Keep your workspace well-lit. It reduces eye strain during long sessions.
Credit: mastering.com
Identifying The Problem
Drum panning issues can disrupt the balance of a mix. Identifying the problem early helps ensure a smooth production process. In this section, we will explore listening techniques and visual indicators to help you spot these issues efficiently.
Listening Techniques
Start by carefully listening to the drum track. Use the following techniques to identify panning problems:
- Headphone Test: Listen to the track through headphones. Notice if any drum sound appears overly dominant in one ear.
- Mono Check: Switch your mix to mono. This can highlight any panning imbalance or phase issues.
- Volume Level: Pay attention to volume levels. An imbalance may indicate a panning issue.
Visual Indicators
Visual cues can also help you identify panning problems:
- Panning Meters: Use your DAW’s panning meters. Check if any drum hits are panned too far left or right.
- Waveform Analysis: Look at the waveform. Imbalanced waveforms can suggest panning issues.
- Spectrum Analyzer: A spectrum analyzer shows frequency distribution. Uneven distribution may indicate panning problems.
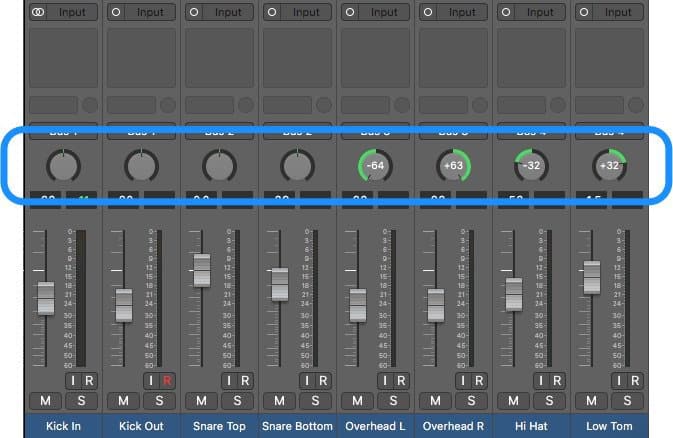
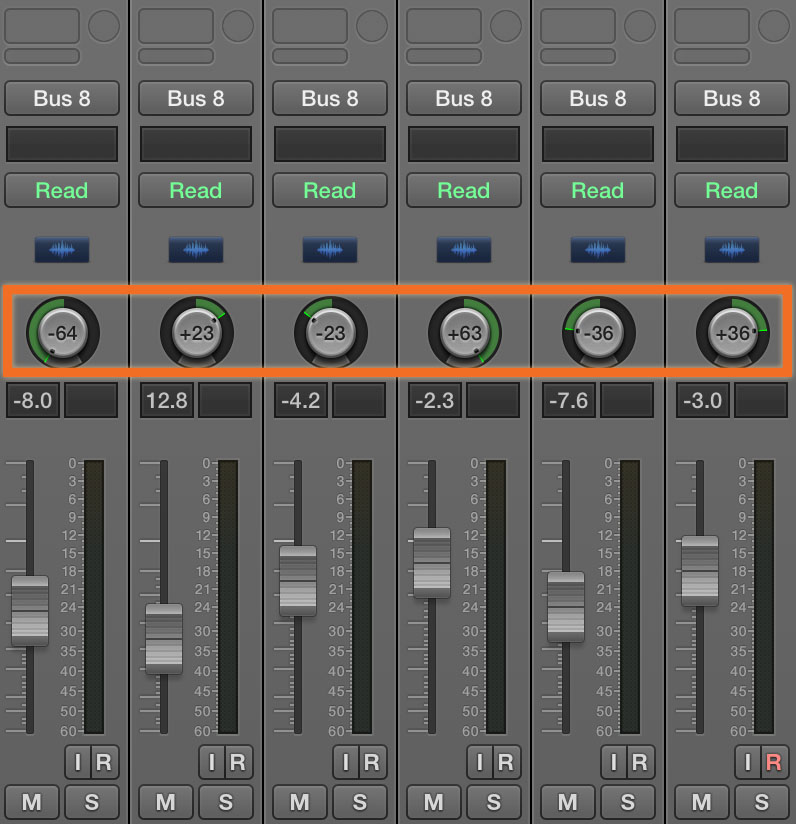
Adjusting Panning Settings
Adjusting panning settings is crucial for creating a balanced drum sound in Logic Pro. Proper panning helps position different drum elements in the stereo field. This creates a more immersive listening experience. In this section, we will discuss how to adjust panning settings using automation and manual adjustments.
Using Automation
Automation allows you to program panning changes over time. Open the automation view in Logic Pro. Select the track you want to automate. Choose the “Pan” parameter from the automation menu. Click on the track to create automation points. Drag these points to adjust the panning position. This method is precise. It is useful for complex arrangements where panning needs to change dynamically.
Manual Adjustments
Manual adjustments offer quick and straightforward panning changes. Find the pan knob on your drum track’s channel strip. Turn the knob left or right to pan the sound. Left moves the sound to the left speaker. Right moves it to the right speaker. This method is ideal for static panning. It works well for simpler drum mixes.
Credit: www.izotope.com
Testing Your Adjustments
After making adjustments to your drum panning, testing is crucial. It ensures your changes create the desired effect. You need to confirm that the panning sounds balanced and clear. This section will guide you through effective ways to test your panning adjustments.
Playback Techniques
Start by listening to your track with headphones. This helps you catch any panning issues. Play the track at different volumes. Check if the drums sound consistent. Also, try listening through different speakers. This ensures the panning is clear on all devices.
Seeking Feedback
Get feedback from others. Share your track with friends or colleagues. Ask them if the panning sounds right. Sometimes, fresh ears can catch what you missed. You can also join online forums. Post your track and ask for feedback. Other musicians can provide valuable insights.
Common Mistakes To Avoid
Fixing panning logic in drums can be a bit tricky. Avoiding common mistakes can help you achieve a balanced and professional sound. Below are some of the most common mistakes to avoid.
Over-panning
One of the most frequent mistakes is over-panning. Panning too much can cause an unnatural and disjointed sound. Here are some tips to avoid it:
- Keep your kick and snare in the center.
- Pan other elements, like hi-hats and toms, moderately.
- Use a stereo field, but do not go overboard.
Over-panning can make your mix sound unbalanced. Aim for a natural spread of the drum elements.
Ignoring Phase Issues
Another common mistake is ignoring phase issues. Phase issues can ruin your drum mix. Here are some quick tips:
- Check phase alignment between multiple mics.
- Use a phase correlation meter.
- Invert the phase of one channel if needed.
Ignoring phase problems can lead to a weak or hollow sound. Pay attention to ensure a full and robust drum mix.
Avoiding these common mistakes can greatly improve the quality of your drum panning. Keep these tips in mind for a more professional sound.
Advanced Tips
Fixing panning issues in Logic Drum can be tricky. Advanced tips can help. These techniques ensure your drum tracks sound professional. Your mixes will be clearer and more dynamic.
Using Stereo Imaging
Stereo imaging can enhance your drum tracks. It creates a sense of space. Use a stereo imager plugin. Adjust the width of your drum tracks. This adds depth and clarity. Keep the kick and snare centered. Pan other elements, like hi-hats and cymbals, slightly to the sides. This prevents clutter in the center of your mix.
Layering Drum Tracks
Layering drum tracks can add richness. Use multiple samples for each drum. For instance, layer a punchy kick with a softer one. Blend them to taste. This creates a fuller sound. Layering can also help with dynamics. Use different velocities for each layer. This mimics real drum playing. It makes your drums sound more natural. Experiment with different samples and velocities. Find the perfect combination for your track.
Finalizing Your Mix
Finalizing your mix is the last but crucial step in music production. This step ensures your track sounds polished and professional. Whether you’re an amateur or a seasoned producer, this phase can make a significant difference. This guide will help you finalize your mix, focusing on exporting your track and archiving settings.
Exporting Your Track
Exporting your track is a critical step in finalizing your mix. Ensure all your levels are balanced. Check that the panning logic is correct. Follow these steps for a seamless export:
- Set your DAW to the correct bit depth and sample rate.
- Ensure no clipping in your mix.
- Choose the export format. WAV or MP3 are common choices.
- Label your file clearly. Include the track name and version number.
- Check the export location. Ensure it is a dedicated folder for easy access.
Archiving Settings
Archiving your settings is an essential practice. It helps you keep track of your work. Follow these tips to archive your settings effectively:
- Save your project file with a detailed name. Include the date and version.
- Create a backup folder for all related files. This includes samples and plugins used.
- Export project settings and save them in the backup folder. This ensures you can revisit the project if needed.
- Use a cloud service to store your backup folder. This adds an extra layer of security.
By following these steps, you can finalize your mix efficiently. Ensure your track sounds polished and professional. Happy mixing!
Frequently Asked Questions
How Do You Fix Panning In Logic Pro?
Fix panning in Logic Pro by adjusting the pan knob on the mixer channel. Ensure mono compatibility and proper stereo balance. Use automation for dynamic panning.
Why Is My Drum Panning Not Working?
Drum panning may not work due to incorrect routing or software issues. Check your audio interface settings and ensure proper channel assignments.
How To Automate Drum Panning In Logic?
Automate drum panning in Logic by enabling automation mode and drawing pan changes on the track. This adds movement and dynamics to your mix.
Can You Pan Individual Drum Sounds?
Yes, you can pan individual drum sounds by assigning each sound to a separate mixer channel. Adjust the pan knob for each channel.
Conclusion
Fixing the panning in Logic Drum is easier than it seems. Follow the steps mentioned and your mix will improve. Always check your settings and adjust as needed. Practice regularly for the best results. Soon, you’ll notice better sound quality in your projects.

Happy mixing!
As an Amazon Associate, Cleanestor earns from qualifying purchases at no additional cost to you.