Looking to create your own drum kit? It’s simpler than you think.
Building a drum kit can be a fun and rewarding project. A drum kit is not just an instrument; it’s a gateway to music. Making your own allows you to customize every part. It gives you control over the sound and look of your drums.
You’ll learn about each component, from the bass drum to the cymbals. And it’s a great way to save money while enjoying a hands-on project. In this guide, we’ll walk you through the steps. You’ll discover what materials you need and how to assemble them. So, let’s start this musical journey together and build a drum kit that rocks!
Materials Needed
Creating your own drum kit can be a fun and rewarding project. Before you start, gather all the necessary materials. This guide will help you understand what you need to build a drum kit from scratch. Let’s dive into the key materials required.
Wood And Metal
The shells of your drums are usually made from wood or metal. Common wood types include maple, birch, and oak. Metal shells are often made from steel or aluminum. Each material has its own sound characteristics. Wood provides a warm tone, while metal offers a brighter sound.
Drumheads
Drumheads are the membranes stretched over the top of the drum shells. They are crucial for producing sound. You can choose between single-ply and double-ply heads. Single-ply heads are thinner and more sensitive. Double-ply heads are thicker and more durable. Pick the type that suits your playing style.
Hardware
Hardware includes all the metal parts that hold your drum kit together. This category covers lugs, hoops, and tension rods. Lugs attach the drumheads to the shell. Hoops hold the drumhead in place. Tension rods allow you to tune the drums. Quality hardware ensures your drum kit is stable and easy to adjust.
Tools Required
Creating your own drum kit can be a rewarding experience. To get started, you need the right tools. This section will guide you through the essential tools required for making a drum kit. These tools are divided into three main categories: cutting tools, drilling tools, and measuring tools.
Cutting Tools
Cutting tools are crucial for shaping the drum shells and other parts. Here are some common cutting tools you will need:
- Hand saw: Used for making straight cuts in the drum shells.
- Jigsaw: Ideal for cutting curves and intricate shapes.
- Table saw: Provides precise and clean cuts for larger pieces.
- Utility knife: Used for detailed trimming and cutting smaller pieces.
Drilling Tools
Drilling tools are essential for creating holes for hardware and mounting components. Here are the drilling tools you will need:
- Electric drill: A versatile tool for drilling holes of various sizes.
- Drill bits: Ensure you have a variety of sizes for different hole requirements.
- Hole saw: Used for cutting larger holes in the drum shells.
Measuring Tools
Accurate measurements are key to building a well-balanced drum kit. These measuring tools will help you achieve precision:
- Measuring tape: Essential for measuring lengths and widths accurately.
- Ruler: Useful for smaller measurements and marking straight lines.
- Square: Ensures your cuts and angles are precise.
- Caliper: Measures the thickness and diameter of drum components.
By having these tools on hand, you will be well-equipped to start building your drum kit. These tools will help you achieve precision and quality in your drum-making process.
Building The Drum Shells
Building your own drum shells is an exciting part of making a drum kit. It involves cutting, shaping, and sanding the wood to create the perfect base for your drums. This guide will help you understand each step in detail.
Cutting The Wood
Start by selecting quality wood. Maple, birch, and mahogany are popular choices for drum shells. Ensure the wood is free of defects.
Next, measure the wood carefully. You need to cut it to the correct length and width to match the size of your drum. Use a saw to make precise cuts. A table saw works best for straight cuts, while a jigsaw is useful for more intricate shapes.
After cutting, check the pieces for accuracy. They should fit together without gaps. Accurate cutting is key for a good sound.
Shaping The Shells
Once the wood pieces are cut, it’s time to shape the shells. Start by forming the wood into a circular shape. Use clamps to hold the wood in place as you shape it. A mold can help maintain the correct shape.
Apply glue to the edges before joining them. Clamp the pieces together and let the glue dry completely. This ensures a strong bond. Remove the clamps once the glue is dry and check for any uneven edges. Smooth them out with a file if necessary.
Sanding The Edges
Sanding is a crucial step in building drum shells. It ensures smooth edges and a polished finish. Begin with coarse sandpaper to remove any rough spots. Move in a circular motion to keep the edges even.
Switch to finer sandpaper for a smoother finish. Sand both the inside and outside of the shell. Pay attention to the bearing edges, as they affect the drum’s sound. Smooth bearing edges lead to better resonance.
After sanding, wipe the shells with a damp cloth to remove dust. Your drum shells are now ready for the next step in the drum-making process.

Credit: www.youtube.com
Assembling The Drumheads
Assembling the drumheads is a crucial step in building your drum kit. This section will guide you through the process, ensuring each drum produces the best sound. Follow these steps to choose, attach, and tune your drumheads effectively.
Choosing Drumheads
Choosing the right drumheads affects the sound of your drum kit. Drumheads come in various types and materials. Each one offers a unique sound.
- Single-ply: Thin and responsive. Best for light playing.
- Double-ply: Thicker and more durable. Suitable for heavy playing.
- Coated: Produces a warmer sound.
- Clear: Gives a brighter, more open tone.
Select drumheads based on your playing style and the sound you want to achieve.
Attaching To Shells
Attaching the drumheads to the shells requires precision. Follow these steps:
- Place the drumhead on the shell.
- Align it carefully to avoid wrinkles.
- Attach the hoop over the drumhead.
- Insert the tension rods into the lugs.
- Hand-tighten each rod, ensuring even pressure.
Make sure the drumhead sits flat on the shell. Uneven tension can affect the sound quality.
Tuning The Drumheads
Tuning the drumheads is the final step. Proper tuning ensures your drums sound their best.
- Use a drum key to tighten the tension rods.
- Tighten opposite rods in a criss-cross pattern.
- Tap the drumhead near each rod and listen to the pitch.
- Adjust the tension until the pitch is consistent.
- Repeat the process for the bottom drumhead.
Take your time with tuning. Fine adjustments can make a big difference in sound.
Installing Drum Hardware
Installing drum hardware is a crucial step in assembling your drum kit. Proper installation ensures the best sound and longevity of your drums. This section will guide you through the steps of mounting lugs, adding tension rods, and attaching hoops.
Mounting Lugs
First, place the drum shell on a flat surface. Position the lugs evenly around the shell. Mark the spots where each lug will go. Use a drill to create holes at these marks. Attach each lug using screws. Ensure each lug is tightly secured. This will help hold the drumheads in place.
Adding Tension Rods
Once the lugs are in place, insert the tension rods. Place a drumhead over the shell. Line up the holes with the lugs. Insert a tension rod into each hole. Tighten each rod with your fingers first. Use a drum key to secure the rods. Tighten them evenly to avoid warping the drumhead.
Attaching Hoops
Next, place the hoop over the drumhead. Align the hoop with the tension rods. Ensure it sits evenly on the drumhead. Fasten the hoop by tightening each tension rod. Use the drum key to make sure the tension is even. This will help produce a balanced sound. Repeat these steps for all drums in your kit.
Credit: www.instructables.com
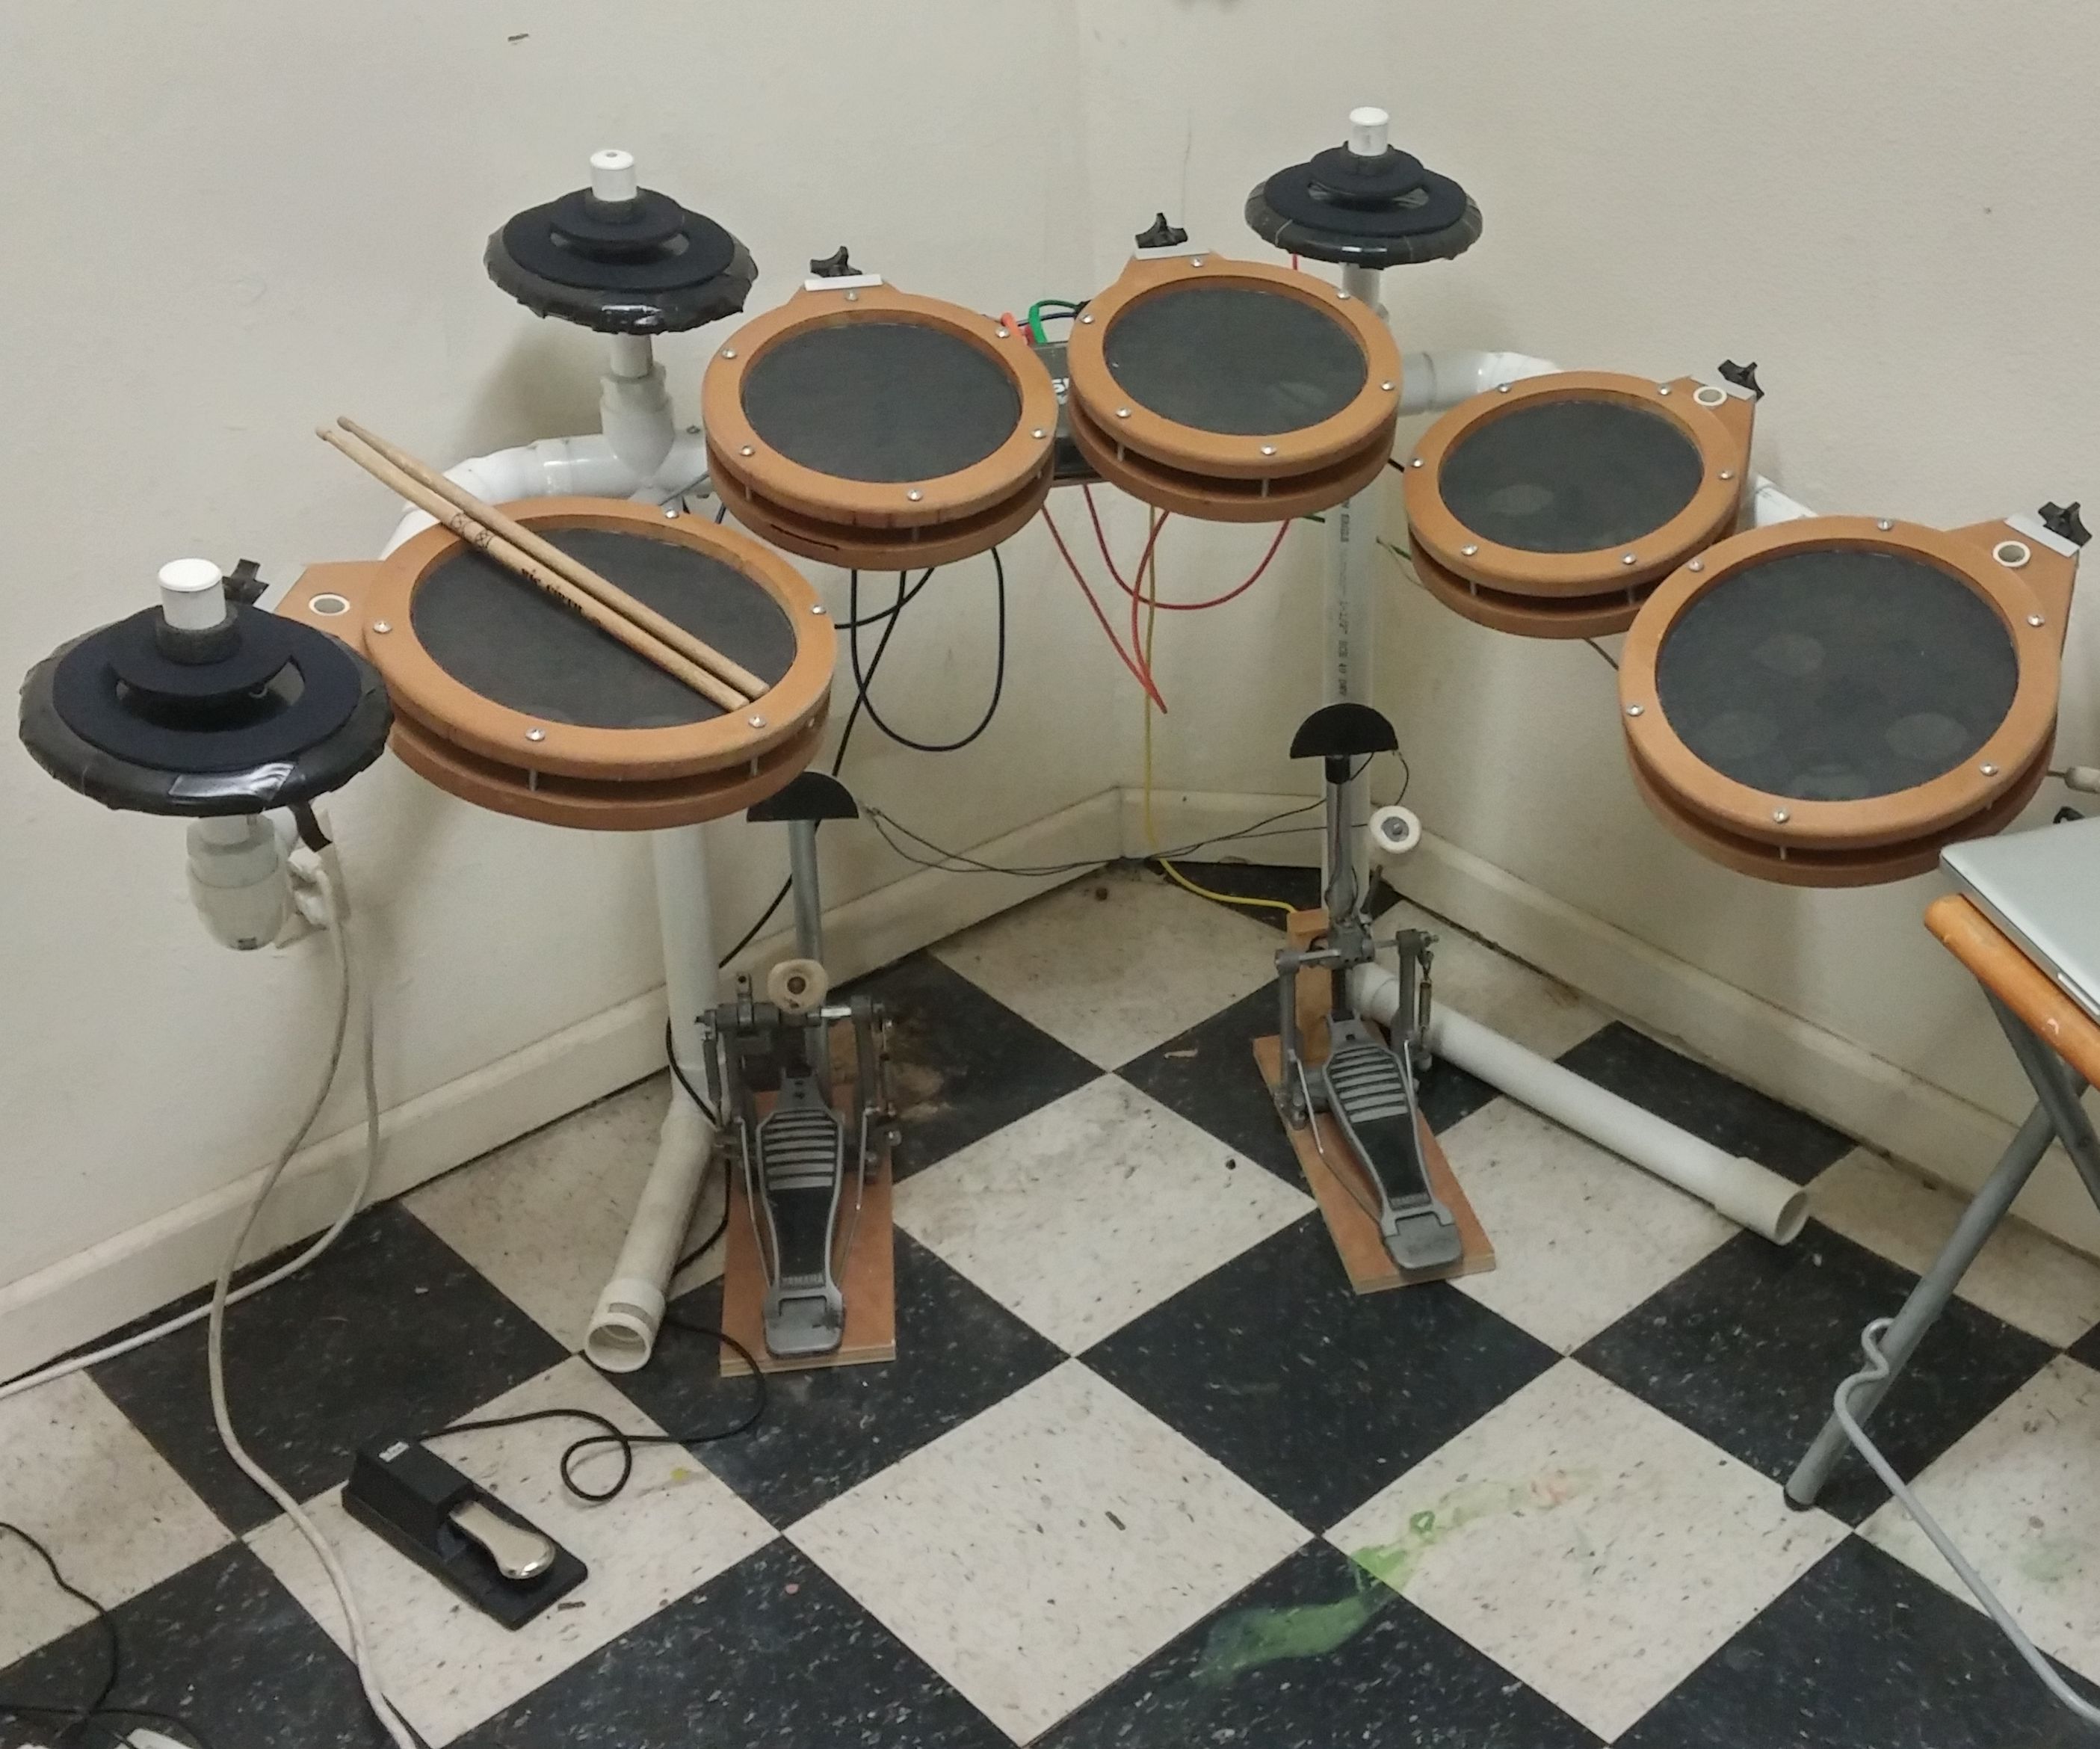
Creating The Drum Stands
Creating the drum stands is an essential part of building your drum kit. The stands hold your drums securely, ensuring stability while you play. This section will guide you through the process of selecting materials, assembling stands, and securing drum placement.
Selecting Materials
Choosing the right materials is crucial for sturdy drum stands. Metal is a popular choice because of its strength and durability. Aluminum and steel are excellent options. They provide the necessary support without being too heavy.
Consider using PVC pipes if you want a lighter alternative. They are easy to work with and can be just as strong if assembled correctly. Ensure you have the following materials ready:
- Metal or PVC pipes
- Pipe connectors
- Screws and bolts
- Drill
- Measuring tape
Assembling Stands
Start by measuring and cutting the pipes to the desired lengths. Use a measuring tape to ensure accuracy. Connect the pipes using pipe connectors. Secure them tightly with screws and bolts.
Follow these steps to assemble the stands:
- Measure and cut the pipes to the required lengths.
- Attach pipe connectors to the ends of each pipe.
- Secure the connectors with screws and bolts.
- Assemble the stand base first, ensuring it is stable.
- Attach the vertical supports to the base.
Double-check the connections to ensure the stand is stable and sturdy.
Securing Drum Placement
Once the stands are assembled, it’s time to place the drums. Ensure each drum is securely attached to its stand. Use mounting brackets or clamps to hold the drums in place.
Follow these tips for securing drum placement:
- Position the drums at a comfortable height.
- Use clamps to hold the drums securely.
- Ensure the drums do not wobble or move.
Test the stability by playing the drums gently. Make adjustments if needed to achieve a secure setup.
Finishing Touches
Once you have assembled your drum kit, the next step is adding the finishing touches. These steps will not only improve the look of your drum kit but also protect it from wear and tear. Let’s explore these important steps: Painting the Shells, Adding Decals, and Applying Protective Coating.
Painting The Shells
Painting the shells is a crucial step in making your drum kit look professional. Here are some simple steps to follow:
- Sand the drum shells to create a smooth surface.
- Apply a primer to help the paint stick better.
- Choose your desired color and apply the paint evenly.
- Let the paint dry completely before moving to the next step.
Choosing the right paint can make a significant difference. Use high-quality paint for better results and durability.
Adding Decals
Decals can add a personal touch to your drum kit. Follow these steps:
- Clean the surface where you will place the decals.
- Carefully position the decal on the drum shell.
- Smooth out any air bubbles with a soft cloth.
Make sure the decals are aligned properly for a polished look. Decals can represent your band’s logo, designs, or any other artwork you prefer.
Applying Protective Coating
Applying a protective coating is essential for the longevity of your drum kit. Here’s how you can do it:
- Choose a clear protective finish suitable for your drum material.
- Apply a thin layer of the protective coating using a brush or spray.
- Allow the coating to dry completely.
- Apply additional layers if needed for better protection.
A protective coating will shield your drum kit from scratches and moisture. This final step ensures that your drum kit remains in top condition for years to come.
Testing And Adjustments
After assembling your drum kit, testing and adjustments are crucial steps. These processes ensure your drum kit sounds great and performs well. This section will guide you through sound testing, fine-tuning, and making necessary adjustments.
Sound Testing
Begin by testing each drum and cymbal. Strike them to hear their sound. Listen for any unwanted overtones or dullness. Record the sounds to analyze the quality. This helps identify which parts need adjustments.
Fine-tuning
Fine-tuning is essential to get the best sound. Adjust the tension of the drum heads. Use a drum key to tighten or loosen the rods. A balanced tuning ensures a clear and resonant tone. Repeat this for all drums in your kit.
Making Necessary Adjustments
After testing and fine-tuning, some adjustments may still be needed. Check the positioning of your drums and cymbals. Ensure they are easily reachable and comfortable to play. Adjust the height and angle of each piece. This enhances your playing experience and sound quality.

Credit: drummagazine.com
Frequently Asked Questions
What Materials Are Needed To Make A Drum Kit?
To make a drum kit, you need wood, metal, drumheads, and hardware. Additionally, you will require tools like saws, drills, and screwdrivers.
How Do You Tune A Homemade Drum Kit?
To tune a homemade drum kit, tighten or loosen the drumheads using the tension rods. Adjust until you achieve the desired sound.
What Tools Are Required For Drum Kit Assembly?
For assembling a drum kit, you need a screwdriver, drill, saw, and measuring tape. These tools help in cutting and securing parts.
Can You Customize The Drum Kit Design?
Yes, you can customize the drum kit design. Choose your preferred materials, finishes, and hardware to create a unique look.
Conclusion
Creating your own drum kit can be a fun project. It allows you to customize your kit to fit your style. Plus, it saves money. You gain a deeper understanding of your instrument. Try different materials and designs. Experiment with sounds.

Build your skills. Enjoy the process. Soon, you’ll have a unique drum kit. One that reflects your personality. Ready to rock out? Start building today. Happy drumming!
As an Amazon Associate, Cleanestor earns from qualifying purchases at no additional cost to you.