Recording music can seem complex at first. Yet, it’s a rewarding process.
To record music, you need the right tools and a basic understanding of the process. Music recording has become more accessible than ever. With a few essentials and some patience, anyone can start. Whether you’re a budding musician or just curious, this guide will help you.
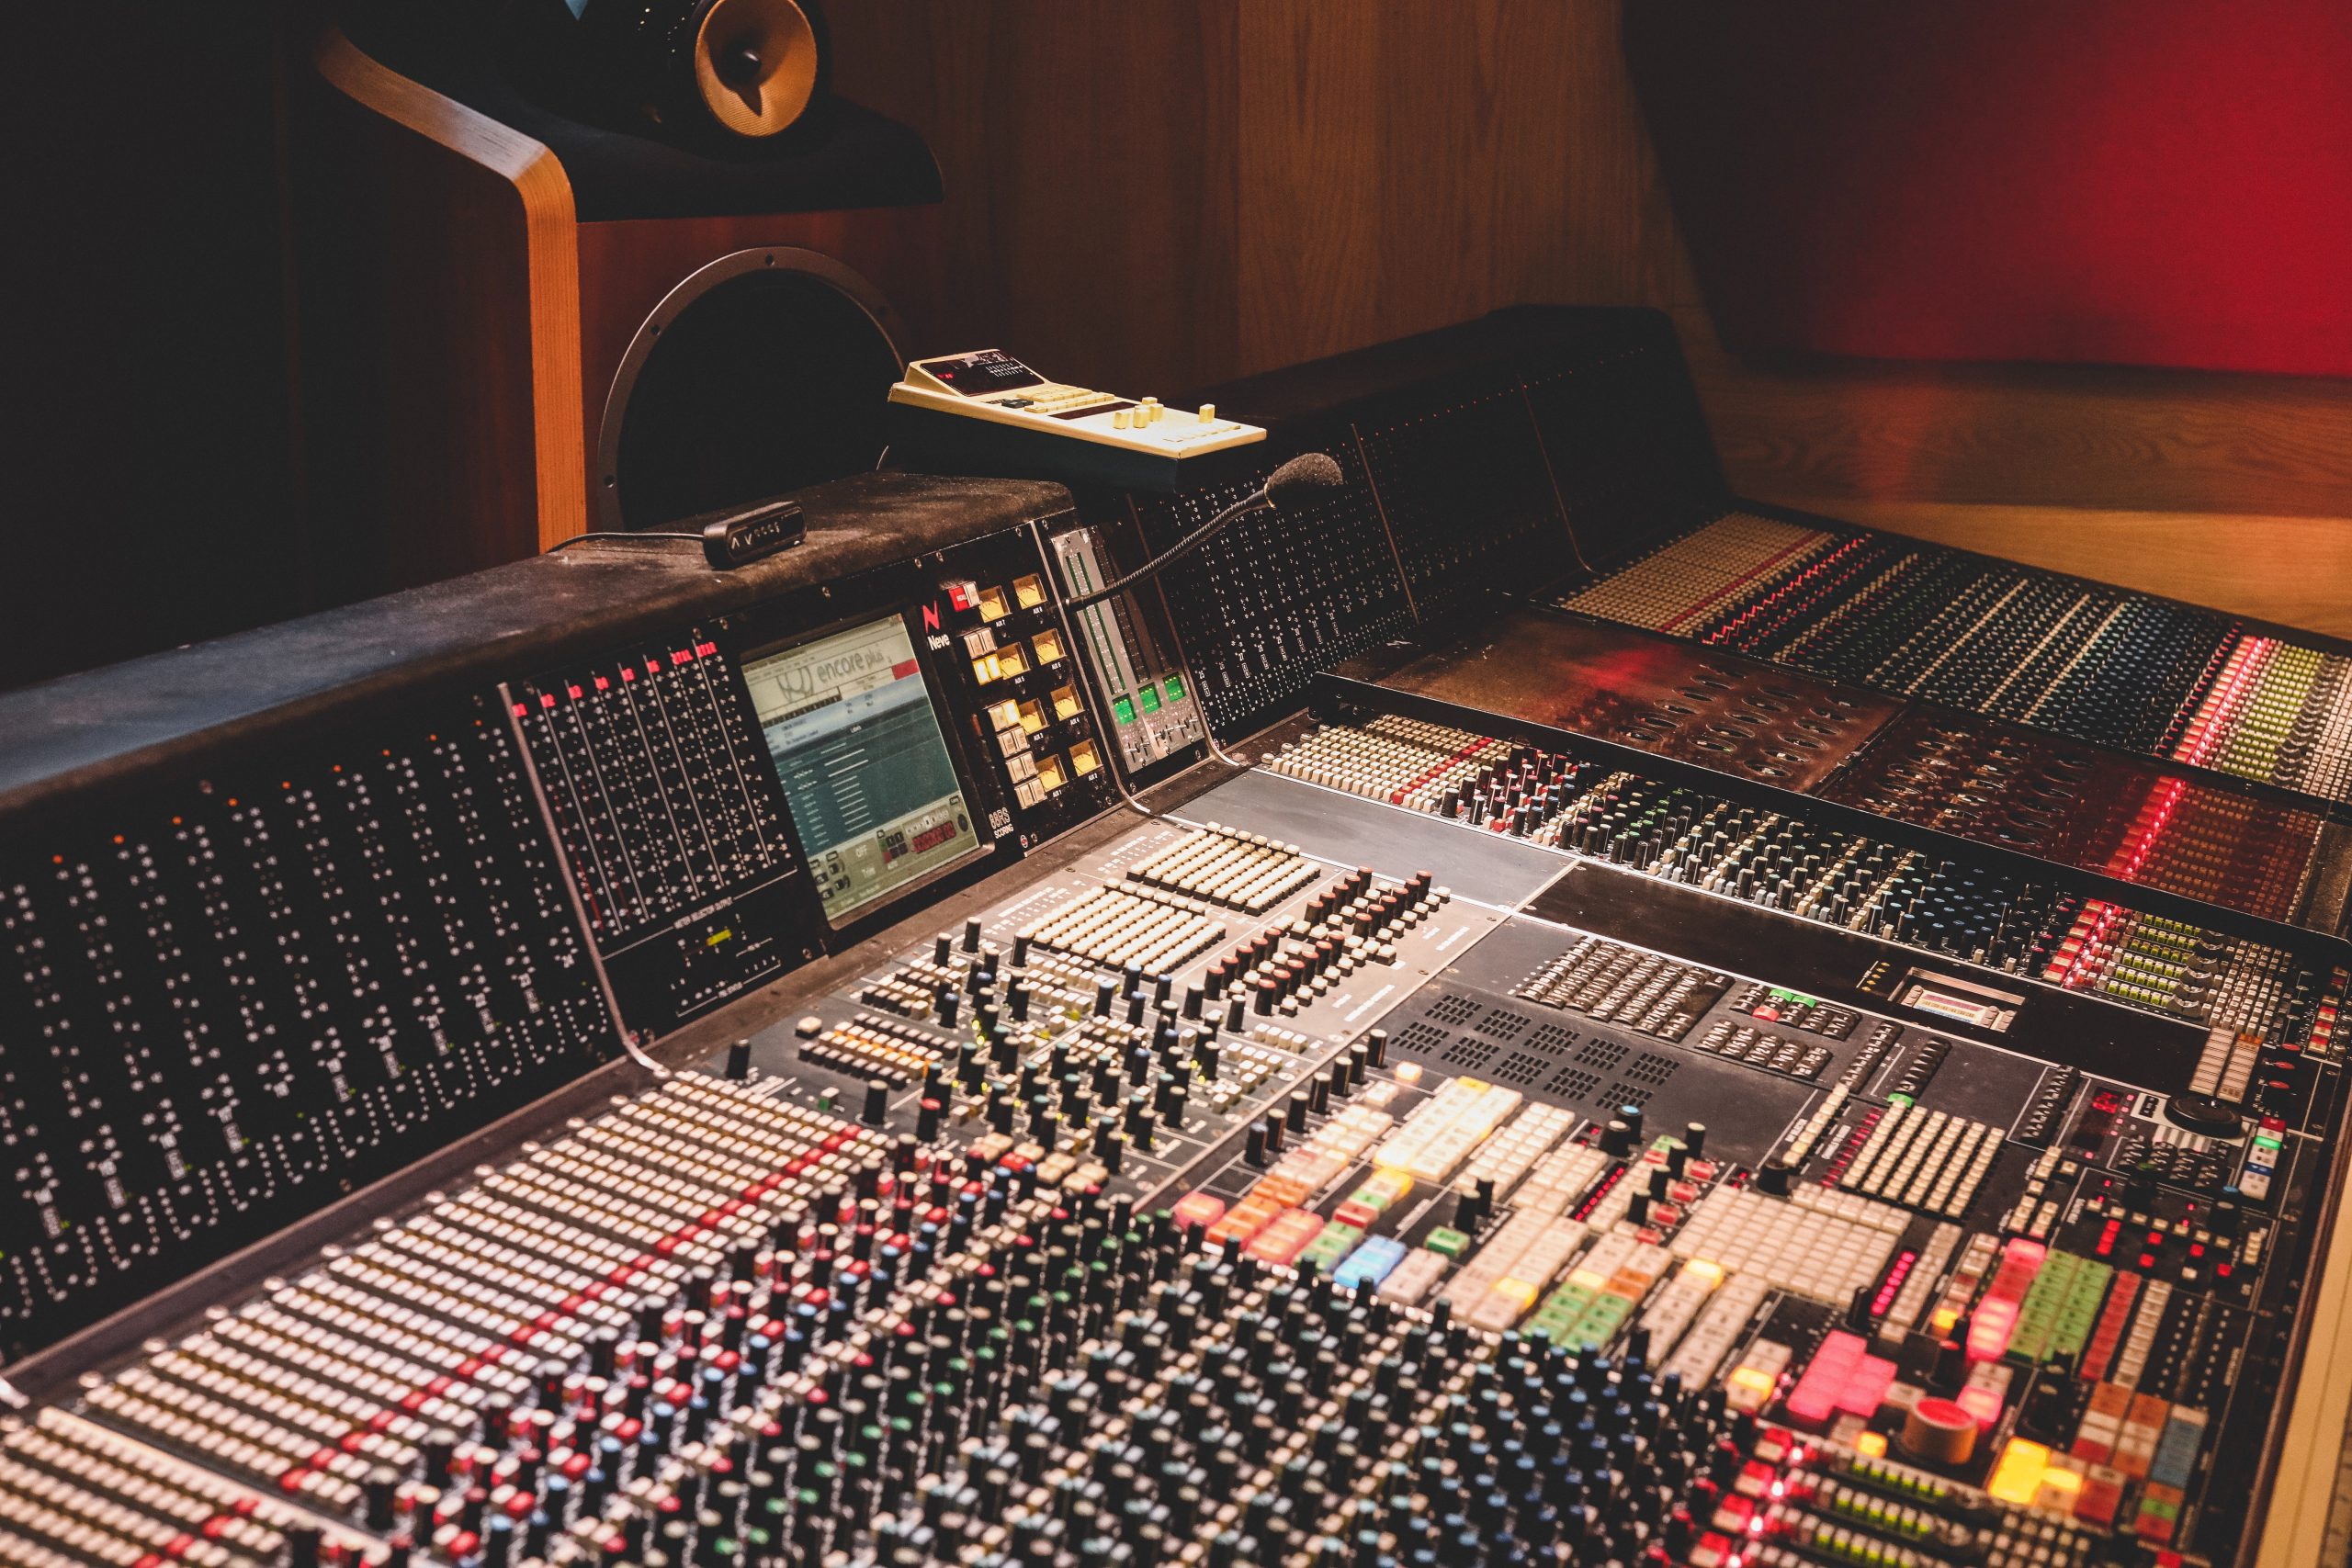
We will cover the equipment you need, software options, and some basic techniques. Let’s dive into the world of music recording and uncover how you can create your own tracks. Ready to get started? Let’s make some music!

Credit: www.youtube.com
Choosing The Right Equipment
Choosing the right equipment is crucial for recording high-quality music. The right tools can make a big difference in your sound. You don’t need the most expensive gear, but you do need reliable equipment. Let’s look at some essentials.
Microphones
The microphone is one of the most important tools. Different microphones capture sound in different ways. Condenser microphones are great for vocals and acoustic instruments. Dynamic microphones are good for louder sounds, like drums and electric guitar amps.
Consider the microphone’s polar pattern. Cardioid microphones pick up sound from the front and reject noise from the back. Omni-directional microphones capture sound from all directions. Choose based on your recording environment.
Audio Interfaces
An audio interface is a must-have. It connects your microphone and instruments to your computer. It converts analog signals to digital ones, making them ready for recording.
Look for an interface with enough inputs and outputs. If you plan to record multiple sources at once, you need more inputs. Also, check the sample rate and bit depth. Higher values mean better sound quality.
Popular choices include Focusrite Scarlett and PreSonus AudioBox. They offer good quality and are user-friendly. Make sure your interface is compatible with your computer and recording software.
Credit: upayasound.com
Setting Up Your Recording Space
Creating the perfect recording space can make your music sound professional. It is important to focus on two key aspects: room acoustics and soundproofing techniques. This section will guide you through these essential steps.
Room Acoustics
Good room acoustics are vital for clear sound. Here are some tips:
- Choose a quiet room: Avoid rooms with a lot of noise.
- Use soft materials: Soft items like carpets and curtains absorb sound.
- Place acoustic panels: Panels reduce echoes and improve sound quality.
Consider the shape of your room. Square rooms can cause sound issues. Rectangular rooms are usually better.
Soundproofing Techniques
Soundproofing keeps unwanted noise out and prevents your music from disturbing others. Here are effective techniques:
- Seal gaps and cracks: Use weather stripping or caulk to seal gaps.
- Install a solid door: Solid doors block more noise than hollow ones.
- Use soundproof curtains: These curtains are thick and help block noise.
- Add mass to walls: Use materials like mass-loaded vinyl to add mass.
- Build a room within a room: This is an advanced technique for best soundproofing.
Combining good acoustics and soundproofing ensures a high-quality recording space. Focus on these steps to create an effective recording environment.
Understanding Recording Software
Understanding recording software is crucial for anyone starting in music production. This software, also known as a Digital Audio Workstation (DAW), helps you record, edit, and mix your music. Let’s explore some popular DAW options and essential plugins that can help you create professional-quality music.
Daw Options
There are many DAW options available, each with unique features. Here are some popular choices:
- Pro Tools: Industry standard for many professional studios. Offers powerful editing tools.
- Logic Pro: Great for Mac users. Known for its user-friendly interface.
- FL Studio: Popular among electronic music producers. Offers a range of virtual instruments.
- Ableton Live: Ideal for live performances. Provides an intuitive workflow.
- GarageBand: Perfect for beginners. Free for Mac users.
Essential Plugins
Plugins are software components that add extra features to your DAW. They are essential for enhancing your music. Here are some must-have plugins:
| Plugin Type | Recommended Plugins |
|---|---|
| EQ (Equalizer) | FabFilter Pro-Q 3, Waves SSL G-Equalizer |
| Compressor | Waves SSL G-Master Buss Compressor, Universal Audio 1176 |
| Reverb | Valhalla Room, Waves H-Reverb |
| Delay | EchoBoy by Soundtoys, Waves H-Delay |
Using the right plugins can make a significant difference in your recordings. Experiment with different options to find what works best for your sound.
Credit: www.adorama.com
Preparing For Recording
Preparing for recording is a crucial step in capturing high-quality music. It sets the foundation for a smooth recording session. Ensuring all elements are in place can save time and improve the final product. This section covers essential steps to prepare for recording.
Setting Levels
Setting levels correctly is vital. It ensures the recording is clear and free from distortion. Start by checking the input levels of your instruments and microphones. Adjust the gain on your audio interface or mixer. The levels should peak at around -6 dB to -3 dB. This range allows headroom for unexpected volume spikes. Avoid setting levels too high or too low. High levels cause distortion. Low levels result in a weak signal. Both affect the quality of the recording.
Microphone Placement
Microphone placement plays a significant role in sound quality. Position the microphone at the right distance from the sound source. For vocals, place the mic about 6 inches away from the mouth. Use a pop filter to reduce plosive sounds. For instruments, the placement depends on the type of instrument. Experiment with different positions to find the sweet spot. For example, place the mic near the sound hole of an acoustic guitar. This captures a warm and full sound. Avoid placing the mic directly in front of the instrument. This can cause unwanted noise and distortion.
Recording Instruments
Recording instruments can be an exciting and rewarding part of music production. This process involves capturing the sounds of various musical instruments accurately and creatively. In this section, we will explore how to record two common instruments: guitars and basses, and keyboards and synths. By understanding the basics of recording these instruments, you can create high-quality music tracks.
Guitars And Basses
Recording guitars and basses requires attention to detail. You need to capture the unique tone and character of each instrument.
- Microphone Placement: Position the microphone close to the guitar or bass amp. Experiment with different angles.
- Direct Input (DI): Connect the guitar or bass directly to the audio interface. This can provide a clean signal.
- Combination: Use both a microphone and DI. This gives you more options during mixing.
For electric guitars, consider using effects pedals. They add character to your recordings. Acoustic guitars may need a condenser microphone. Place it near the sound hole.
| Technique | Application |
|---|---|
| Close Miking | Captures detailed sound, good for solos |
| Room Miking | Captures natural reverb, good for rhythm sections |
Keyboards And Synths
Recording keyboards and synths can be more straightforward. These instruments usually produce a direct line output.
- Direct Connection: Connect the keyboard or synth output to the audio interface. This provides a clear and strong signal.
- Midi Recording: Use MIDI to record notes and performance data. You can edit these later for precision.
- Layering: Record multiple layers of synths. This can create a rich and full sound.
Experiment with different sounds and patches. Keyboards and synths offer a wide range of sonic possibilities. Use effects like reverb and delay to enhance the recording.
By following these steps, you can effectively record guitars, basses, keyboards, and synths. Each instrument adds a unique flavor to your music. Happy recording!
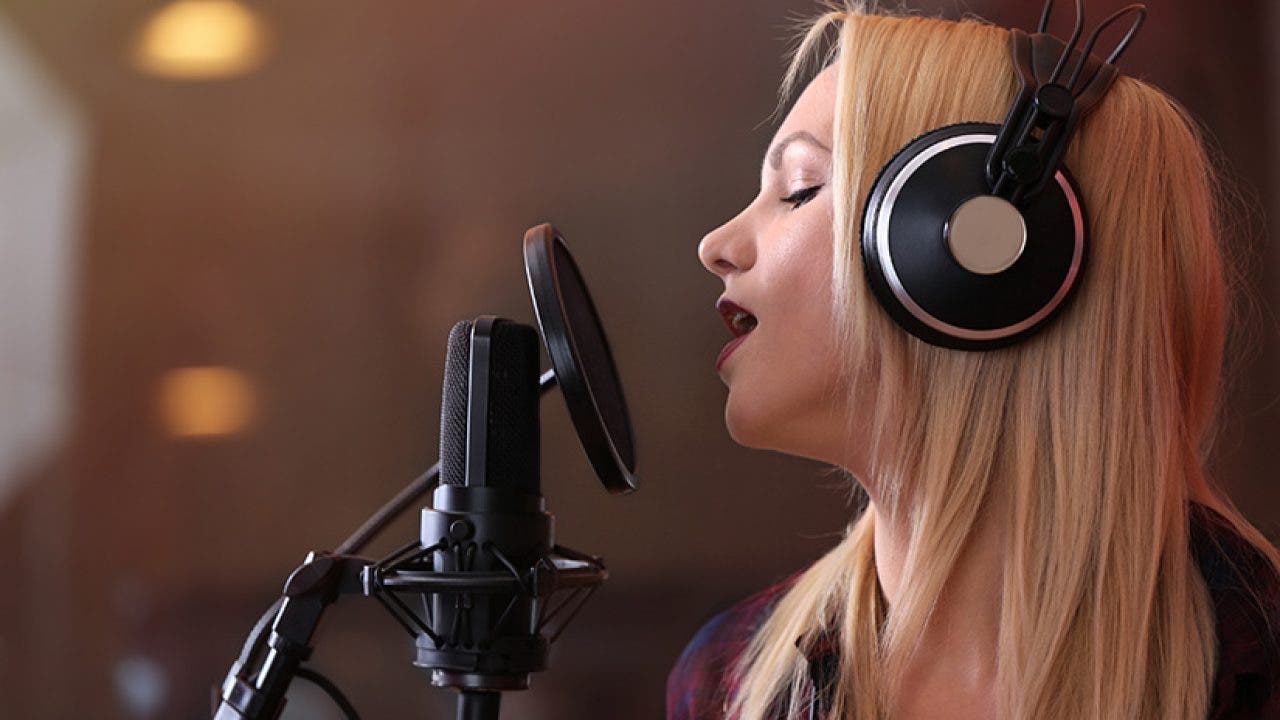
Recording Vocals
Recording vocals is a crucial part of creating music. The voice carries the song’s emotion and message. To achieve great sound, you need the right techniques and tools.
Vocal Techniques
Using proper vocal techniques can make a big difference in your recordings. Here are some tips:
- Warm up your voice: Spend 10-15 minutes doing vocal exercises.
- Stay hydrated: Drink water to keep your voice clear.
- Maintain good posture: Stand or sit up straight to allow better airflow.
- Control your breath: Practice deep breathing for a steady voice.
- Articulate clearly: Pronounce words fully to avoid slurring.
These techniques help in capturing a clean and powerful vocal performance.
Using Pop Filters
A pop filter is an essential tool for recording vocals. It reduces plosive sounds like “p” and “b” which can cause distortion. Here are some tips for using pop filters:
- Position it correctly: Place the pop filter 2-3 inches away from the microphone.
- Maintain distance: Keep about 6 inches between your mouth and the pop filter.
- Stay consistent: Maintain a constant distance to ensure even sound levels.
Using a pop filter ensures a cleaner and more professional sound in your recordings.
Editing Your Tracks
Editing is a crucial part of recording music. It helps polish your tracks, making them sound professional. This section will guide you through essential editing techniques. Let’s dive into cutting and splicing, tuning and timing your tracks to perfection.
Cutting And Splicing
Cutting and splicing involve removing unwanted parts of a track. It’s like trimming the fat off a piece of meat. You can cut out mistakes, silence, or background noise. Splicing allows you to join different sections together. This creates a seamless flow in your music.
To cut and splice:
- Open your audio editing software.
- Select the section you want to cut.
- Use the cut tool to remove it.
- To splice, drag and drop sections together.
- Ensure the transitions are smooth by using crossfades.
This process makes your track clean and professional.
Tuning And Timing
Tuning and timing ensure your music sounds harmonious. Tuning adjusts the pitch of your notes. Timing aligns the beats and rhythms. Both are essential for a polished sound.
For tuning:
- Use auto-tune software to correct pitch.
- Manually adjust notes that are off-key.
- Listen carefully to ensure natural sound.
For timing:
- Use a metronome to keep a consistent beat.
- Align your tracks with the beat grid in your software.
- Use quantization to fix timing errors.
These steps will help your music stay in tune and on time.
Mixing And Mastering
Mixing and mastering are crucial steps in music production. These processes enhance the quality of your recordings. Mixing combines different tracks into one. Mastering polishes the final mix for distribution. Both are key to a professional sound. Let’s dive into the details.
Balancing Levels
Start by setting the volume of each track. This helps each instrument stand out. Use your ears. Adjust until the mix sounds balanced. This step ensures no track overpowers another. Check your levels often. Aim for a consistent sound.
Use panning to place sounds in the stereo field. This gives each track space. Move some sounds to the left. Move others to the right. This creates a wider mix. It makes the music feel more alive.
Adding Effects
Effects can enhance your tracks. Reverb adds space and depth. Delay creates echoes. These effects make the music more interesting. Use them sparingly. Too many effects can clutter the mix.
Compression controls the dynamics of a track. It evens out loud and soft parts. This makes the mix sound more polished. Apply EQ to shape the tone. Cut unwanted frequencies. Boost the ones you want to highlight. This helps each track fit together.
Frequently Asked Questions
How Do I Start Recording Music At Home?
Starting to record music at home is easy. Get a computer, audio interface, microphone, and recording software. Set up your gear, and start recording.
What Equipment Do I Need To Record Music?
To record music, you’ll need a computer, audio interface, microphone, headphones, and recording software. Good quality gear improves your recordings.
Which Software Is Best For Recording Music?
Popular recording software includes Audacity, GarageBand, and Ableton Live. Choose one that fits your needs and budget.
Can I Record Music Without A Studio?
Yes, you can record music at home. With the right equipment and software, you can achieve professional results.
Conclusion
Recording music can be a fun and rewarding process. Start with the right equipment. Choose a quiet space to record. Practice your songs before recording. Use software that fits your needs. Experiment with different sounds. Listen to your recordings critically.

Make adjustments as needed. Don’t rush the process. Share your music with friends and ask for feedback. Remember, each recording session is a learning experience. Enjoy creating and improving your music. Happy recording!
{ “@context”: “https://schema.org”, “@type”: “FAQPage”, “mainEntity”: [ { “@type”: “Question”, “name”: “How do I start recording music at home?”, “acceptedAnswer”: { “@type”: “Answer”, “text”: “Starting to record music at home is easy. Get a computer, audio interface, microphone, and recording software. Set up your gear, and start recording.” } } , { “@type”: “Question”, “name”: “What equipment do I need to record music?”, “acceptedAnswer”: { “@type”: “Answer”, “text”: “To record music, you’ll need a computer, audio interface, microphone, headphones, and recording software. Good quality gear improves your recordings.” } } , { “@type”: “Question”, “name”: “Which software is best for recording music?”, “acceptedAnswer”: { “@type”: “Answer”, “text”: “Popular recording software includes Audacity, GarageBand, and Ableton Live. Choose one that fits your needs and budget.” } } , { “@type”: “Question”, “name”: “Can I record music without a studio?”, “acceptedAnswer”: { “@type”: “Answer”, “text”: “Yes, you can record music at home. With the right equipment and software, you can achieve professional results.” } } ] }As an Amazon Associate, Cleanestor earns from qualifying purchases at no additional cost to you.