Making a tambourine is simpler than you think. With a few materials, you can craft your own musical instrument.
Tambourines have been part of music for centuries. They add a unique rhythm to songs and are fun to play. Crafting your own tambourine can be a rewarding project. It lets you personalize the design and sound. Plus, making a tambourine is a fun activity for all ages.
Whether for a music class, a homemade band, or just for fun, you’ll enjoy the process and the result. In this guide, we’ll show you step-by-step how to create your own tambourine. Let’s get started on this musical journey!

Credit: thatkidscraftsite.com
Materials Needed
Creating your own tambourine is a fun and rewarding project. Before you begin, gather all the necessary materials. This will ensure a smooth crafting process. Below, we outline the essential components and optional decorations needed for your tambourine.
Essential Components
To make a tambourine, you will need the following items:
- Rings or hoops: These form the base of your tambourine. You can use wooden or metal rings.
- Jingles: These are the small metal discs that create sound. You can buy them or use old bottle caps.
- Strong thread or wire: Use these to attach the jingles to the ring.
- Scissors: These are necessary for cutting thread or wire.
- Glue or tape: Use these to secure any loose parts.
Optional Decorations
Adding decorations makes your tambourine unique and personal. Consider these items:
- Paints or markers: Decorate the ring with bright colors or patterns.
- Ribbons: Attach ribbons to the ring for a festive look.
- Beads or sequins: Glue these on to add sparkle and shine.
- Stickers: Use these for quick and easy decoration.
Gathering all these materials will prepare you for creating a beautiful and functional tambourine. Happy crafting!
Selecting The Frame
When making a tambourine, selecting the frame is a crucial step. The frame holds the jingles and provides the shape. Two popular choices are wooden and metal frames. Each has its own benefits and drawbacks.
Wooden Frame Choices
Wooden frames offer a classic look and warm sound. They are lightweight and easy to handle. Here are some common types of wood used:
- Maple: Durable and has a smooth finish.
- Oak: Strong and provides a rich tone.
- Pine: Lightweight but less durable.
When choosing a wooden frame, check for smooth edges. This ensures comfort when playing. Sand down any rough spots. Also, consider the thickness of the frame. A thicker frame adds strength but might be heavier.
Metal Frame Alternatives
Metal frames are sturdy and produce a brighter sound. They are often used in modern tambourines. Common metals include:
- Aluminum: Lightweight and rust-resistant.
- Steel: Strong and produces a sharp tone.
- Brass: Offers a rich, deep sound.
Metal frames can be more durable than wood. They withstand rough handling better. But they are usually heavier. Choose a metal frame if you need a durable and bright-sounding tambourine.
In summary, the choice between wood and metal depends on your needs. Wooden frames are lighter and warmer. Metal frames are durable and bright. Select the frame that best suits your playing style.
Preparing The Frame
To create a beautiful tambourine, start with preparing the frame. This step ensures your tambourine is sturdy and looks great. Follow these steps to prepare the frame properly.
Sanding And Smoothing
First, sand the frame to remove rough edges. Use sandpaper with a fine grit, around 120-150. Sand the entire frame to make it smooth. Pay extra attention to the edges and corners. Sanding prevents splinters and ensures a safe, smooth surface.
Next, use a damp cloth to wipe away any dust from sanding. Let the frame dry completely. This step ensures the paint or stain adheres well.
Painting Or Staining
Choose your finish: paint or stain. Both options have their charm. Paint allows for bright colors and designs. Stain highlights the natural wood grain.
If you choose to paint, apply a primer first. This helps the paint stick better. Use a small brush for detailed work. Let the primer dry, then apply your chosen paint color. Use thin, even coats. Let each coat dry before adding another.
For staining, use a brush or cloth to apply the stain. Follow the wood grain for an even finish. Wipe off any excess stain with a clean cloth. Let the stain dry completely.
Finally, for both paint and stain, consider adding a clear sealant. This protects the finish and adds durability. Apply the sealant in thin, even coats. Let each coat dry fully before applying the next.
Credit: www.aph.org
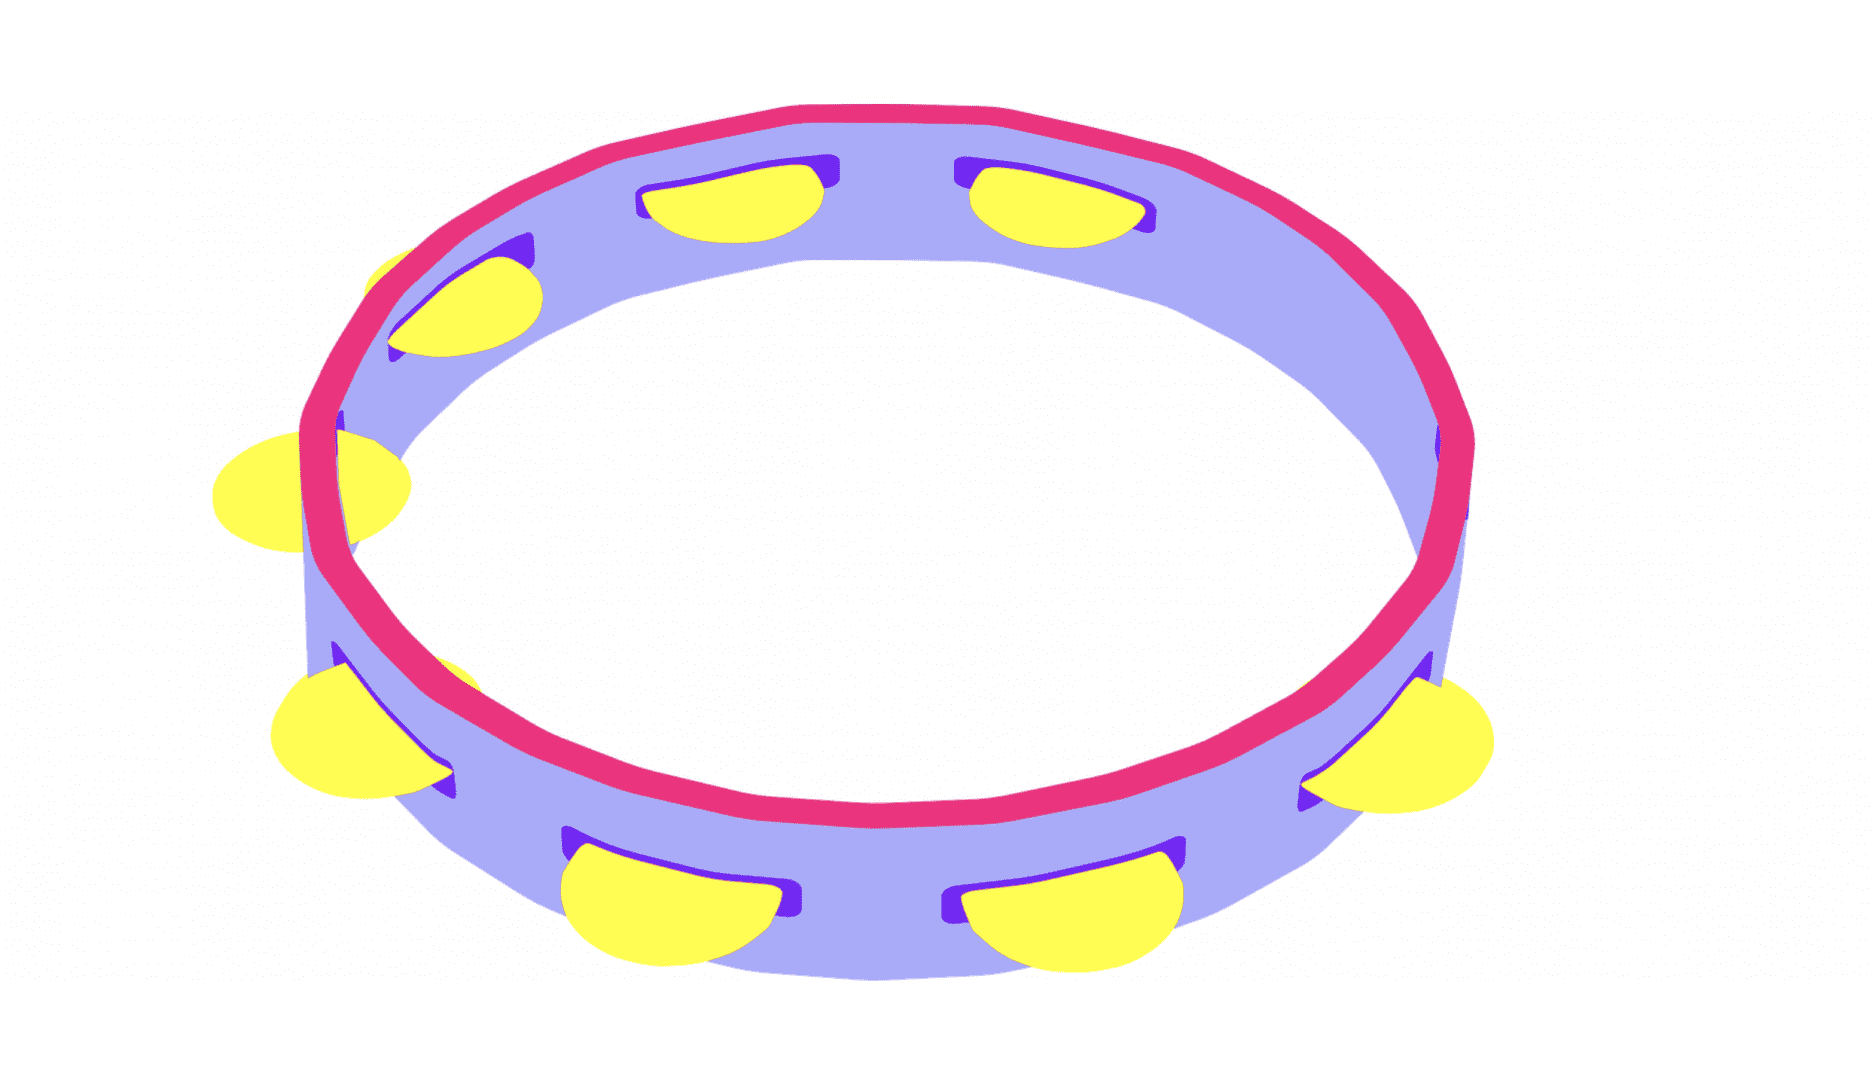
Attaching The Jingles
Attaching the jingles to a tambourine is a fun process. The jingles add the signature sound to the instrument. Careful selection and placement of jingles ensure the best sound quality. In this section, we’ll cover choosing jingle types and proper placement techniques.
Choosing Jingle Types
Different jingles produce different sounds. Metal jingles are common and create a bright, sharp sound. Plastic jingles are less common but offer a softer tone. Some tambourines use a mix of both for a unique sound. Consider the music style you want to play when picking jingles.
Proper Placement Techniques
Proper placement of jingles affects the tambourine’s sound. Most tambourines have slots along the rim. Place the jingles in these slots evenly. Even placement ensures balanced sound. Secure each jingle tightly to avoid rattling. Test the tambourine after placing each jingle. This helps you check for any loose parts. Adjust as needed to get the best sound.
Creating The Drumhead
The drumhead is the heart of your tambourine. It produces the sound. Crafting it requires precision and care. Let’s dive into the process step-by-step.
Material Options
Choosing the right material is crucial. Here are some popular options:
- Animal Skin: Traditional and offers a warm tone.
- Synthetic Material: Durable and weather-resistant.
- Fabric: Easy to find and use.
Each material has its unique sound and feel. Select based on your preference and availability.
Stretching And Securing
Once you have your material, it’s time to stretch it over the frame. Follow these steps:
- Place the material over the frame.
- Ensure it’s centered and covers the entire frame.
- Stretch it evenly to avoid wrinkles.
- Secure it with strong adhesive or nails.
Stretching correctly ensures a clear, consistent sound. Tighten the material evenly for the best result.
| Material | Pros | Cons |
|---|---|---|
| Animal Skin | Warm tone, traditional | Requires maintenance, not weather-proof |
| Synthetic | Durable, weather-resistant | Less traditional sound |
| Fabric | Easy to find, versatile | May wear out quickly |
Choose wisely based on your needs and the sound you want. Happy crafting!

Credit: www.youtube.com
Final Assembly
The final assembly is the most exciting part of making a tambourine. Here, you will see your instrument come to life. This section covers attaching the drumhead and securing the jingles. Follow these steps to ensure your tambourine is both sturdy and tuneful.
Attaching The Drumhead
First, place the drumhead over the tambourine frame. Make sure it is centered. The drumhead should be tight and smooth. Wrinkles can affect the sound quality. Use a strong adhesive to attach the drumhead. Apply the adhesive around the edge of the frame. Press the drumhead firmly onto the adhesive. Let it dry for at least 24 hours. Check the tension after it dries. A tight drumhead gives a better sound.
Securing The Jingles
Now it’s time to secure the jingles. Jingles are the small metal discs that make the tambourine sound. You will need to place them in pairs. Use a small metal rod to hold each pair. Insert the rod into the pre-drilled holes in the frame. Secure the rod with a small washer and nut. Make sure the jingles can move freely. This movement creates the jingle sound. Check each rod and jingle pair for secure attachment.
Here is a simple table to help you with the final assembly:
| Step | Action |
|---|---|
| 1 | Place and center the drumhead |
| 2 | Apply adhesive around the frame edge |
| 3 | Press drumhead firmly onto the adhesive |
| 4 | Let dry for 24 hours |
| 5 | Check drumhead tension |
| 6 | Insert rods with jingles into the frame |
| 7 | Secure rods with washer and nut |
Congratulations! Your tambourine is now complete. Enjoy making music with your new instrument.
Testing The Tambourine
Testing the tambourine is a key step in the tambourine-making process. It helps ensure that your instrument produces the desired sound quality. This step involves checking the sound and making necessary adjustments. A well-tested tambourine will bring joy and rhythm to any musical session.
Checking Sound Quality
First, hold the tambourine firmly and shake it gently. Listen to the jingle of the cymbals. The sound should be clear and bright. Tap the tambourine with your hand. Notice if the drumhead produces a crisp sound. Each part of the tambourine should contribute to a harmonious sound.
Making Adjustments
If the sound is not clear, you may need to make adjustments. Check the tightness of the drumhead. If it is loose, tighten it carefully. Ensure the cymbals are not too tight or too loose. Adjust them as needed to produce a balanced sound.
After making adjustments, test the tambourine again. Repeat the steps until you achieve the perfect sound. A well-adjusted tambourine will enhance your musical experience.
Customization Ideas
Creating your own tambourine allows you to add a personal touch. Customization can make your tambourine unique and special. Below are some easy and fun customization ideas.
Adding Paint Designs
Adding paint designs is an easy way to customize your tambourine. Use acrylic paints for the best results. Here are some ideas:
- Geometric patterns: Triangles, squares, and circles.
- Floral designs: Flowers, leaves, and vines.
- Abstract art: Swirls, splashes, and lines.
Before painting, clean the surface of your tambourine. Use a primer to help the paint stick. Let the paint dry completely between layers.
Incorporating Beads And Ribbons
Adding beads and ribbons gives your tambourine a festive look. Here’s how you can do it:
- Choose colorful beads and ribbons.
- Thread the beads onto the ribbons.
- Attach the ribbons to the tambourine’s frame.
You can tie the ribbons to the jingles or around the frame. This adds both visual appeal and extra sound when you shake your tambourine.
Care And Maintenance
To keep your tambourine in top shape, regular care is essential. Proper maintenance ensures it produces the best sound and lasts longer. This section covers how to clean and store your tambourine effectively.
Cleaning Tips
Clean your tambourine regularly to avoid dust buildup. Use a soft, dry cloth to wipe the surface. For more stubborn dirt, use a damp cloth. Avoid using harsh chemicals as they can damage the material. If your tambourine has jingles, clean them gently. This ensures they stay shiny and vibrant.
Storage Recommendations
Store your tambourine in a cool, dry place. Avoid direct sunlight, which can warp the frame. Humidity can also affect the material. Use a protective case if possible. This adds an extra layer of safety. Keep your tambourine away from heavy objects. This prevents accidental damage.
Frequently Asked Questions
What Materials Do You Need To Make A Tambourine?
To make a tambourine, you need a wooden hoop, jingles, nails, and a drumhead. These materials are essential for creating a functional and traditional tambourine.
How Do You Attach The Jingles?
Attach the jingles by nailing them onto the wooden hoop. Ensure they are securely fastened to produce the characteristic tambourine sound.
Can You Make A Tambourine Without A Drumhead?
Yes, you can make a tambourine without a drumhead. Simply secure the jingles to the wooden hoop, and it will still produce sound.
What Is The Best Wood For A Tambourine?
The best wood for a tambourine is a lightweight, durable wood like birch or maple. These woods provide good resonance and are easy to handle.
Conclusion
Creating a tambourine at home is a fun and rewarding project. You only need a few materials and basic tools. Follow the steps outlined to craft your own instrument. Enjoy the creative process and the unique sound of your handmade tambourine.

Share your musical creation with friends and family. Let the rhythm inspire you. Happy crafting!
{ “@context”: “https://schema.org”, “@type”: “FAQPage”, “mainEntity”: [ { “@type”: “Question”, “name”: “What materials do you need to make a tambourine?”, “acceptedAnswer”: { “@type”: “Answer”, “text”: “To make a tambourine, you need a wooden hoop, jingles, nails, and a drumhead. These materials are essential for creating a functional and traditional tambourine.” } } , { “@type”: “Question”, “name”: “How do you attach the jingles?”, “acceptedAnswer”: { “@type”: “Answer”, “text”: “Attach the jingles by nailing them onto the wooden hoop. Ensure they are securely fastened to produce the characteristic tambourine sound.” } } , { “@type”: “Question”, “name”: “Can you make a tambourine without a drumhead?”, “acceptedAnswer”: { “@type”: “Answer”, “text”: “Yes, you can make a tambourine without a drumhead. Simply secure the jingles to the wooden hoop, and it will still produce sound.” } } , { “@type”: “Question”, “name”: “What is the best wood for a tambourine?”, “acceptedAnswer”: { “@type”: “Answer”, “text”: “The best wood for a tambourine is a lightweight, durable wood like birch or maple. These woods provide good resonance and are easy to handle.” } } ] }As an Amazon Associate, Cleanestor earns from qualifying purchases at no additional cost to you.