
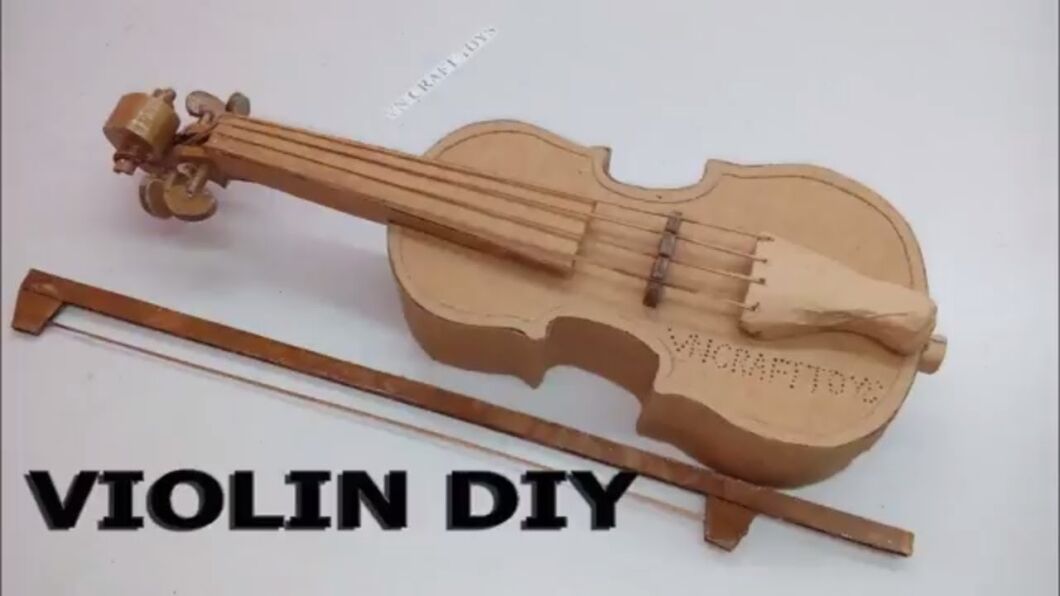
Making a violin requires precision and artistry. It involves several steps, from selecting the wood to varnishing the finished instrument.
Creating a violin is an intricate process that combines craftsmanship and knowledge. Many may wonder how such a beautiful instrument comes to life. The journey begins with choosing the right wood, often spruce for the top and maple for the back and sides.
Each piece is carefully carved and shaped. The assembly process involves joining these pieces together, ensuring the body resonates perfectly. After assembly, the violin is varnished to protect the wood and enhance its sound. Understanding this process not only deepens appreciation for the violin but also highlights the skill and dedication needed to craft such an exquisite instrument.
Credit: www.youtube.com
Materials Needed
Creating a violin is a detailed process requiring specific materials. The right materials ensure the instrument’s quality and sound. This section covers the essential materials needed to make a violin.
Wood Selection
The wood used in a violin is crucial. Maple and spruce are the primary choices. Maple is used for the back, sides, and neck. Spruce is for the top plate. Both woods are chosen for their sound properties. They must be well-seasoned and free from defects.
Tools And Equipment
Several tools are necessary for violin making. A plane and a chisel are essential for shaping the wood. A gouge is used for carving the plates. Clamps hold the pieces together during gluing. A bending iron helps shape the sides. A scraper smooths the surfaces. A purfling cutter is used for inlay work. These tools ensure precision and quality in the final product.
Design And Planning
The process of making a violin is intricate and fascinating. It all begins with detailed design and planning. This stage ensures that the violin will produce beautiful music and have a long-lasting structure. Let’s delve into the essential aspects of this phase.
Blueprints And Measurements
Creating a violin starts with precise blueprints and measurements. These blueprints serve as a roadmap for the entire construction process. Every detail must be accurate to ensure the instrument’s quality.
Important elements to measure include:
- The length of the body
- The width of the upper and lower bouts
- The depth of the ribs
- The length of the neck
Using these measurements, a violin maker can ensure consistency and accuracy. This step is crucial for achieving a harmonious sound and a comfortable feel for the player.
Choosing The Model
Selecting the right model of violin is another vital part of the design and planning phase. Various models exist, each with unique characteristics. Some popular models include:
- Stradivarius
- Guarneri
- Amati
Each model has its own distinct sound and aesthetic. The choice depends on the maker’s preference and the desired outcome.
When choosing a model, consider:
- The type of wood to be used
- The shape and size of the violin
- The intended sound quality
Making these decisions carefully ensures that the final product meets the highest standards of craftsmanship and musicality.
Carving The Body
Carving the body of a violin is a delicate process. It involves shaping the front and back plates, and creating the ribs. Each step requires patience and precision. Let’s explore these important parts in detail.
Shaping The Front And Back Plates
The front and back plates of the violin are crucial. They determine the instrument’s tone and resonance. The front plate is usually made of spruce, while the back plate is often made of maple.
Here are the steps involved:
- Selecting the Wood: Choose high-quality spruce for the front plate. Use maple for the back plate.
- Tracing the Outline: Use a template to draw the violin’s shape on the wood.
- Cutting the Shape: Carefully cut out the shape with a bandsaw.
- Carving the Arch: Use gouges and planes to carve the arching of the plates. This step is crucial for sound quality.
- Graduating the Thickness: Gradually thin the plates to the desired thickness. Check the thickness with a caliper.
Creating The Ribs
The ribs are the sides of the violin. They connect the front and back plates. The ribs are made from thin strips of maple.
Here are the steps to create the ribs:
- Cutting the Ribs: Start with thin strips of maple.
- Bending the Ribs: Use a bending iron to shape the ribs. Apply gentle pressure to avoid breaking the wood.
- Joining the Ribs: Attach the ribs to the blocks at the corners. Use clamps to hold them in place while the glue dries.
By carefully shaping the front and back plates and creating the ribs, the violin starts to take form. Each step is crucial for the final sound and appearance of the instrument.
Assembling The Body
The body of a violin is where the sound magic happens. Assembling the body involves several detailed steps. Each step needs precision and care. In this section, we will break down the process into smaller tasks. These tasks include joining the plates and attaching the ribs.
Joining The Plates
The top and back plates are the main parts of the violin body. They are usually made from spruce and maple. First, each plate is carved to the right shape. This involves careful cutting and sanding.
Next, the plates need to be joined. This means gluing the two halves together. To do this, apply a thin layer of hot hide glue. Align the two halves carefully. Use clamps to hold the pieces in place until the glue dries. This step is crucial for the sound quality of the violin.
Attaching The Ribs
The ribs form the sides of the violin. They are thin strips of wood, usually maple. Before attaching, each rib must be bent to shape. This is done using a bending iron.
Once shaped, the ribs are glued to the top and back plates. Use a mold to hold the ribs in the correct position. Apply the hot hide glue and attach the ribs carefully. Let the glue dry completely before removing the mold.
After the glue dries, the ribs are firmly attached. This gives the violin its distinctive shape. Properly attached ribs ensure the violin’s structural integrity and resonance.
| Step | Description |
|---|---|
| Joining the Plates | Align and glue the top and back plates. |
| Attaching the Ribs | Bend ribs to shape, then glue to plates. |
Carving The Neck
Carving the neck of a violin is a crucial step. It requires precision and patience. The neck affects the instrument’s playability and comfort. It also contributes to the overall aesthetics of the violin. Let’s break down the process into smaller parts.
Shaping The Scroll
The scroll is the decorative top of the violin’s neck. It starts as a block of wood. The luthier sketches the scroll’s outline on this block. Careful cuts and carvings follow the sketch. Each curve and detail is refined with chisels and knives. The final scroll is smooth and symmetrical.
Forming The Fingerboard
The fingerboard is where the fingers press the strings. It needs to be flat and smooth. The luthier shapes it from ebony wood. Ebony is hard and durable. The luthier attaches the fingerboard to the neck with glue. Precise measurements ensure it aligns correctly with the strings.
Attaching The Neck
The process of attaching the neck to a violin is crucial. It requires precision and skill. The neck is a key part of the violin’s structure. It must be aligned perfectly for the instrument to produce a beautiful sound. This section will guide you through the steps involved in attaching the neck, focusing on two important aspects: setting the angle and securing the joint.
Setting The Angle
Setting the angle of the neck is vital. The neck must be set at the correct angle for proper string tension. This affects the violin’s playability and sound quality. Use a protractor or specialized tools to measure the angle. Ensure the neck is not too high or too low. An incorrect angle can cause issues with the violin’s setup. Take your time and double-check your measurements.
Securing The Joint
Securing the joint between the neck and the body is the next step. This ensures the neck stays in place while playing. Apply a high-quality wood glue to both surfaces. Fit the neck into the body snugly. Make sure there are no gaps. Use clamps to hold the neck in position while the glue dries. Leave the clamps on for at least 24 hours for a strong bond. Once dry, remove the clamps and inspect the joint. It should be solid and seamless.
Varnishing The Violin
The final touch to a violin is the varnish. This delicate process enhances the violin’s beauty and protects it. Varnishing involves careful preparation and application. Each step is crucial.
Preparing The Surface
Surface preparation is key. First, sand the wood. Use fine-grit sandpaper for a smooth finish. Remove all dust with a clean cloth. Ensure the surface is clean and dry. This helps the varnish adhere properly.
Next, apply a base coat. This seals the wood. It prevents the varnish from soaking in too much. Let the base coat dry completely. This usually takes several hours.
Applying The Varnish
Varnish application requires patience. Start with a thin coat. Use a soft brush. Apply in long, even strokes. Cover all areas evenly. Allow this coat to dry thoroughly.
Once dry, lightly sand the surface again. This removes any imperfections. Wipe away the dust. Apply a second coat of varnish. Repeat the process for several coats. Each coat adds depth and protection.
After the final coat, let the violin dry completely. This can take up to a week. The varnish will cure and harden. Your violin will now have a beautiful, protective finish.

Credit: news.unm.edu
Final Adjustments
The final adjustments in making a violin bring the instrument to life. These steps fine-tune the violin’s sound and playability. They ensure the violin is ready for its first performance.
Setting Up The Bridge
The bridge holds the strings in place. It transfers vibrations to the body. Positioning the bridge is crucial. Place it between the F-holes. Align it with the notches. Ensure the feet sit flat on the surface. The bridge should be straight. A leaning bridge affects sound quality. Use a ruler to check its position.
Tuning The Strings
Tuning the strings is the last step. Tighten each string gently. Use a tuner for accuracy. Start with the G string. Move to the D, A, then E strings. Listen to the pitch. Adjust as needed. Strings stretch over time. Retune regularly. This keeps the violin sounding its best. Enjoy the music you create.

Credit: www.violinist.com
Frequently Asked Questions
How Long Does It Take To Make A Violin?
Making a violin typically takes around 200-300 hours. This includes selecting wood, carving, assembling, and finishing.
What Materials Are Needed To Make A Violin?
Key materials include spruce for the top, maple for the back, sides, and neck, and ebony for the fingerboard.
Can You Make A Violin At Home?
Yes, but it requires specialized tools and skills. Many beginners start with kits before attempting a full build.
Why Is The Wood Choice Important In Violin Making?
The wood affects the violin’s sound quality. Spruce provides a rich tone, while maple adds strength and durability.
Conclusion
Crafting a violin is an art and a science combined. Each step, from selecting wood to final varnish, requires skill. Attention to detail is crucial. Patience is key throughout the process. The result is a unique, beautiful instrument. Making a violin by hand creates a bond with it.

This journey enhances appreciation for music. Start today and experience the joy of creating your own violin.
As an Amazon Associate, Cleanestor earns from qualifying purchases at no additional cost to you.