Building a drum kit from scratch is a rewarding project. It allows you to create a custom set tailored to your needs.
Whether you’re a seasoned drummer or a curious beginner, building your own drum kit can be an exciting journey. You get to choose each part, ensuring the kit fits your style and sound. Plus, understanding the components helps in maintenance and repairs.
This guide will walk you through the basics, explaining each step clearly. By the end, you’ll have a unique drum set and the knowledge to make it sing. Ready to dive in? Let’s start building your perfect drum kit!

Credit: drummagazine.com
Introduction To Drum Kits
Drum kits are essential for any drummer. They provide the rhythm and backbone for many music genres. Whether you are a beginner or an experienced drummer, understanding drum kits is crucial. Building your own drum kit can be a rewarding experience. It allows for customization and a deeper connection to your music.
Basics Of Drum Kits
A drum kit typically includes a bass drum, snare drum, toms, hi-hats, and cymbals. Each part has a unique sound and role. The bass drum provides the low-end thump. The snare drum offers sharp, staccato sounds. Toms add melodic rhythms. Hi-hats and cymbals give the kit its high-end shimmer. Together, they create a full, rich sound.
Purpose Of Building Your Own
Building your own drum kit lets you tailor it to your needs. You can choose the exact parts you want. This ensures the sound and feel are just right for you. It also gives you a sense of accomplishment. Building your own kit helps you understand how each part works. This knowledge can improve your playing skills. Plus, it can save you money in the long run.
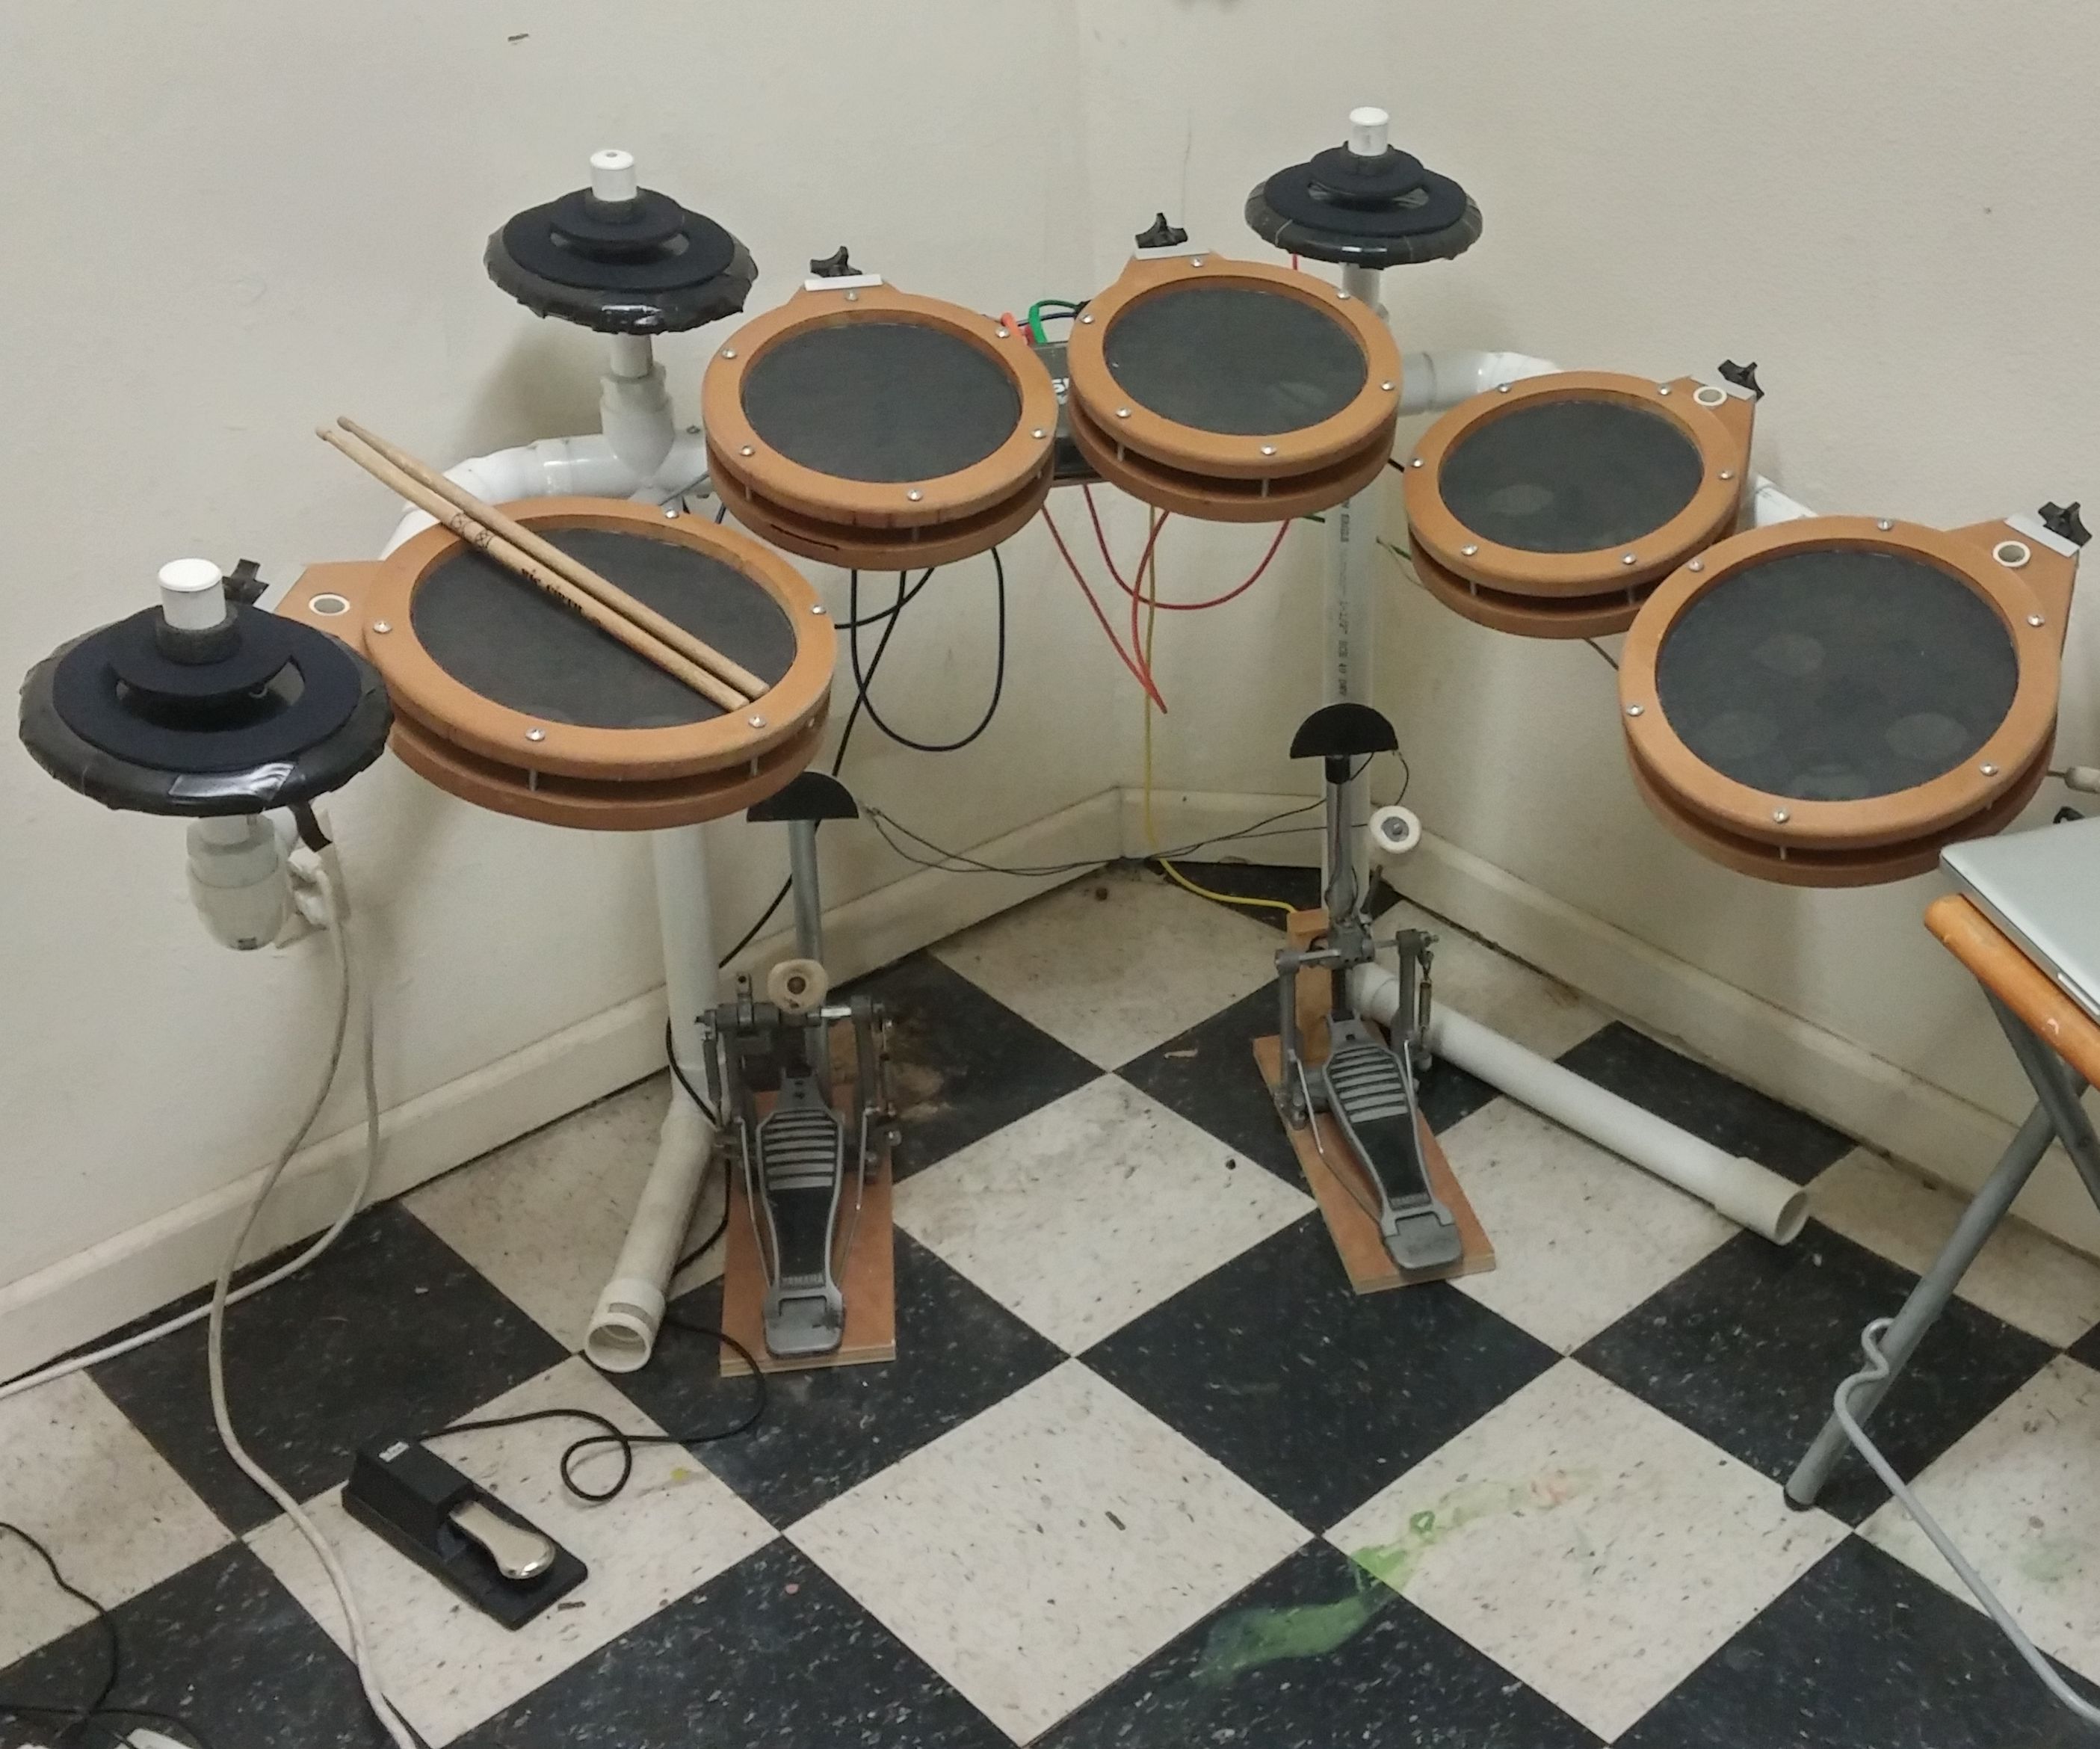
Credit: www.instructables.com
Selecting The Right Materials
Building your own drum kit is a rewarding project. Selecting the right materials is crucial to achieving the best sound and durability. Let’s explore the key components: wood types and drum heads.
Types Of Wood
The type of wood used affects the drum’s tone. Birch, maple, and mahogany are popular choices.
Birch wood offers a bright, punchy sound. It’s often used in rock music. Maple wood is known for its warm, balanced tone. It’s versatile and suits various music styles. Mahogany wood provides a deep, rich sound. Perfect for jazz and blues.
Other woods like oak and walnut can also be used. Each wood type brings unique characteristics. Consider your music style before choosing.
Choosing Drum Heads
Drum heads significantly impact the sound. There are two main types: single-ply and double-ply.
Single-ply heads are thinner and more sensitive. They produce a bright, open sound. Great for genres requiring a fast response. Double-ply heads are thicker and more durable. They offer a deeper, controlled sound. Ideal for heavy hitters and louder genres.
Coated and clear drum heads also offer different sounds. Coated heads provide a warmer, softer tone. Clear heads give a brighter, sharper sound. Test different drum heads to find your preferred sound.
Essential Tools And Equipment
Building your own drum kit can be exciting. It allows you to customize every detail to suit your style and sound. To get started, you need the right tools and equipment. This section will guide you through the basic tools and specialized equipment required to build a drum kit. Let’s dive in!
Basic Tools Needed
- Screwdrivers: Both Phillips and flathead types.
- Allen wrenches: Various sizes for different drum parts.
- Drill: For making holes in the drum shells.
- Measuring tape: To ensure accurate measurements.
- Pliers: For tightening and adjusting parts.
These basic tools are essential for assembling the drum kit. A well-equipped toolkit ensures you can handle any task during the build process.
Specialized Equipment
In addition to basic tools, specialized equipment is crucial for a professional finish. Below are some key items:
| Equipment | Purpose |
|---|---|
| Drum key | For tuning and tightening drum heads. |
| Router | To create bearing edges on drum shells. |
| Clamps | To hold parts in place during assembly. |
| Sandpaper | For smoothing out rough surfaces. |
| Wood glue | For securing drum shells and parts. |
This specialized equipment helps in crafting a high-quality drum kit. Each item serves a specific purpose, ensuring precision and durability. Assembling your own drum kit can be a rewarding experience with the right tools and equipment.
Building The Drum Shells
Building the drum shells is a fundamental step in crafting a custom drum kit. This process involves several key stages that ensure the shells are sturdy, resonant, and aesthetically pleasing. In this section, we’ll explore the essential steps of cutting, shaping, gluing, and sealing the drum shells.
Cutting And Shaping
The first step in building drum shells is cutting the wood. For this, you need high-quality plywood. Most drum makers prefer birch or maple. Use a table saw to cut the plywood into the desired length and width. Precision is crucial here. Any errors can affect the drum’s sound.
Next, shape the wood into a cylindrical form. This can be done using a drum shell mold. Secure the wood around the mold using clamps. Let it sit overnight to take shape. Once shaped, sand the edges to make them smooth. This ensures better adhesion in the next steps.
Gluing And Sealing
Gluing the drum shells is the next vital step. Apply wood glue along the edges of the plywood. Use enough glue to ensure a strong bond. After applying the glue, wrap the wood around the mold again. Secure it with clamps and let it dry for 24 hours.
After the glue has dried, it’s time to seal the drum shells. Sealing protects the wood from moisture and enhances its durability. Use a wood sealer or varnish for this purpose. Apply the sealer evenly across the surface. Let it dry for a few hours, then sand lightly. Apply a second coat for better protection.
By following these steps, you can create high-quality drum shells. These are the foundation of your custom drum kit. The process requires patience and precision but is deeply rewarding.
Installing Drum Hardware
Installing drum hardware is a crucial step in building a drum kit. Proper installation ensures the drum kit sounds great and stays in tune. Let’s break down the process into simple steps.
Mounting Lugs And Hoops
First, start with the lugs. Lugs are the small metal pieces that hold the tension rods. Position the lugs evenly around the drum shell. Use a ruler to measure the distance between lugs. This ensures they are placed correctly.
Next, attach the hoops. Hoops hold the drumhead in place. Place the drumhead over the drum shell. Then, position the hoop on top. Make sure the hoop sits evenly on the drumhead. This helps the drumhead stay tight and in tune.
Attaching Tension Rods
Tension rods are the screws that tighten the drumhead. Insert the tension rods through the hoops and into the lugs. Hand-tighten each rod first. This ensures they are all evenly tightened.
Now, use a drum key to tighten the tension rods further. Turn each rod a little at a time. Work in a crisscross pattern for even tension. This helps the drumhead stay balanced and sound great.
Repeat this process for each drum in your kit. Properly installed hardware ensures a solid and reliable drum kit.
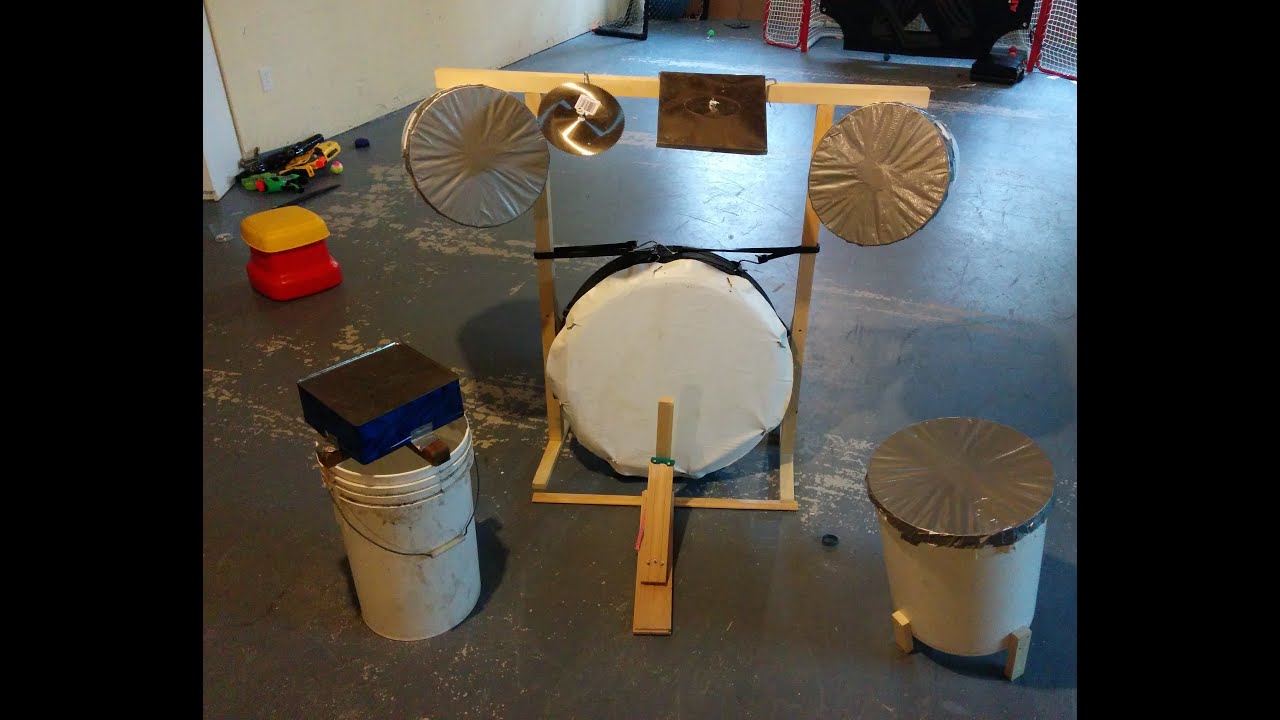
Credit: www.youtube.com
Assembling The Drum Kit
Assembling a drum kit can be fun and rewarding. It involves setting up the shells, adding cymbals, and adjusting the stands. This guide will help you through each step. You will have your drum kit ready to play in no time.
Setting Up The Shells
First, find a flat surface to work on. This makes it easier to set up the shells. Arrange the bass drum, snare drum, and toms.
- Bass Drum: Place the bass drum on the floor. Attach the legs to keep it stable.
- Snare Drum: Set up the snare drum stand. Place the snare drum on the stand.
- Toms: Attach the rack toms to the bass drum. Use the mounts provided. Place the floor tom on its legs.
Ensure each drum is secure and at a comfortable height. Adjust as needed.
Adding Cymbals And Stands
Next, it is time to add the cymbals. Use the cymbal stands to hold them.
- Hi-Hat: Set up the hi-hat stand. Place the hi-hat cymbals on the stand. Adjust the pedal and height.
- Crash Cymbal: Place the crash cymbal on a stand. Position it near your rack toms.
- Ride Cymbal: Set up the ride cymbal stand. Place the ride cymbal on it. Position it near your floor tom.
Make sure each cymbal is secure. Adjust the angles for easy reach. This setup will make your playing more comfortable.
Tuning The Drums
Tuning the drums is a crucial step in building your drum kit. Proper tuning ensures your drums sound their best. It also helps in achieving the desired pitch and tone. In this section, we will cover the basics of tuning drums. Let’s dive into the details.
Tuning Basics
First, understand drum tension. The drumhead’s tension affects sound quality. Start by loosening all the lugs. Tighten them evenly in a star pattern. This avoids warping the drumhead. Aim for even tension across the drumhead. Use your fingers to press the head near each lug. Listen for pitch differences. Adjust the lugs until the pitches match. Repeat this for both the batter and resonant heads.
Fine-tuning Techniques
Fine-tuning takes your drum sound to the next level. Tap the drumhead near each lug with a drumstick. Listen for consistent pitch. Slightly adjust the lugs to match the pitch. For a deeper sound, loosen the lugs slightly. For a higher pitch, tighten them. Check the drum sound in your playing area. The acoustics of the room can affect the sound. Make small adjustments as needed. Experiment with different tensions. Find what sounds best for your style.
Maintenance And Care
Keeping your drum kit in top shape ensures it sounds great and lasts longer. Regular maintenance and cleaning are key. These tasks help prevent wear and tear. They also help you catch small issues before they become big problems.
Cleaning Tips
Dust your drum kit regularly with a soft cloth. This prevents build-up. Use a mild soap solution for deeper cleaning. Avoid harsh chemicals. They can damage the finish. Clean the cymbals with a dedicated cymbal cleaner. This keeps them shiny and free of grime. Always dry the drums and cymbals after cleaning. Moisture can cause damage over time.
Regular Maintenance Schedule
Check the drum heads monthly. Look for dents or tears. Replace them if needed. Tune your drums regularly. This keeps them sounding their best. Inspect the hardware for loose screws. Tighten them as necessary. Lubricate moving parts every few months. This keeps them working smoothly. Store your drum kit in a cool, dry place. This prevents damage from humidity.
Frequently Asked Questions
What Materials Are Needed To Build A Drum Kit?
To build a drum kit, you need wood shells, drumheads, hoops, tension rods, and hardware. You may also require cymbals, stands, and tools like a drum key and screwdrivers. Ensure all materials are of high quality for the best sound.
How Do You Assemble Drum Shells?
To assemble drum shells, first, attach the drumheads to the shells using tension rods and hoops. Next, secure the hardware, including lugs and mounts. Finally, tune the drumheads to achieve the desired sound. Follow the manufacturer’s instructions for the best results.
What Tools Are Required For Building A Drum Kit?
Essential tools for building a drum kit include a drum key, screwdrivers, a wrench, and a drill. You might also need a measuring tape and a rubber mallet. These tools help in assembling and tuning your drum kit accurately and efficiently.
How Do You Tune A Drum Kit?
To tune a drum kit, first, tighten the tension rods evenly around the drumhead. Tap near each rod and adjust until the pitch is consistent. Repeat this process for both the batter and resonant heads. Use a drum tuner for more precise tuning.
Conclusion
Building your drum kit can be a rewarding experience. Follow these steps, and you’ll create a kit that suits you perfectly. Start with quality materials to ensure a durable setup. Take your time assembling each part carefully. Adjust and tune your drums for the best sound.

Experiment with different setups to find your favorite configuration. Enjoy the process and the music you’ll create. Happy drumming!
{ “@context”: “https://schema.org”, “@type”: “FAQPage”, “mainEntity”: [ { “@type”: “Question”, “name”: “What materials are needed to build a drum kit?”, “acceptedAnswer”: { “@type”: “Answer”, “text”: “To build a drum kit, you need wood shells, drumheads, hoops, tension rods, and hardware. You may also require cymbals, stands, and tools like a drum key and screwdrivers. Ensure all materials are of high quality for the best sound.” } } , { “@type”: “Question”, “name”: “How do you assemble drum shells?”, “acceptedAnswer”: { “@type”: “Answer”, “text”: “To assemble drum shells, first, attach the drumheads to the shells using tension rods and hoops. Next, secure the hardware, including lugs and mounts. Finally, tune the drumheads to achieve the desired sound. Follow the manufacturer’s instructions for the best results.” } } , { “@type”: “Question”, “name”: “What tools are required for building a drum kit?”, “acceptedAnswer”: { “@type”: “Answer”, “text”: “Essential tools for building a drum kit include a drum key, screwdrivers, a wrench, and a drill. You might also need a measuring tape and a rubber mallet. These tools help in assembling and tuning your drum kit accurately and efficiently.” } } , { “@type”: “Question”, “name”: “How do you tune a drum kit?”, “acceptedAnswer”: { “@type”: “Answer”, “text”: “To tune a drum kit, first, tighten the tension rods evenly around the drumhead. Tap near each rod and adjust until the pitch is consistent. Repeat this process for both the batter and resonant heads. Use a drum tuner for more precise tuning.” } } ] }As an Amazon Associate, Cleanestor earns from qualifying purchases at no additional cost to you.