Making a flute with a straw is simple and fun. You can do it with just a few materials.
Creating music doesn’t always require expensive instruments. Sometimes, all you need is a straw and a bit of creativity. This guide will show you how to turn a plain straw into a musical instrument. It’s a great activity for kids, classrooms, or anyone looking to explore the basics of sound.
You’ll learn the steps to cut, shape, and play your homemade flute. Dive in and discover the joy of making music with everyday items.

Credit: deceptivelyeducational.blogspot.com
Materials Needed
Creating a flute with a straw is simple and fun. The materials are easy to find. You’ll only need a few basic supplies. Let’s explore them below.
List Of Supplies
- Plastic Straw: One standard size straw.
- Scissors: To cut the straw.
- Ruler: For measuring the straw.
- Markers: To mark the straw.
Where To Find Materials
You can find these materials at home or in local stores. Here are some suggestions:
| Material | Where to Find |
|---|---|
| Plastic Straw | Kitchen, Grocery Store |
| Scissors | Stationery Store, Household |
| Ruler | Stationery Store, Office Supplies |
| Markers | Stationery Store, Art Supplies |
Preparing The Straw
Creating a flute from a straw is a fun and easy project. The first step involves preparing the straw. This includes choosing the right straw and then cutting it to the correct length. Proper preparation ensures your flute will produce a clear sound.
Choosing The Right Straw
Select a straw that is long and straight. Avoid flexible or bendable straws, as they can affect the sound quality. A standard plastic straw is ideal. It should be clean and free of cracks or holes.
Cutting The Straw
Cut the straw to the desired length. A shorter straw produces a higher pitch, while a longer straw produces a lower pitch. Use a pair of scissors to make a clean, straight cut. Ensure the cut edges are smooth to avoid any roughness that could affect the sound.
Next, cut a small hole near one end of the straw. This hole is where you will blow air into the straw. Make sure the hole is round and smooth. Check for any rough edges and trim them if necessary.
Creating The Mouthpiece
Making a flute with a straw is fun and easy. The first step in this process is creating the mouthpiece. A well-made mouthpiece is essential for producing sound. Below are detailed steps to guide you through the process.
Flattening One End
Start by taking a plastic straw. Choose a straw with a medium diameter for best results. Use your fingers to flatten one end of the straw. Press firmly to ensure the end is completely flat. This flattened part will be used to create the sound.
Shaping The Mouthpiece
Now that one end is flat, shape the mouthpiece. Use a pair of scissors to cut a small triangle out of the flattened end. Cut carefully to avoid damaging the straw. The triangle should be about 1 cm long. This creates the opening where you will blow air to produce sound.
After shaping, test the mouthpiece. Place the flattened end in your mouth and blow gently. Adjust the size of the triangle if needed. A smaller opening usually makes a higher-pitched sound. A larger opening creates a lower-pitched sound.
By following these steps, you create a mouthpiece that is ready to use. This will ensure your straw flute produces clear and pleasant notes.

Credit: www.fizzicseducation.com.au
Making Finger Holes
Making finger holes is a crucial step in crafting your straw flute. These holes allow you to play different notes by covering and uncovering them. Ensuring accurate placement and clean holes is key to producing clear sounds. Follow these simple steps to create perfect finger holes for your flute.
Marking Hole Positions
First, decide where to place the finger holes. Typically, you need six holes spaced evenly. Use a ruler to measure equal distances along the straw. Mark each spot with a pen. Ensure the marks are straight and aligned.
Poking Holes
Next, carefully poke holes at the marked positions. Use a sharp object like a pin or needle. Gently twist the pin to create a small hole. Repeat for each mark. Check that the holes are clean and round. If needed, widen the holes slightly for better airflow.
Tuning The Flute
Crafting a flute from a straw is simple and fun. Cut the straw to the desired length, then flatten one end. Trim the flattened end to create a reed, and your straw flute is ready to play.
Making a flute with a straw is fun. It gets even better when you learn to tune it. Tuning the flute helps create different sounds. This part will guide you on adjusting the hole size and testing the sound.
Adjusting Hole Size
The size of the holes affects the pitch. To adjust, use a small tool like a pin. Gently widen the holes if the sound is too low. If the pitch is too high, make the holes smaller. Use tape to cover part of the hole. Try to keep the adjustments small. This will make a big difference in sound.
Testing The Sound
Once you adjust the holes, test the sound. Blow into the straw flute gently. Listen to the pitch. If the sound is not right, adjust the holes again. Repeat the process. Try different notes. You will find the perfect tune after some practice. Enjoy making music with your straw flute.
“`
Credit: www.youtube.com
Decorating The Flute
Once you have made your flute with a straw, the next exciting step is decorating it. You can make your flute unique and show off your creativity. Adding colors and personal designs can make your flute beautiful and special. Below are some ideas on how to decorate your straw flute.
Adding Colors
Adding colors to your flute can make it look lively and fun. Here are some ways to add colors:
- Markers: Use colorful markers to draw patterns or stripes on the straw.
- Paint: Acrylic paints work well on plastic. Use a small brush to paint your flute.
- Washi Tape: Wrap colorful washi tape around the straw for easy decoration.
You can mix and match different colors for a vibrant look. Let each color dry before adding another to avoid smudging.
Personalizing Design
Personalizing your flute makes it truly yours. Here are some ideas:
- Stickers: Add small stickers like stars, hearts, or favorite characters.
- Glitter: Apply glue to the straw and sprinkle glitter for a sparkling effect.
- Beads: Glue small beads or rhinestones for a textured design.
- Initials: Write your initials or name on the flute to make it personal.
These personal touches can make your flute stand out. Remember to let everything dry completely before using it to make music.
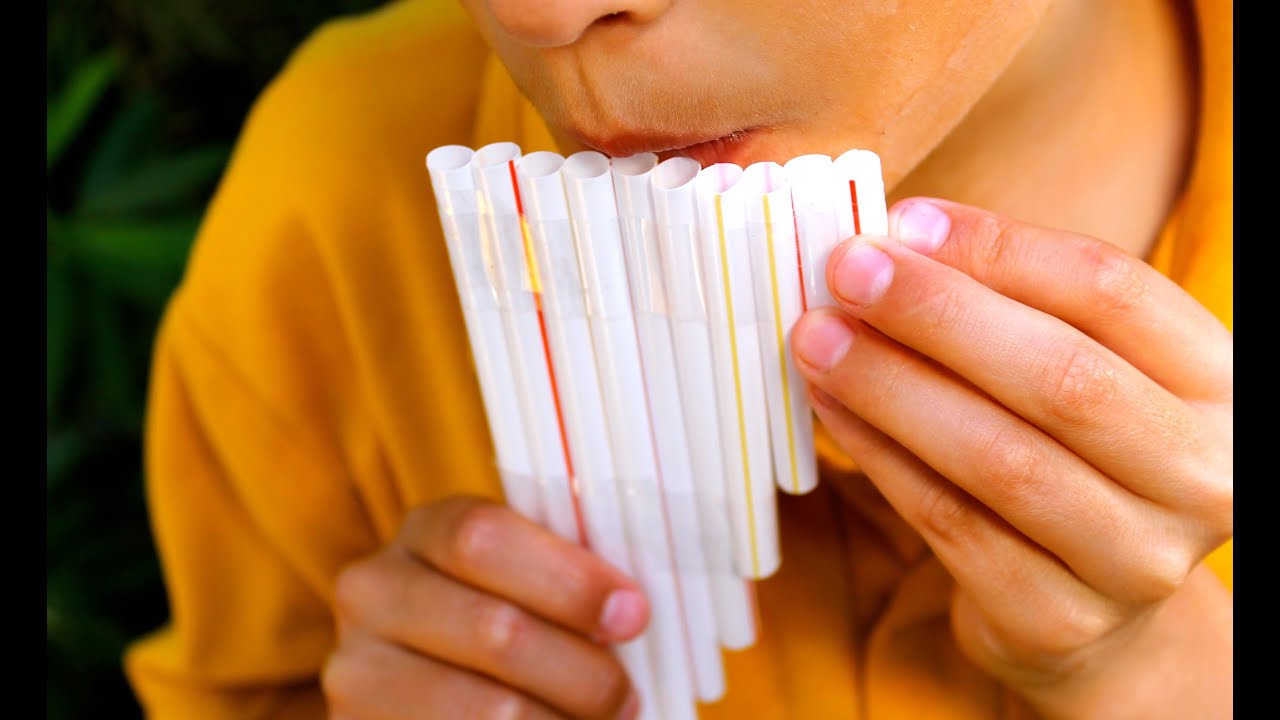
Playing The Flute
Playing the flute made from a straw can be a fun and educational experience. It allows you to explore music without needing a store-bought instrument. Once you have crafted your straw flute, you can start playing it right away. Let’s dive into some basic techniques and simple tunes to get you started.
Basic Techniques
First, hold the straw flute with both hands. Place your lips gently on the end of the straw. Blow softly to produce a sound. Adjust your blowing strength to control the pitch. Your fingers will cover and uncover the holes to change the notes. Practice blowing steadily while moving your fingers over the holes. It may take a few tries to get a clear sound. Keep practicing to improve your control and tone.
Simple Tunes
Once you have mastered the basic techniques, try playing simple tunes. Start with easy songs like “Mary Had a Little Lamb.” Cover the holes to match the notes of the song. Practice the melody slowly at first. Gradually increase your speed as you get more comfortable. Another easy tune is “Twinkle, Twinkle, Little Star.” These songs are great for beginners and will help you develop your skills. Enjoy the process of learning new tunes on your straw flute.
Troubleshooting
Making a flute with a straw can be fun and easy. Sometimes, though, you might face issues. Here, we will look at common issues and how to fix them.
Common Issues
Creating a straw flute can come with some common problems. Here is a list of issues you might face:
- No sound coming from the flute.
- The sound is too low or too high.
- The flute is hard to blow into.
- The flute makes a squeaky noise.
Fixing Sound Problems
Sound issues can be frustrating. Here are some solutions:
| Problem | Solution |
|---|---|
| No Sound | Check if the straw is blocked. Cut the straw at an angle to create a better opening. |
| Sound Too Low | Make the opening larger. Use a sharp object to widen it carefully. |
| Sound Too High | Shorten the straw. Cut small pieces off the end until the sound is right. |
| Hard to Blow | Ensure the opening is smooth. Use sandpaper to smooth any rough edges. |
| Squeaky Noise | Check the straw for cracks. If you find any, use a new straw. |
Frequently Asked Questions
How Do You Make A Straw Flute?
To make a straw flute, cut holes along the straw. Adjust the length and blow into one end.
What Materials Do You Need For A Straw Flute?
You need a plastic straw, scissors, and a ruler. Optionally, you can use a pen to mark hole positions.
Can You Tune A Straw Flute?
Yes, you can tune a straw flute. Cut the straw shorter or adjust hole sizes to change the pitch.
How Does A Straw Flute Work?
A straw flute works by vibrating air inside the straw. Holes change the pitch by altering the air flow.
Conclusion
Crafting a flute from a straw is simple and fun. Kids and adults can enjoy this activity together. All you need are basic materials and a few minutes. Try different straw lengths and widths for varied sounds. Share this easy project with friends and family.

It’s a great way to introduce music and creativity. Enjoy making music with your homemade straw flute. Happy crafting and playing!
As an Amazon Associate, Cleanestor earns from qualifying purchases at no additional cost to you.