Making a paper flute is easy and fun. You only need a few materials.
Creating your own musical instrument can be a rewarding experience. A paper flute is simple to make and can produce delightful sounds. This craft project is perfect for kids and adults alike, offering a hands-on way to explore music. Besides being an enjoyable activity, making a paper flute can also help develop fine motor skills and creativity.
You don’t need any special tools or skills to get started, just some paper and a few common household items. Ready to create your own paper flute? Let’s dive into this fun and easy craft project!
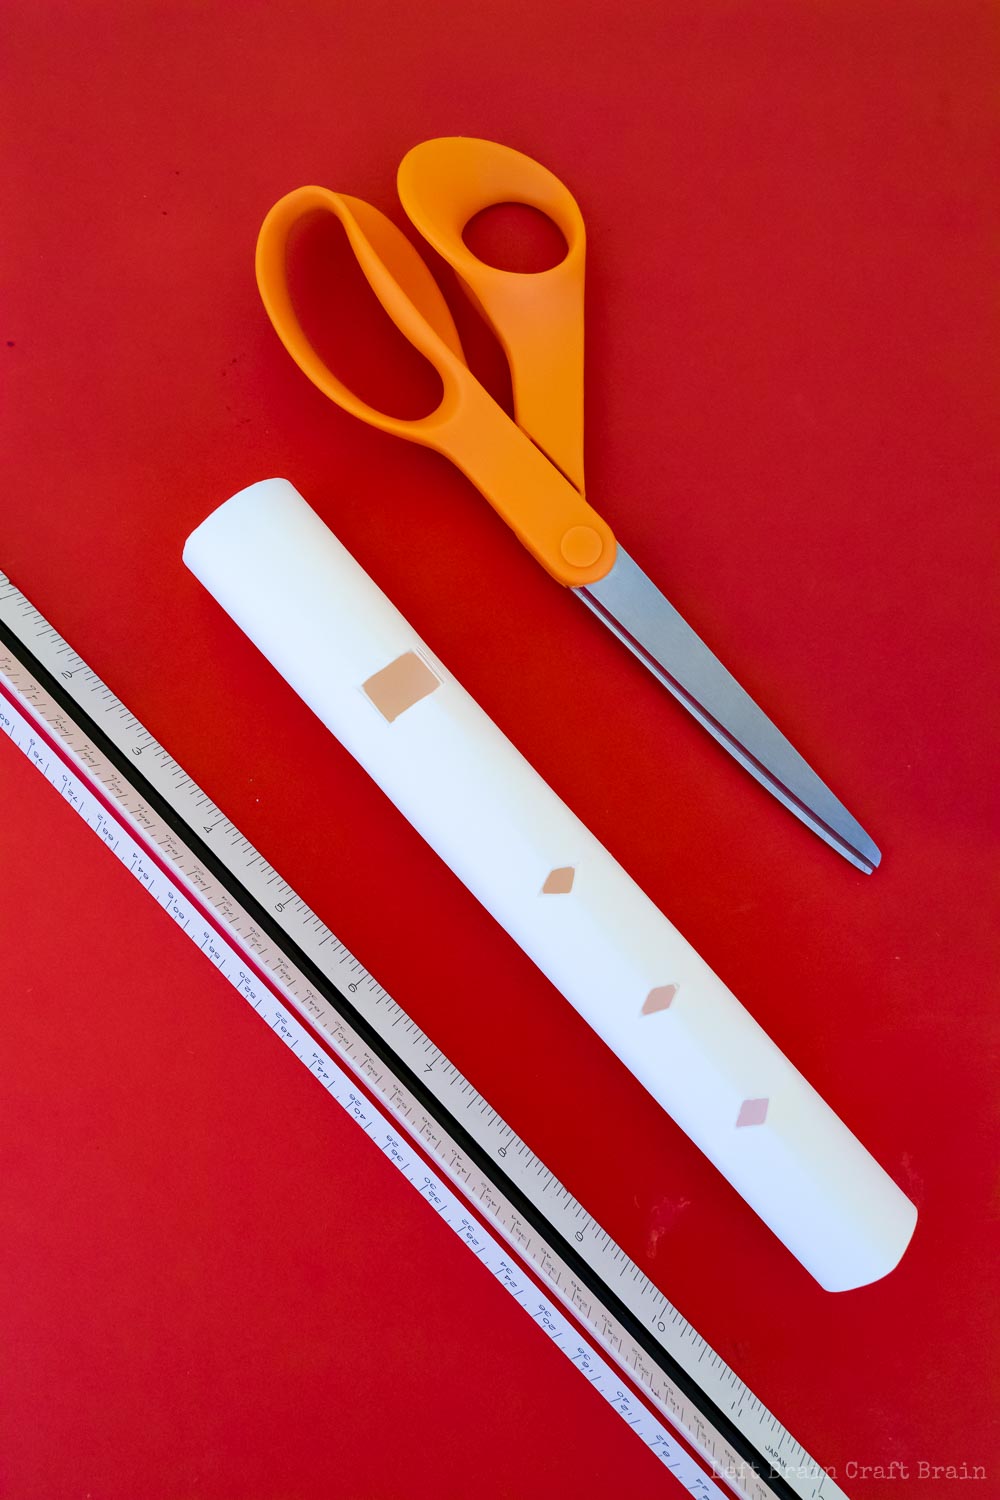
Materials Needed
Creating a paper flute at home is both fun and educational. Before you start, gather all necessary materials. This ensures a smooth crafting experience. Below, we detail everything you’ll need.
Paper Types
The type of paper you use is important. Regular printer paper works fine. For a more durable flute, choose construction paper. Origami paper can also be a good choice. Make sure the paper is not too thick. This helps with easy rolling and shaping.
Additional Tools
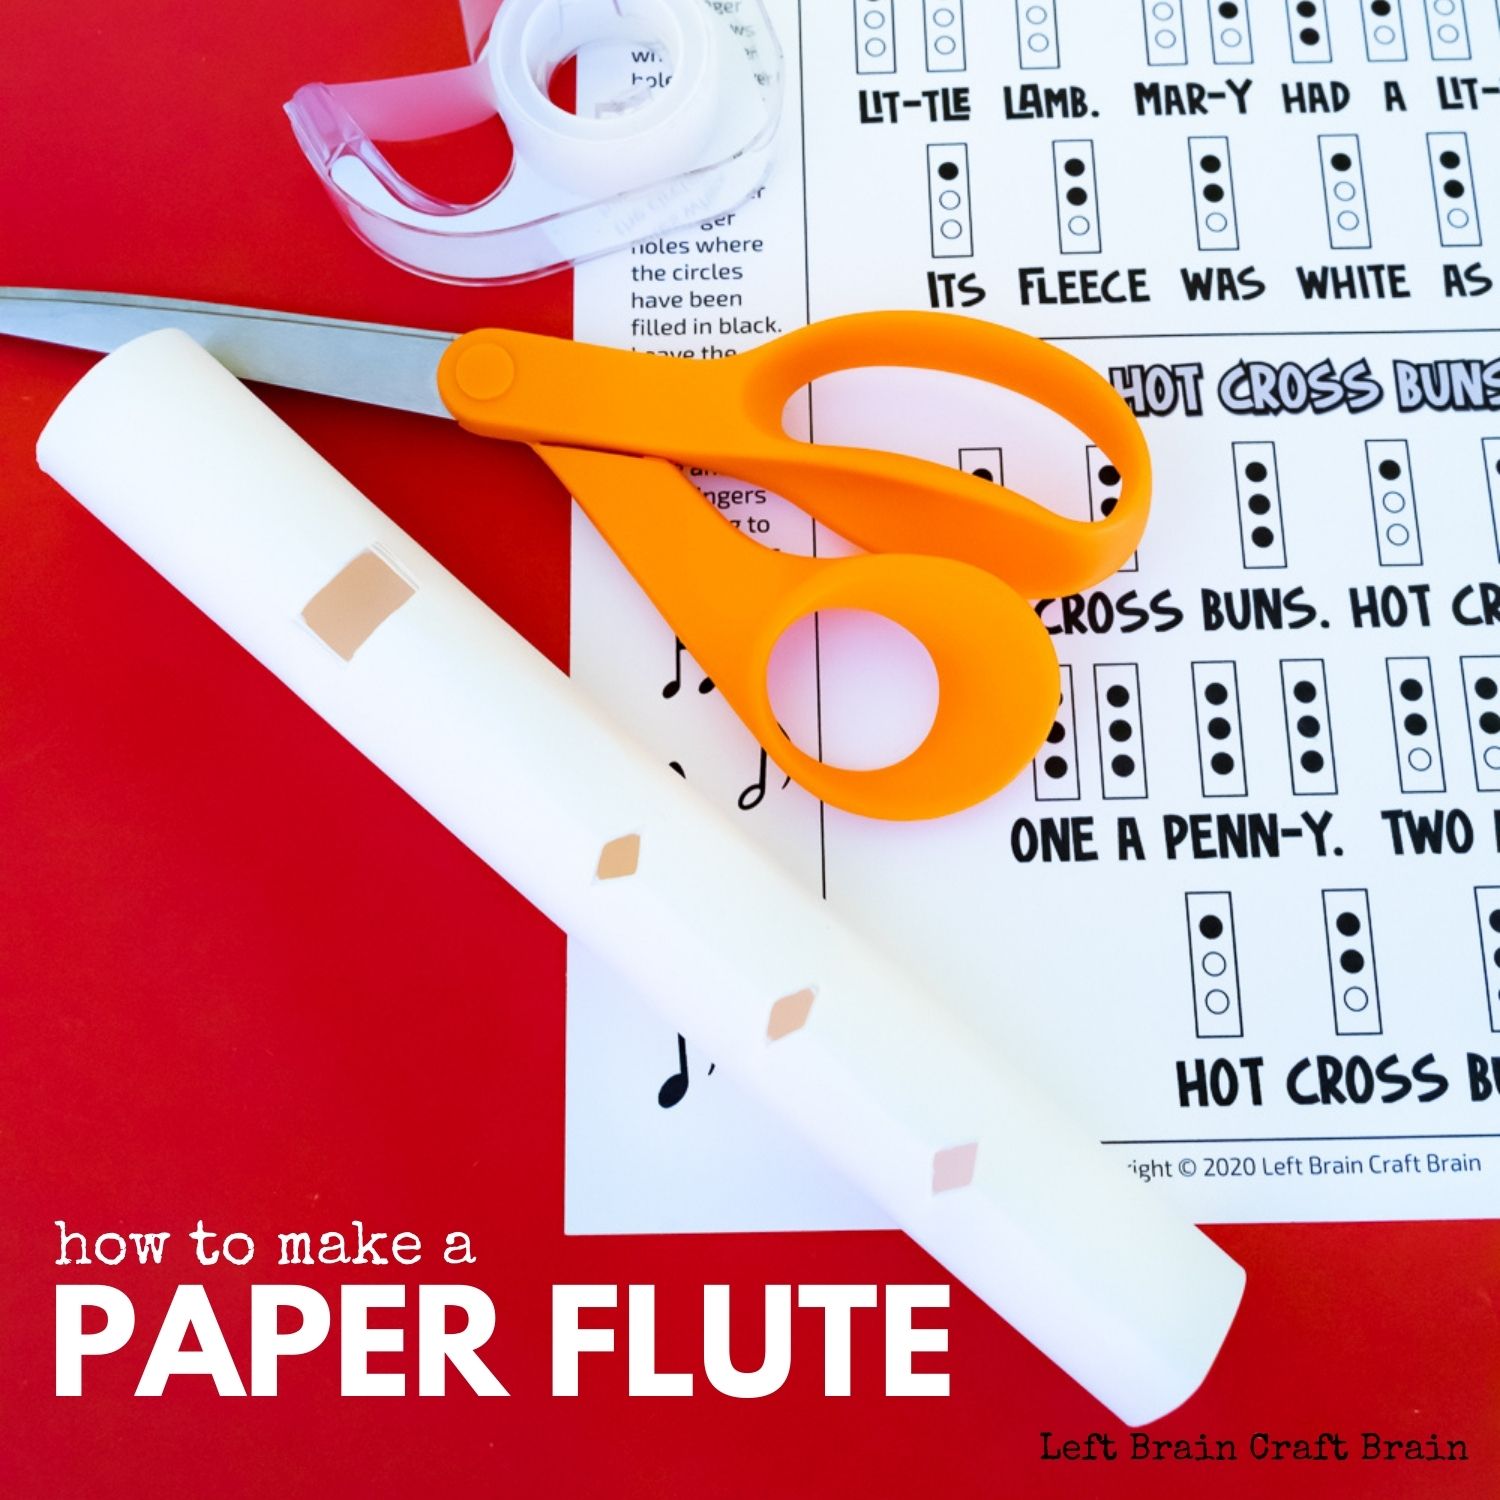
Besides paper, you’ll need a few basic tools. Scissors are essential for cutting the paper. A ruler helps measure the paper accurately. Adhesive tape or glue holds the flute together. A pencil or thin dowel rod helps with rolling the paper. Lastly, markers or crayons can be used to decorate your flute.

Credit: www.youtube.com
Choosing The Right Paper
Creating a paper flute can be a fun and rewarding project. The quality of your paper flute largely depends on the type of paper you use. Let’s explore the essential aspects of choosing the right paper for your flute.
Paper Thickness
The thickness of the paper is a crucial factor in making a good flute. The paper should be sturdy enough to hold its shape but not too thick.
- Thin paper: Easy to roll but may not hold its shape well. Examples include tissue paper and thin wrapping paper.
- Medium thickness paper: Ideal for making a durable flute. Examples include construction paper and regular printer paper.
- Thick paper: Difficult to roll and shape. Examples include cardstock and thick craft paper.
For the best results, use medium thickness paper. It strikes a balance between flexibility and durability.
Paper Size
Choosing the right size of paper is equally important. The size of the paper will determine the length of your flute.
| Paper Size | Flute Length |
|---|---|
| A4 (8.3 x 11.7 inches) | Standard length, suitable for beginners. |
| Letter (8.5 x 11 inches) | Similar to A4, great for practice flutes. |
| A3 (11.7 x 16.5 inches) | Longer flute, creates deeper sounds. |
Using A4 or letter-sized paper is recommended for beginners. These sizes are easy to handle and widely available.
Once you are comfortable, experiment with larger paper sizes for different sounds.
Cutting The Paper
Creating a paper flute involves several steps, and cutting the paper is a key part. Precision matters when you cut the paper to ensure your flute works well. Let’s dive into the process.
Measuring Dimensions
First, gather your tools. You need a ruler and a pencil. Lay the paper flat on a table. Use the ruler to measure the dimensions. For a standard paper flute, measure a rectangle that is 12 inches by 8 inches.
| Dimension | Measurement |
|---|---|
| Length | 12 inches |
| Width | 8 inches |
Mark these measurements lightly with the pencil. This helps you keep your cuts straight and clean.
Making Precise Cuts
Using the marked lines, take your scissors and start cutting. Follow the pencil marks carefully. Keep your hand steady to avoid jagged edges. If the paper slips, hold it down with your other hand.
- Start from one end
- Cut along the marked line
- Ensure smooth, straight cuts
Once you have cut the paper to the desired size, you are ready to move on to the next step. A precise cut ensures your flute will be easy to roll and maintain its shape.
Credit: leftbraincraftbrain.com
Rolling The Paper
Rolling the paper is a crucial step in making a paper flute. It requires precision and patience. Proper rolling ensures the flute produces a clear sound. Let’s dive into the steps for creating the perfect paper tube.
Creating The Tube
Start with a sheet of paper. It can be any type, but construction paper works best. Lay it flat on a table.
- Place a thin dowel or pencil at one edge.
- Begin rolling the paper tightly around the dowel.
- Keep the roll even and tight to ensure a strong tube.
As you roll, make sure there are no gaps. Smooth any wrinkles. This ensures the tube is firm and straight.
Securing The Roll
Once you have rolled the paper into a tube, it’s time to secure it. This step is essential to keep the tube intact.
- Apply a small amount of glue along the edge of the paper.
- Press the edge firmly to the roll.
- Hold it for a few seconds to let the glue set.
For extra strength, add a piece of tape along the seam. This provides additional support and prevents the tube from unrolling.
Now you have a secure, tightly rolled tube. This is the foundation of your paper flute.
Creating The Mouthpiece
The mouthpiece of a paper flute is a vital part. It helps produce sound. This section guides you through making it. Follow the steps carefully for the best results.
Forming The Embouchure
The embouchure is where you place your lips. First, find the end of the paper flute. Then, cut a small notch. This notch will help direct the air. It should be about half an inch long. Make sure the cut is clean.
Next, shape the edges of the notch. Use your fingers to smooth them out. This helps with airflow. Now, blow across the notch. You should hear a sound. Adjust if needed. The sound should be clear.
Adjusting For Comfort
Comfort is important. You will be holding the flute often. Check the mouthpiece. Is it smooth? If not, sand the edges gently. This prevents discomfort while playing.
Consider the size of the mouthpiece. It should fit your mouth well. If it’s too big, trim it slightly. Test it again. Keep adjusting until it feels right. A comfortable mouthpiece makes playing easier.
Remember, practice makes perfect. Spend time getting it just right. Your efforts will pay off. Enjoy making music with your paper flute.
Credit: leftbraincraftbrain.com
Adding Finger Holes
Creating a paper flute is fun. Adding finger holes is an important step. These holes let you play different notes. This guide will help you make them easily.
Marking Hole Positions
First, you need to mark the positions for the holes. Use a ruler for accuracy. Measure and mark where each hole will go. Make sure the marks are evenly spaced.
Here is a simple table to guide you:
| Hole Number | Distance from Top (cm) |
|---|---|
| 1 | 4 |
| 2 | 6 |
| 3 | 8 |
| 4 | 10 |
| 5 | 12 |
Mark these positions on your paper flute. This will ensure your holes are correctly placed.
Cutting The Holes
Now, it’s time to cut the holes. Use a sharp tool like a craft knife or a hole punch. Be careful while cutting. Safety first!
Follow these steps:
- Place the flute on a firm surface.
- Align the tool with the mark.
- Press gently to create a small hole.
- Repeat for each mark.
Ensure each hole is the same size. This helps in producing clear notes. Test the holes by blowing into the flute. Adjust if needed.
Your paper flute is now ready with finger holes. Enjoy making music!
Testing The Flute
Testing the flute is an exciting part of the process. You’ve created your paper flute. Now, it’s time to see how well it plays. This section will guide you through the basics of testing your handmade instrument.
Blowing Techniques
First, hold the flute horizontally. Place your lips against the edge of the blowing hole. Blow gently to produce a sound. Adjust your blowing strength. Find the right balance. If the sound is weak, blow a bit harder. If it’s too loud, soften your blow. Experiment with different angles. This can change the sound quality.
Tuning The Sound
Your flute might need tuning. Cover and uncover the finger holes. Listen to the changes. Each hole changes the pitch. If a note sounds off, adjust the size of the holes. Use tape to cover parts of the hole if needed. Small adjustments can make a big difference. Keep testing until the notes sound clear and pleasant.
Decorating The Flute
Once you have crafted your paper flute, it’s time to make it stand out. Decorating your flute can make it unique and give it a personal touch. This step is fun and allows you to get creative. You can use various materials and techniques to make your flute look fantastic.
Using Colors
Color is a simple way to decorate your paper flute. You can use markers, paints, or colored pencils to add vibrant hues. Pick your favorite colors and start decorating.
- Markers: These are easy to use and come in many colors.
- Paints: Acrylic paints work well on paper. Use a brush to apply.
- Colored Pencils: These are great for adding fine details.
Consider using a combination of these tools. This mix can create a more dynamic look. Remember to let any paint dry before moving on to the next step.
Adding Patterns
Patterns can add an extra layer of interest to your flute. Consider simple patterns like stripes or dots. You can also try more complex designs if you feel adventurous.
- Stripes: Use tape to create straight lines. Paint over the tape and remove it once dry.
- Dots: Use a small brush or a cotton swab to add dots.
- Shapes: Draw shapes like stars, hearts, or circles with markers or pencils.
Patterns can be repeated for a cohesive look. You can also mix different patterns for a unique design. Use contrasting colors to make your patterns pop.
Decorating your flute makes it special. It reflects your personality and style. So, take your time and have fun with it!
Frequently Asked Questions
How To Make A Paper Flute Step-by-step?
To make a paper flute, roll a sheet of paper tightly. Secure it with tape. Cut holes for sound.
What Materials Are Needed To Make A Paper Flute?
You need a sheet of paper, tape, and scissors. Optional: markers for decoration.
How Long Does It Take To Make A Paper Flute?
It typically takes around 10-15 minutes. This depends on your crafting skills.
Can Children Make A Paper Flute Easily?
Yes, children can make a paper flute with supervision. It’s a simple and fun activity.
Conclusion
Creating a paper flute is a fun and simple craft. Anyone can try it. Just follow the steps carefully. Enjoy the process. Share your new skill with friends and family. Practice playing your flute. Make music and have fun. This activity is great for all ages.

It helps with creativity and patience. Now, gather your materials and start crafting. Enjoy your musical journey with a homemade paper flute.
As an Amazon Associate, Cleanestor earns from qualifying purchases at no additional cost to you.