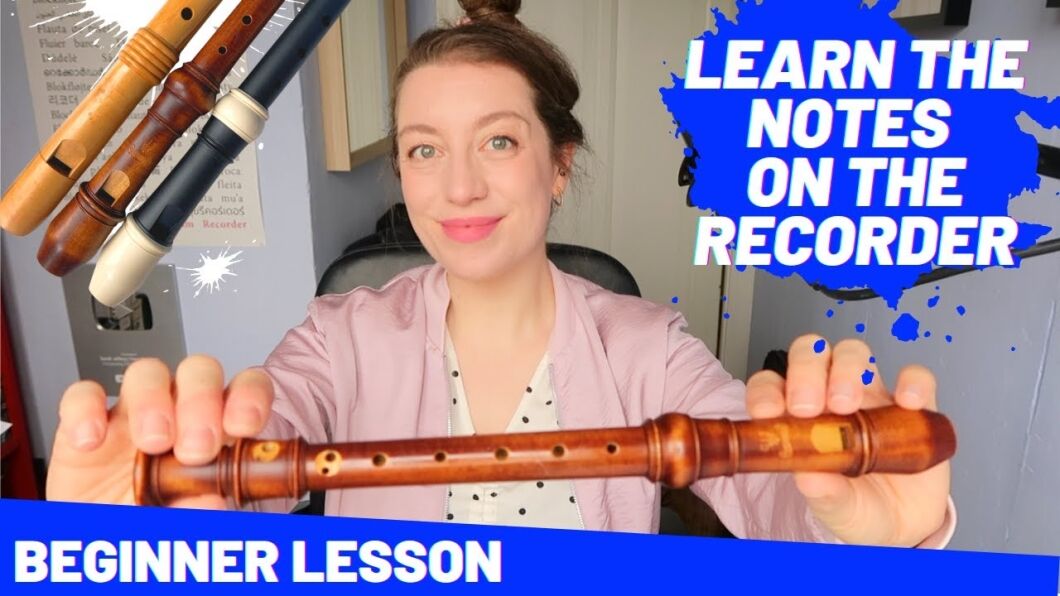
Learning to play the recorder flute can be fun and rewarding. It’s a great instrument for beginners.
The recorder flute is an ancient and simple wind instrument. It’s often the first instrument children learn in school. But it’s not just for kids. Many adults enjoy playing it too. The recorder is easy to carry and does not require much maintenance.
Its sweet, clear sound can be heard in many music genres, from classical to folk. In this blog post, you will discover the basics of playing the recorder flute. You’ll learn how to hold it, blow into it, and play your first notes. This guide will help you start your musical journey with confidence and joy. So, let’s dive into the world of recorder playing!
Credit: www.youtube.com
Introduction To Recorder Flute
The recorder flute is an ancient musical instrument. It’s easy to learn and play. This makes it perfect for beginners and children. The recorder produces a clear and sweet sound. It’s often used in schools to teach music basics. Understanding its history and types can enhance your learning experience.
Brief History
The recorder has a rich history dating back to medieval times. It was popular in Europe during the Renaissance and Baroque periods. Composers like Bach and Handel wrote music for the recorder. Over time, it became a favorite in both folk and classical music.
In the 20th century, the recorder saw a revival. This was due to interest in early music. Today, it’s a staple in music education worldwide.
Types Of Recorder Flutes
Recorders come in different sizes and pitches. Each type has a unique sound and role in music.
| Type | Pitch | Size |
|---|---|---|
| Soprano | C | Small |
| Alto | F | Medium |
| Tenor | C | Large |
| Bass | F | Larger |
The soprano recorder is the most common type. It’s often used in schools. The alto recorder has a lower pitch and is slightly larger. The tenor recorder is even larger and has a deeper sound. The bass recorder has the lowest pitch and is the largest in size.
Understanding these types can help you choose the right recorder for your needs.
Choosing The Right Recorder
Choosing the right recorder is essential for a pleasant playing experience. A good recorder can make learning easier and more enjoyable. When selecting a recorder, consider the material, size, and key. This guide will help you understand these factors better.
Material Options
Recorders come in different materials. The most common are plastic and wood.
- Plastic recorders: These are perfect for beginners. They are affordable and durable. Plastic recorders are easy to clean and maintain.
- Wooden recorders: These provide a richer sound. They are preferred by intermediate and advanced players. Wooden recorders need more care and maintenance.
Size And Key Considerations
Recorders come in various sizes. The most common sizes are soprano, alto, tenor, and bass. Each size has a different pitch range.
| Size | Pitch Range | Best for |
|---|---|---|
| Soprano | C5 to D7 | Beginners and children |
| Alto | F4 to G6 | Intermediate players |
| Tenor | C4 to D6 | Adults and advanced players |
| Bass | F3 to G5 | Advanced players |
The key of the recorder also matters. Soprano and tenor recorders are in the key of C. Alto and bass recorders are in the key of F. Choose the key based on the music you want to play.
By understanding the material options, size, and key, you can choose the right recorder. This will enhance your learning and playing experience.
Basic Components
Learning the basic components of a recorder flute is essential. It helps you understand how to play it correctly. A recorder flute consists of three main parts: the mouthpiece, body, and foot joint.
Mouthpiece
The mouthpiece is the top part of the recorder. It is where you blow air to produce sound. The mouthpiece includes the windway and the labium. The windway directs your breath into the recorder. The labium is the sharp edge that splits the air stream, creating vibrations. These vibrations produce sound.
Body
The body is the middle section of the recorder. It has the finger holes that you cover to change pitches. The body is the longest part of the recorder. The number of finger holes can vary. Most recorders have seven finger holes on the front and one thumb hole on the back.
Foot Joint
The foot joint is the bottom part of the recorder. It is shorter than the other sections. The foot joint may have one or two holes. These holes help control the lowest notes. Make sure the foot joint aligns correctly with the body for accurate sound.

Credit: content.westmusic.com
Holding The Recorder
Properly holding the recorder is the first step to playing well. A good grip ensures that you can play with ease and produce a clear sound. Let’s explore the best way to hold your recorder.
Proper Hand Placement
Place your left hand at the top of the recorder. Your thumb should be on the back hole. The other fingers will cover the front holes. Your right hand will be at the bottom. Your thumb supports the recorder from underneath, and the other fingers cover the remaining holes.
Here’s a simple table to help you remember:
| Hand | Position |
|---|---|
| Left Hand | Top, thumb on back hole, fingers on front holes |
| Right Hand | Bottom, thumb supports from underneath, fingers on remaining holes |
Posture Tips
Maintain good posture while playing the recorder. Sit or stand up straight. Keep your shoulders relaxed. Your head should be level, not tilted. Hold the recorder at a slight angle away from your body.
Follow these steps for proper posture:
- Sit or stand up straight.
- Keep your shoulders relaxed.
- Hold your head level.
- Angle the recorder slightly away from your body.
Producing Sound
Learning to play the recorder flute involves understanding how to produce sound. This is crucial for anyone starting their musical journey. The two main areas to focus on are breathing techniques and embouchure formation.
Breathing Techniques
Proper breathing is essential for producing a clear sound. Here are some tips:
- Deep breaths: Breathe deeply from your diaphragm, not your chest.
- Steady air flow: Maintain a consistent stream of air.
- Control: Practice controlling your breath to avoid sudden bursts of air.
Use the following steps to practice:
- Inhale deeply through your nose.
- Exhale slowly and steadily into the recorder.
- Listen to the sound produced and adjust your breath as needed.
Embouchure Formation
Your embouchure, or mouth position, affects the sound quality. Follow these steps:
| Step | Instructions |
|---|---|
| 1 | Place the recorder’s mouthpiece gently between your lips. |
| 2 | Seal your lips around the mouthpiece, not too tight. |
| 3 | Ensure your teeth are slightly apart. |
| 4 | Blow gently while keeping your embouchure stable. |
Remember, practice makes perfect. Keep adjusting until you find the best position for a clear, beautiful sound.

Credit: www.wikihow.com
Basic Finger Positions
Learning the basic finger positions is essential for playing the recorder flute. It will help you produce clear and accurate notes. Let’s explore the fundamental aspects of finger placement on the recorder.
Covering The Holes
To create different notes, you need to cover the holes properly. Follow these steps:
- Hold the recorder with the left hand on top.
- Place your left thumb on the back hole.
- Use your left index, middle, and ring fingers to cover the top three holes.
- Cover the next four holes with your right hand’s index, middle, ring, and little fingers.
- Make sure each hole is fully covered to avoid air leaks.
| Finger | Note | Position |
|---|---|---|
| Left Thumb | All Notes | Back Hole |
| Left Index | B | Top Hole |
| Left Middle | A | Second Hole |
| Left Ring | G | Third Hole |
Basic Notes
Understanding the basic notes is crucial for playing songs. Here are some key notes:
- B Note: Cover the back hole and the top hole.
- A Note: Cover the back hole and the top two holes.
- G Note: Cover the back hole and the top three holes.
Practice these notes to get comfortable with the finger positions. Consistent practice will improve your skill and confidence.
Playing Simple Tunes
Learning to play simple tunes on a recorder flute can be a fun and rewarding experience. As a beginner, it is important to start with easy songs. This will help you build confidence and improve your skills gradually. Below, we will explore some easy songs to start with and provide tips on practicing rhythm.
Easy Songs To Start
Starting with easy songs is essential for beginners. These songs usually have simple melodies and slow tempos, which make them perfect for practice. Here are some easy songs to get you started:
- Mary Had a Little Lamb: This classic nursery rhyme is easy to play and great for beginners.
- Hot Cross Buns: Another simple tune that uses only three notes – B, A, and G.
- Twinkle, Twinkle, Little Star: A familiar melody that helps develop finger coordination.
- Ode to Joy: A beautiful tune by Beethoven that is easy to learn.
These songs use basic notes and are easy to remember. Practice them regularly to improve your skills.
Practicing Rhythm
Practicing rhythm is just as important as learning notes. Good rhythm helps you play tunes smoothly. Here are some tips for practicing rhythm:
- Use a metronome: A metronome helps you keep a steady beat.
- Clap the rhythm: Before playing, clap the rhythm to understand it better.
- Count aloud: Counting “1, 2, 3, 4” while playing helps maintain the beat.
- Start slow: Play the tune slowly at first. Gradually increase the speed as you get comfortable.
Remember to be patient and practice regularly. With time and effort, you will improve your rhythm and play tunes more confidently.
Advanced Techniques
Playing the recorder flute at an advanced level requires more than just basic skills. Advanced techniques enhance your playing and bring out the true potential of this instrument. This section covers two important aspects: playing higher notes and articulation methods.
Playing Higher Notes
Mastering higher notes is crucial for advanced recorder players. To achieve clear high notes, use controlled breath. Too much air can make the note sound sharp or squeaky. Instead, use a steady, gentle stream of air. Position your fingers precisely over the holes. Even a slight gap can affect the pitch. Practice transitioning smoothly from low to high notes. This helps build finger agility and muscle memory.
Articulation Methods
Articulation defines the way notes are started and ended. Tonguing is a common method. To tongue a note, start with your tongue touching the roof of your mouth. Release the tongue to let the air through. This creates a clear and distinct note. Another method is slurring. This involves playing notes smoothly without tonguing each one. For slurs, focus on even breath flow and smooth finger movement. Experiment with different articulations to add variety to your music.
Caring For Your Recorder
Learning to play the recorder flute brings joy and creativity. To keep your instrument in good shape, proper care is essential. This guide will help you maintain your recorder, ensuring it stays clean and plays well.
Cleaning Tips
Regular cleaning keeps your recorder in top condition. After each use, clean the mouthpiece with a soft cloth. Gently wipe the outside to remove any moisture or dirt. For a deeper clean, use a cleaning rod with a cloth attached. Insert it carefully to avoid damaging the inside.
Warm water and mild soap work well for cleaning plastic recorders. Avoid soaking wooden recorders in water. Instead, use a slightly damp cloth. Dry thoroughly after cleaning to prevent moisture damage.
Storage Advice
Proper storage protects your recorder from damage. Store it in a case or cloth bag to keep dust away. Avoid placing your recorder in direct sunlight or near heat sources. This can cause the material to warp or crack.
Keep your recorder in a cool, dry place. If you have a wooden recorder, consider using a humidifier in very dry conditions. This helps maintain the wood’s quality and prevents cracking.
By following these tips, your recorder will stay in excellent condition. Enjoy playing and making beautiful music!
Frequently Asked Questions
How Do You Start Playing The Recorder?
Begin by holding the recorder with your left hand on top. Cover the holes gently. Blow softly to produce sound. Practice simple notes first.
What Are The Basic Notes On A Recorder?
The basic notes on a recorder are B, A, G, C, and D. Practice these notes to start.
How Do You Clean A Recorder Flute?
Clean your recorder by gently washing it with warm water and mild soap. Dry it thoroughly after cleaning.
Can Beginners Learn The Recorder Easily?
Yes, beginners can easily learn the recorder. It is one of the most beginner-friendly musical instruments.
Conclusion
Learning to play the recorder flute can be a fun journey. Practice daily to improve skills. Focus on finger placement and breath control. Listen to recorder music for inspiration. Join a music class or group for support. Enjoy the process of making music.

Remember, persistence leads to progress. Playing the recorder offers a rewarding experience. Keep playing and discovering new melodies. Share your music with friends and family. Happy playing!
As an Amazon Associate, Cleanestor earns from qualifying purchases at no additional cost to you.
