Playing music while recording can enhance your creative projects. It’s simple with the right tools and techniques.
Many creators want to add background music to their videos or podcasts. It adds depth and mood, making content more engaging. But how do you do it without messing up the audio quality? This blog will guide you through the steps.
You’ll learn about the best tools and methods for seamless music integration. Whether you’re using a smartphone, a camera, or a computer, we’ve got you covered. Get ready to elevate your recordings with perfect background music.
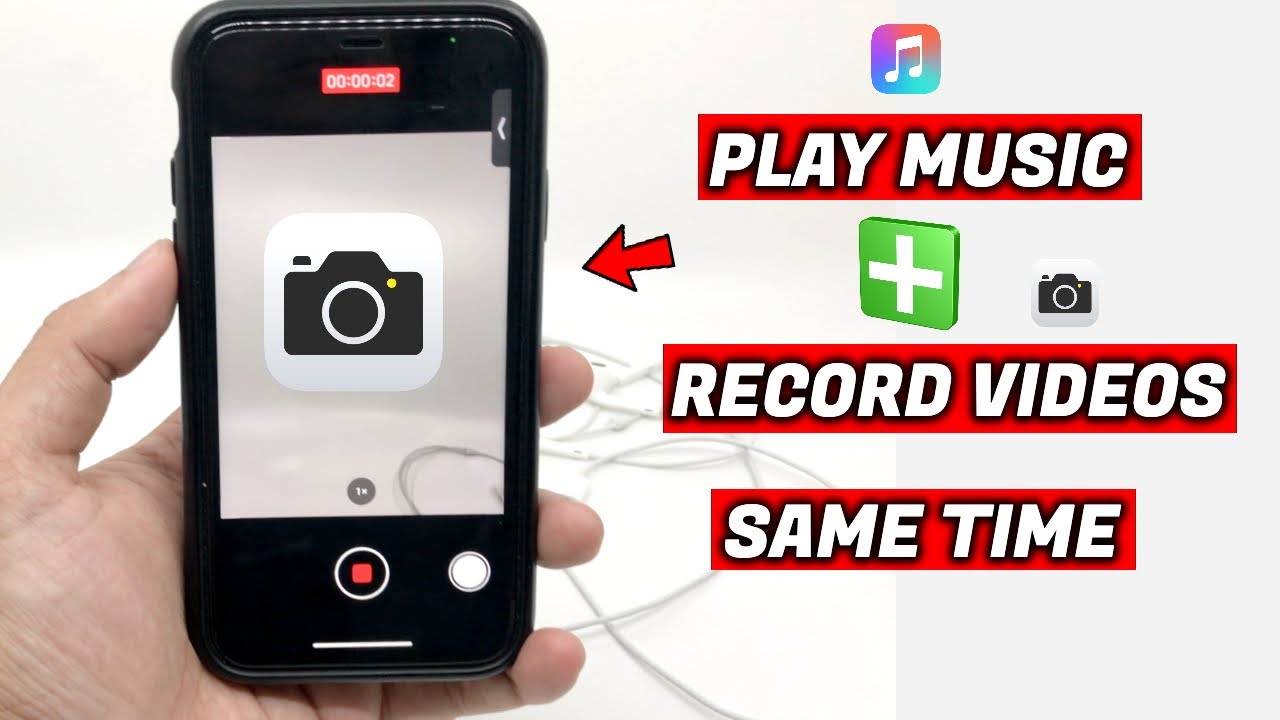
Credit: www.youtube.com
Choosing The Right Equipment
Playing music while recording can be a fun way to create unique content. To do this successfully, choosing the right equipment is crucial. The right gear ensures high-quality sound and a smooth recording process. Let’s explore some essential recording gear and recommended music playback devices.
Essential Recording Gear
For high-quality recordings, you’ll need some essential gear. Here’s a list of the must-have items:
- Microphone: A good microphone is vital. It captures clear and crisp sound. Condenser mics are popular for their sensitivity.
- Audio Interface: This device connects your microphone to your computer. It converts analog signals to digital. Look for interfaces with low latency.
- Headphones: Use closed-back headphones. They block out external noise and let you hear the recording clearly.
- Pop Filter: This reduces unwanted noises like breaths and pops. It’s a simple, yet effective tool.
- Mic Stand: A stable mic stand keeps your microphone in place. It prevents unwanted movement and noise.
- Software: Choose a digital audio workstation (DAW). Popular options include Audacity, Ableton Live, and GarageBand.
Recommended Music Playback Devices
To play music while recording, you need reliable playback devices. Here are some top recommendations:
- Smartphone: Easy to use and portable. Just connect it to your audio interface or mixer.
- Tablet: Offers a larger screen for easier control. Ideal for apps and music libraries.
- Computer: If you’re already using a computer to record, it’s a great option. You can play music directly from your DAW or a music player.
- MP3 Player: A simple and dedicated device for music playback. No distractions from notifications or calls.
- CD Player: For those who prefer physical media. Offers high-quality sound without digital compression.
Choosing the right equipment makes a huge difference. You’ll achieve better sound quality and a smoother workflow. Happy recording!

Credit: www.wikihow.com
Setting Up Your Recording Space
Setting up your recording space is crucial for quality audio. A well-organized space ensures smooth workflow and better sound. Pay attention to acoustics and layout for best results. These steps will guide you through creating an ideal recording environment.
Acoustic Considerations
Good acoustics are essential for clear recordings. Start with a quiet room. Avoid spaces with echoes or background noise. Use foam panels or curtains to absorb sound. Carpeted floors help reduce noise too. Place your microphone away from walls and windows. This prevents unwanted reflections.
Consider using a pop filter. It reduces harsh sounds from your voice. Check for any buzzing or humming noises. Turn off fans or appliances that create noise. A quiet space makes your music sound professional.
Organizing Your Workspace
A tidy workspace boosts productivity. Keep your equipment within reach. Arrange cables neatly to avoid tangling. Use cable ties or clips for better organization. Set up your computer and recording gear on a stable desk. Comfortable seating is also important.
Label your equipment and cables. This helps you find things quickly. Keep a notepad for jotting down ideas. Store extra accessories in drawers or boxes. A clean space keeps you focused. It also reduces stress while recording.
Selecting The Perfect Music
Selecting the perfect music for your recording can enhance the viewer’s experience. It adds emotion and sets the tone. But, choosing the right track can be challenging. Below, we’ll guide you through the process.
Matching Music To Content
First, consider the theme and mood of your content. Is it upbeat or calm? For a motivational video, pick energetic music. For a tutorial, choose something neutral and soft.
Next, think about your audience. What genres do they like? Match the music to their preferences. For a younger audience, modern pop or electronic might work best. For an older audience, classical or jazz could be more appealing.
Also, pay attention to the tempo and rhythm. Fast-paced music suits action-packed scenes. Slow music fits reflective or emotional content. Make sure the music complements the pacing of your video.
Finding Royalty-free Tracks
Using royalty-free music is crucial to avoid copyright issues. There are many platforms where you can find such tracks. Here are some popular options:
- Bensound
- Incompetech
- Audionautix
- SoundCloud (make sure to filter for royalty-free music)
These platforms offer a wide range of genres and styles. You can easily find music that fits your content. Some sites may require attribution, so always check the licensing terms.
Here’s a quick reference table for ease of access:
| Platform | URL | License Type |
|---|---|---|
| Bensound | https://www.bensound.com | Free with attribution |
| Incompetech | https://www.incompetech.com | Free with attribution |
| Audionautix | https://www.audionautix.com | Free with attribution |
| SoundCloud | https://www.soundcloud.com | Various licenses |
Remember, choosing the right music is key to creating engaging content. Take your time and select wisely.
Technical Setup
Setting up your technical gear properly is crucial for playing music while recording. A smooth setup ensures high-quality audio and a seamless recording experience. Let’s dive into the essential steps for the technical setup.
Connecting Devices
First, gather all necessary devices. You need a computer, microphone, and headphones. Connect your microphone to the computer using a USB or XLR cable. Plug your headphones into the computer or audio interface. Ensure all connections are secure to avoid any disruptions.
Adjusting Audio Levels
Next, open your recording software. Locate the audio settings menu. Adjust the input levels for your microphone. Ensure the levels are not too high to avoid distortion. Also, set the output levels for your headphones. This helps you monitor the music while recording. Aim for clear and balanced audio.
Recording Techniques
Recording music while capturing your voice can be tricky. Mastering the right techniques ensures your final product sounds professional. Let’s explore some effective methods under the subheading: Recording Techniques.
Balancing Music And Voice
Finding the right balance between music and voice is crucial. The music should enhance your voice, not overpower it. Start by adjusting the volume levels. Keep the music at a lower level than your voice. This ensures that your message is clear and understandable.
Use a mixer if possible. Mixers give you better control over sound levels. If you do not have one, software can help. Many recording programs allow you to adjust volume levels easily. Take time to listen to your recording. Make adjustments as needed.
Using Headphones For Monitoring
Headphones are essential for monitoring your recording. They let you hear how the final product will sound. Choose closed-back headphones. They block out external noise and help you focus on your recording.
Wear headphones throughout the recording session. Listen to both the music and your voice. Make sure they blend well together. Adjust your voice and music levels as you go. This real-time monitoring helps you catch issues early. Fixing problems during recording is easier than editing later.
Editing Your Recording
Editing your recording is a crucial step in creating high-quality content. It allows you to refine your audio and integrate music seamlessly. This section will guide you through basic audio editing tips and enhancing music integration. Let’s dive in!
Basic Audio Editing Tips
Start by removing any unwanted noise. Use noise reduction tools to clean your audio. Trim the beginning and end to remove silence. Adjust the volume levels to ensure consistency. Use fade-in and fade-out effects for a smooth transition. Always listen to your recording multiple times to catch any errors.
Enhancing Music Integration
Choose music that fits the mood of your content. Balance the music volume with your voice. Ensure the music does not overpower your voice. Use short musical clips to maintain listener interest. Sync the music with key points in your recording. Consider using music only in the background. This keeps your voice clear and understandable. Experiment with different music tracks. Find what works best for your content style.
Common Challenges And Solutions
Playing music while recording can be both thrilling and challenging. Many people face common issues that can affect the quality of the recording. Understanding these challenges and knowing the solutions can help you achieve the best results.
Dealing With Background Noise
Background noise is a common problem during recordings. It can come from various sources like fans, traffic, or even people talking. To manage this:
- Use a Pop Filter: This helps minimize unwanted sounds.
- Record in a Quiet Space: Choose a room with minimal external noise.
- Soundproof Your Room: Use foam panels to absorb noise.
- Check Your Equipment: Ensure all cables and devices are functioning properly.
By addressing these steps, you can significantly reduce background noise and improve your recording quality.
Avoiding Audio Distortion
Audio distortion occurs when the recording level is too high. This results in a muffled and unclear sound. To avoid this:
- Monitor Your Levels: Keep an eye on the recording levels. They should be in the green zone.
- Use a Limiter: This device prevents the audio from peaking and causing distortion.
- Adjust Microphone Placement: Place the microphone at an appropriate distance from the sound source.
- Use High-Quality Equipment: Invest in good microphones and audio interfaces.
Following these practices will help you achieve a clear and professional recording.
Finalizing And Sharing Your Work
After recording your music, the next step is to finalize and share your work. This stage is vital to ensure your recording sounds polished and reaches your audience effectively. Let’s explore how to export your recording and share it on various platforms.
Exporting Your Recording
Once your recording is complete, the first step is to export it. Exporting prepares your recording for sharing. Follow these steps:
- Save your project: Ensure you save your work in your recording software.
- Select export format: Choose a format like MP3, WAV, or FLAC.
- Adjust settings: Set the bit rate, sample rate, and other settings.
- Export the file: Click on the export option in your software.
Here is a comparison of popular formats:
| Format | Quality | File Size |
|---|---|---|
| MP3 | Good | Small |
| WAV | High | Large |
| FLAC | Lossless | Medium |
Sharing On Various Platforms
After exporting, it’s time to share your recording. Different platforms have different requirements and audiences. Here are some popular options:
- SoundCloud: Great for reaching music lovers. Upload your file and add tags.
- Spotify: Ideal for streaming. Use a distributor to get your music on Spotify.
- YouTube: Perfect for visual content. Create a video to accompany your music.
- Bandcamp: Excellent for selling your music. Set your price and let fans support you.
When sharing, always add a description, tags, and relevant keywords. This helps people find your music.
With these steps, you can finalize and share your work effectively. Reach your audience and let your music be heard.
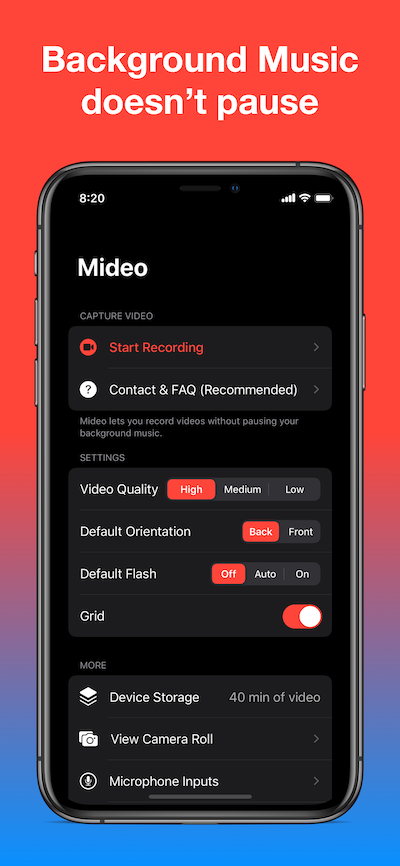
Credit: mideo.app
Frequently Asked Questions
How Can I Record Video With Background Music?
You can use apps like iMovie or InShot. These apps allow you to play music while recording videos. Just select your music track and start recording.
Which Apps Support Music While Recording?
Popular apps include iMovie, InShot, and TikTok. These apps provide features to play music while recording videos. This makes it easy to enhance your content.
Can I Play Spotify While Recording?
Yes, but it depends on your device and app. Some recording apps support background music from Spotify. Make sure to check app compatibility before starting.
How Do I Add Music To A Recording?
You can add music by using video editing apps. Import your recording and add your desired music track. Adjust the volume to balance audio levels.
Conclusion
Playing music while recording can enhance your creative process. By following these steps, you can achieve a seamless audio experience. Use the right tools and settings for better results. Remember to practice and adjust as needed. This will help you refine your skills.

Keep experimenting to find what works best for you. Enjoy the harmony of recording and playing music simultaneously. Happy recording!
{ “@context”: “https://schema.org”, “@type”: “FAQPage”, “mainEntity”: [ { “@type”: “Question”, “name”: “How can I record video with background music?”, “acceptedAnswer”: { “@type”: “Answer”, “text”: “You can use apps like iMovie or InShot. These apps allow you to play music while recording videos. Just select your music track and start recording.” } } , { “@type”: “Question”, “name”: “Which apps support music while recording?”, “acceptedAnswer”: { “@type”: “Answer”, “text”: “Popular apps include iMovie, InShot, and TikTok. These apps provide features to play music while recording videos. This makes it easy to enhance your content.” } } , { “@type”: “Question”, “name”: “Can I play Spotify while recording?”, “acceptedAnswer”: { “@type”: “Answer”, “text”: “Yes, but it depends on your device and app. Some recording apps support background music from Spotify. Make sure to check app compatibility before starting.” } } , { “@type”: “Question”, “name”: “How do I add music to a recording?”, “acceptedAnswer”: { “@type”: “Answer”, “text”: “You can add music by using video editing apps. Import your recording and add your desired music track. Adjust the volume to balance audio levels.” } } ] }
As an Amazon Associate, Cleanestor earns from qualifying purchases at no additional cost to you.