Powering passive studio monitors can seem tricky at first. But it’s not complicated.
Passive studio monitors need an external amplifier to work. If you’re setting up a home studio, it’s crucial to understand this. Without the right setup, your monitors won’t produce sound. You need to match your monitors with a suitable amplifier.
This ensures clear, accurate audio. Picking the right gear makes a big difference in your sound quality. So, let’s explore how to power your passive studio monitors effectively. This guide will help you get the best sound from your setup. Stay with us to learn the essential steps and tips.
Introduction To Passive Studio Monitors
Passive studio monitors are a key component in audio production. Understanding them can make a big difference in your sound quality. This section will introduce you to passive studio monitors.
What Are Passive Studio Monitors?
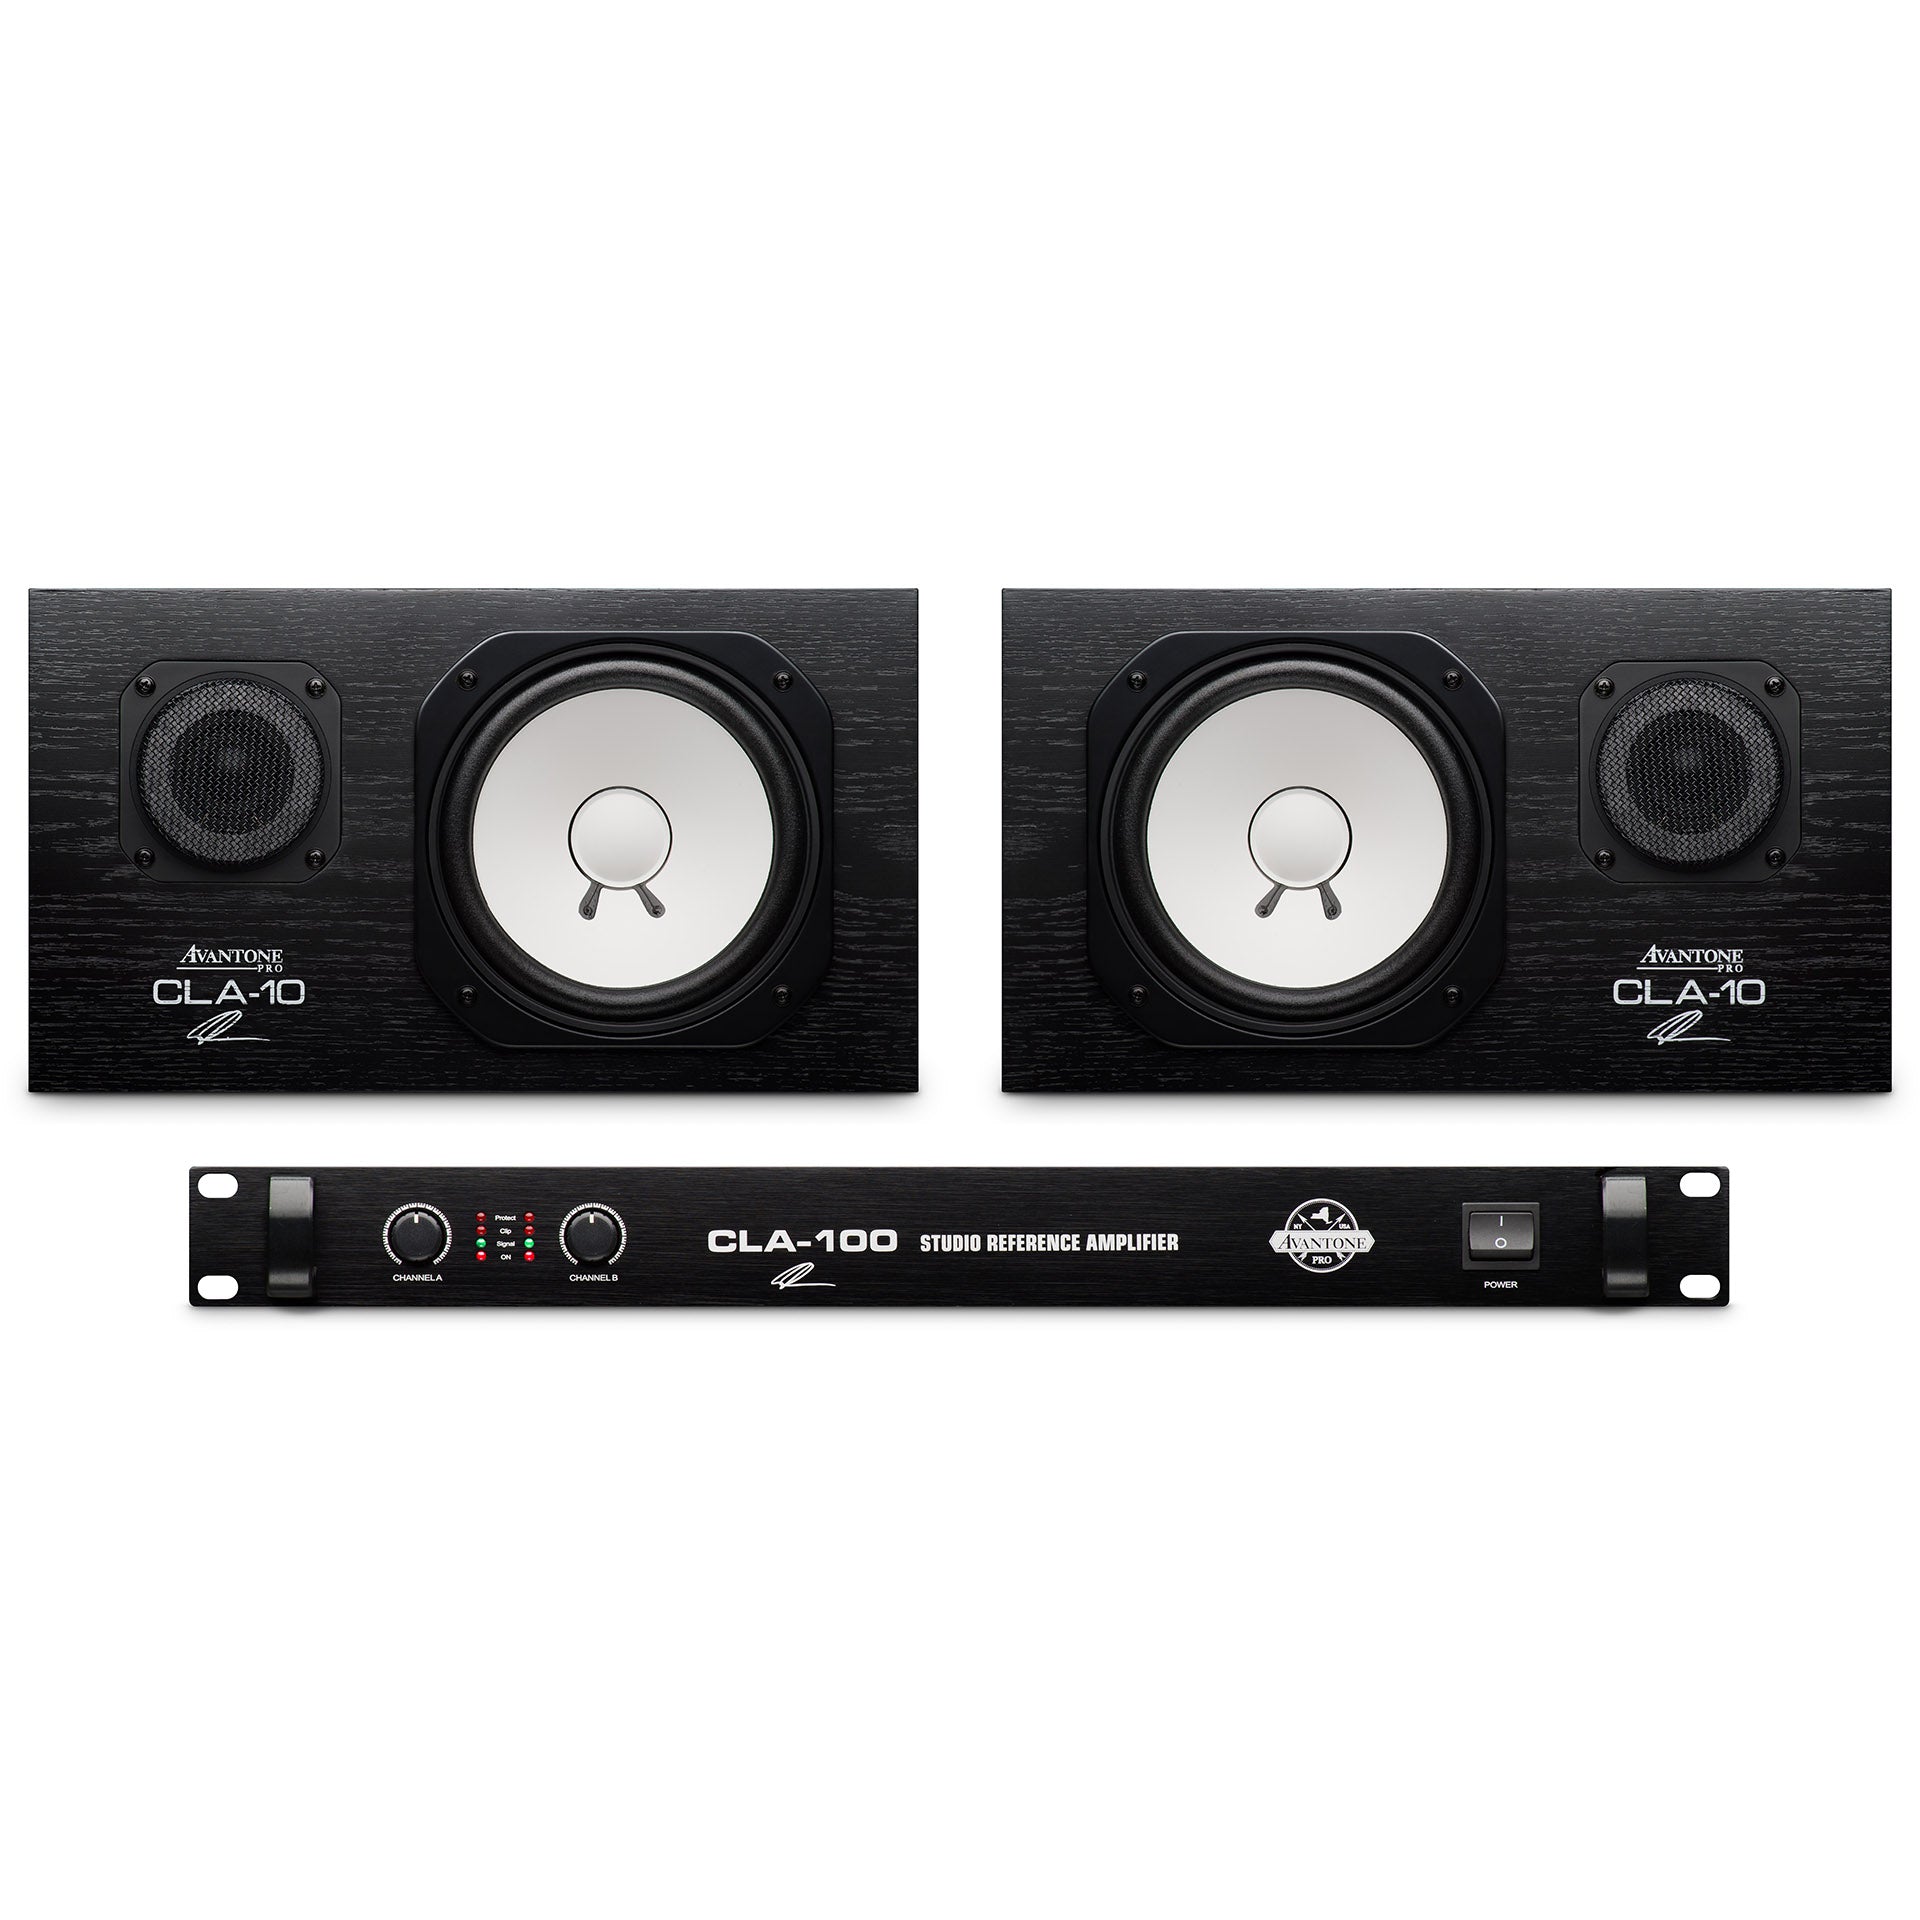
Passive studio monitors are speakers that need an external amplifier. Unlike active monitors, they do not have built-in amplifiers. These monitors are preferred by many audio professionals for their flexibility.
Here is a quick comparison:
| Feature | Passive Monitors | Active Monitors |
|---|---|---|
| Amplifier | External | Built-in |
| Flexibility | High | Low |
| Customization | Possible | Limited |
Benefits Of Using Passive Monitors
There are several benefits to using passive studio monitors:
- Customizable Sound: You can choose your amplifier, affecting sound quality.
- Upgrade Options: Easier to upgrade components as technology advances.
- Cost-Effective: Often cheaper than active monitors in the long run.
Passive monitors give you more control over your audio setup. This can lead to a better and more personalized sound experience. Choosing the right amplifier can enhance your studio’s performance.

Credit: geminisound.com
Choosing The Right Amplifier
Choosing the right amplifier is crucial for getting the best sound from your passive studio monitors. The right amplifier ensures clear, powerful sound and protects your equipment from damage. Let’s dive into key considerations like matching power and impedance, and explore the types of amplifiers available.
Matching Power And Impedance
Your amplifier must match the power and impedance of your studio monitors. Power refers to how much energy the amplifier can provide. Impedance measures the resistance in the circuit. The power of the amplifier should be slightly higher than the power rating of your monitors. This prevents distortion and maintains sound quality.
Check the impedance rating on both your amplifier and monitors. Common impedance ratings are 4, 6, and 8 ohms. Both ratings should match. Mismatched impedance can cause poor sound quality and even damage your equipment. Always read the specifications carefully before making a choice.
Types Of Amplifiers
There are several types of amplifiers to consider. Integrated amplifiers combine a preamp and power amp in one unit. They are easy to use and save space. Power amplifiers only boost the signal and need a separate preamp. They offer more flexibility and are great for larger setups.
Tube amplifiers use vacuum tubes to amplify sound. They are known for their warm, rich tones. Solid-state amplifiers use transistors and are reliable and durable. They offer a clean and accurate sound. Digital amplifiers, or Class D amplifiers, are efficient and compact. They work well in modern, space-saving setups.
Each type of amplifier has its strengths. Choose one that suits your setup and sound preferences. Always consider your specific needs and the characteristics of your studio monitors.
Connecting Your Monitors And Amplifier
Connecting your monitors and amplifier is key to getting the best sound. Ensuring the right connections and setup will make a huge difference. Here’s how to do it properly.
Cable Types And Connections
Different cables are used for connecting studio monitors and amplifiers. XLR cables are common for balanced connections. They help reduce noise and interference. TRS cables are another option. They are also balanced and offer good sound quality. For unbalanced connections, RCA cables are used. They are more prone to noise but are often cheaper.
Choose the right cable for your setup. Check your monitor and amplifier inputs and outputs. Match the cable type to these connections. Ensure the cables are of good quality to maintain sound integrity.
Proper Setup Techniques
Proper setup is crucial for optimal sound. Position your monitors at ear level. This ensures accurate sound reproduction. Place them at an equal distance from your listening position. This creates a balanced stereo image.
Connect the cables securely. Loose connections can cause noise and signal loss. Keep cables away from power cords. This helps avoid interference. Use cable ties to keep everything neat and organized.
Check the amplifier settings. Ensure they match the requirements of your monitors. Set the volume levels properly. Start with lower volumes and adjust as needed. This prevents damage to your equipment.
Setting Up Your Studio Space
Creating the perfect studio space is crucial for any audio project. Proper setup ensures you get the most accurate sound from your passive studio monitors. Let’s dive into how to set up your space for the best audio experience.
Optimal Monitor Placement
Placement of your studio monitors affects sound quality significantly. Follow these guidelines for optimal placement:
- Place monitors at ear level for the best sound.
- Position monitors in an equilateral triangle with your listening spot.
- Keep monitors away from walls to avoid sound reflections.
Use stands or foam pads to reduce vibrations. This helps in achieving a cleaner sound. Also, ensure that the monitors are angled towards your ears for a focused listening experience.
Acoustic Treatment Tips
Acoustic treatment improves sound clarity in your studio. Here are some tips:
- Absorption: Use foam panels or bass traps to absorb sound waves.
- Diffusion: Use diffusers to scatter sound evenly across the room.
- Reflection: Avoid hard surfaces that reflect sound directly.
Cover walls with acoustic panels to reduce echo. Place bass traps in corners to manage low-frequency sounds. These treatments ensure a balanced sound environment.
| Acoustic Treatment | Purpose |
|---|---|
| Foam Panels | Absorb mid to high frequencies |
| Bass Traps | Control low-frequency sounds |
| Diffusers | Scatter sound waves |
Remember, the goal is to create a neutral listening environment. This helps you make better mixing decisions. Proper acoustic treatment is a key part of setting up your studio space.
Adjusting Amplifier Settings
When setting up your passive studio monitors, adjusting amplifier settings is crucial. Proper adjustments can enhance sound quality and ensure your monitors perform at their best. Here, we will explore two essential aspects: gain and volume controls and crossover settings.
Gain And Volume Controls
Gain and volume controls are critical for achieving the right sound levels. Properly adjusting these controls helps prevent distortion and protects your equipment.
- Gain: This controls the input signal strength. Set it too high, and you risk distortion. Set it too low, and your monitors may not produce enough volume.
- Volume: This controls the output level. It is essential to balance this with the gain to avoid overloading your monitors.
Start with the gain at its lowest setting. Gradually increase it while playing audio until you reach a clear sound without distortion. Adjust the volume to a comfortable listening level next.
Crossover Settings
Crossovers divide the audio signal into different frequency bands. Each band is sent to the appropriate driver (woofer, tweeter, etc.) in your monitor. Properly setting these can enhance sound clarity and performance.
| Frequency Range | Driver |
|---|---|
| Low Frequencies | Woofer |
| High Frequencies | Tweeter |
Adjust the crossover settings by referring to your monitor’s manual. Find the recommended crossover points for your specific model. Set the low-frequency crossover point to match your woofer’s range. Do the same for the high-frequency point to match the tweeter.
Proper adjustments can make a significant difference in sound quality. Take your time to ensure all settings are correctly configured.
Testing And Calibration
Testing and calibration ensure your passive studio monitors deliver accurate sound. Proper calibration helps maintain consistency and balance in your audio environment. This step is crucial for achieving the best audio quality from your monitors.
Sound Testing Methods
Sound testing methods help you evaluate your studio monitor’s performance. Start by playing a range of audio tracks. Use different genres and styles to cover all frequencies. Listen carefully for any distortion, imbalance, or unwanted noise.
Another method is using a pink noise test. Pink noise is a static sound that includes all audio frequencies. Play pink noise through your monitors and use a spectrum analyzer to check for any irregularities. This helps identify frequency peaks or dips that need adjustment.
Using Calibration Tools
Calibration tools are essential for fine-tuning your studio monitors. An SPL (Sound Pressure Level) meter measures the loudness of your speakers. Place the SPL meter at your listening position. Adjust the volume until you reach a comfortable level, usually around 85 dB.
Another useful tool is a room correction software. This software analyzes your room’s acoustics and makes adjustments to your audio output. Follow the software’s instructions to measure the sound in your room. The software will then suggest EQ settings to optimize your monitors.
Use an audio interface with built-in calibration features. Many modern audio interfaces include software for monitor calibration. Connect your monitors and follow the on-screen instructions to complete the calibration process.
Maintaining Your Equipment
Maintaining your studio monitors is vital for consistent performance. Without proper care, even the best equipment can suffer. This section will guide you on how to maintain your passive studio monitors. Let’s ensure your investment lasts long and performs well.
Cleaning And Care
Regular cleaning prevents dust buildup which affects sound quality. Use a soft, lint-free cloth to wipe down the monitors. Avoid using harsh chemicals. They can damage the surface and internal components.
Pay attention to the connections. Dust can accumulate in the input jacks. Use a small brush or compressed air to clean them. This ensures a clear signal path.
- Wipe monitors with a soft cloth.
- Avoid harsh chemicals.
- Clean input jacks with a small brush.
Troubleshooting Common Issues
Even with regular care, issues can arise. Here are common problems and solutions:
| Issue | Solution |
|---|---|
| Distorted Sound | Check connections and cables. Replace if damaged. |
| No Sound | Ensure power supply is connected. Verify all cables. |
| Interference | Move monitors away from other electronic devices. |
If you encounter other problems, refer to your monitor’s manual. It often has specific troubleshooting tips. Regular maintenance can prevent most issues.
Upgrading Your Studio Setup
Upgrading your studio setup can greatly improve your sound quality. If you have passive studio monitors, you need to power them with an amplifier. This can be a significant upgrade. A good amplifier can make your music sound clearer and more detailed. Let’s explore when to upgrade your amplifier and the advanced features to look for.
When To Upgrade Your Amplifier
Is your sound lacking power or clarity? It might be time to upgrade your amplifier. An older or lower-quality amplifier can limit your studio monitors. Upgrading can help you hear every detail in your mix. Here are some signs you need an upgrade:
- Your current amplifier is over five years old.
- You notice distortion at higher volumes.
- You want to expand your studio with more equipment.
If you experience these issues, upgrading your amplifier can enhance your listening experience.
Exploring Advanced Features
New amplifiers come with advanced features that can improve your setup. Here are some features to consider:
| Feature | Benefit |
|---|---|
| Digital Signal Processing (DSP) | Helps to fine-tune your sound for better clarity. |
| Multiple Channels | Allows you to connect more speakers for a fuller sound. |
| Wireless Connectivity | Enables you to connect devices without cables. |
These features can take your studio to the next level. Look for an amplifier that fits your needs and budget. Upgrading your studio setup can be a rewarding investment.
Conclusion And Final Tips
Powering passive studio monitors requires understanding their connections and using a quality amplifier. Ensure all cables are securely connected to get the best sound.
Powering passive studio monitors can seem tricky. But with the right knowledge, it’s simple. This section will recap key points. It will also provide additional resources. Let’s ensure your setup runs smoothly.Recap Of Key Points
First, understand passive vs. active monitors. Passive monitors need an external amplifier. Check your monitor’s power requirements. Choose an amplifier that matches these needs. Ensure proper connections. Use quality cables. Avoid long cable runs to reduce interference. Proper grounding prevents noise.Additional Resources
Need more help? Check out online forums. Many audio professionals share tips. Read product manuals. They often have specific advice. Look for video tutorials. Visual guides can simplify complex steps. Visit manufacturer websites. They offer support and troubleshooting guides. Setting up passive studio monitors can enhance your audio experience. Follow these tips for success. “`
Credit: geminisound.com
Credit: www.altomusic.com
Frequently Asked Questions
What Are Passive Studio Monitors?
Passive studio monitors are speakers that require an external amplifier. They do not have built-in amplification. These monitors provide accurate sound reproduction, essential for mixing and mastering music.
How To Connect Passive Studio Monitors?
To connect passive studio monitors, you’ll need speaker cables. Connect the amplifier’s output terminals to the monitors’ input terminals. Ensure the amplifier matches the monitors’ power and impedance specifications.
Do Passive Studio Monitors Need An Amplifier?
Yes, passive studio monitors need an external amplifier. The amplifier powers the monitors, enabling them to produce sound. Choose an amplifier compatible with your monitors’ specifications.
What Amplifier Is Best For Passive Monitors?
Choose an amplifier that matches your monitors’ power rating and impedance. Ensure it provides clean, distortion-free sound. Research brands known for quality amplifiers used in professional studios.
Conclusion

Powering passive studio monitors is simpler than it seems. Choose a quality amplifier. Connect your components carefully. Ensure proper settings for optimal sound. Follow these steps to enhance your audio experience. Happy monitoring!
{ “@context”: “https://schema.org”, “@type”: “FAQPage”, “mainEntity”: [ { “@type”: “Question”, “name”: “What are passive studio monitors?”, “acceptedAnswer”: { “@type”: “Answer”, “text”: “Passive studio monitors are speakers that require an external amplifier. They do not have built-in amplification. These monitors provide accurate sound reproduction, essential for mixing and mastering music.” } } , { “@type”: “Question”, “name”: “How to connect passive studio monitors?”, “acceptedAnswer”: { “@type”: “Answer”, “text”: “To connect passive studio monitors, you’ll need speaker cables. Connect the amplifier’s output terminals to the monitors’ input terminals. Ensure the amplifier matches the monitors’ power and impedance specifications.” } } , { “@type”: “Question”, “name”: “Do passive studio monitors need an amplifier?”, “acceptedAnswer”: { “@type”: “Answer”, “text”: “Yes, passive studio monitors need an external amplifier. The amplifier powers the monitors, enabling them to produce sound. Choose an amplifier compatible with your monitors’ specifications.” } } , { “@type”: “Question”, “name”: “What amplifier is best for passive monitors?”, “acceptedAnswer”: { “@type”: “Answer”, “text”: “Choose an amplifier that matches your monitors’ power rating and impedance. Ensure it provides clean, distortion-free sound. Research brands known for quality amplifiers used in professional studios.” } } ] }As an Amazon Associate, Cleanestor earns from qualifying purchases at no additional cost to you.