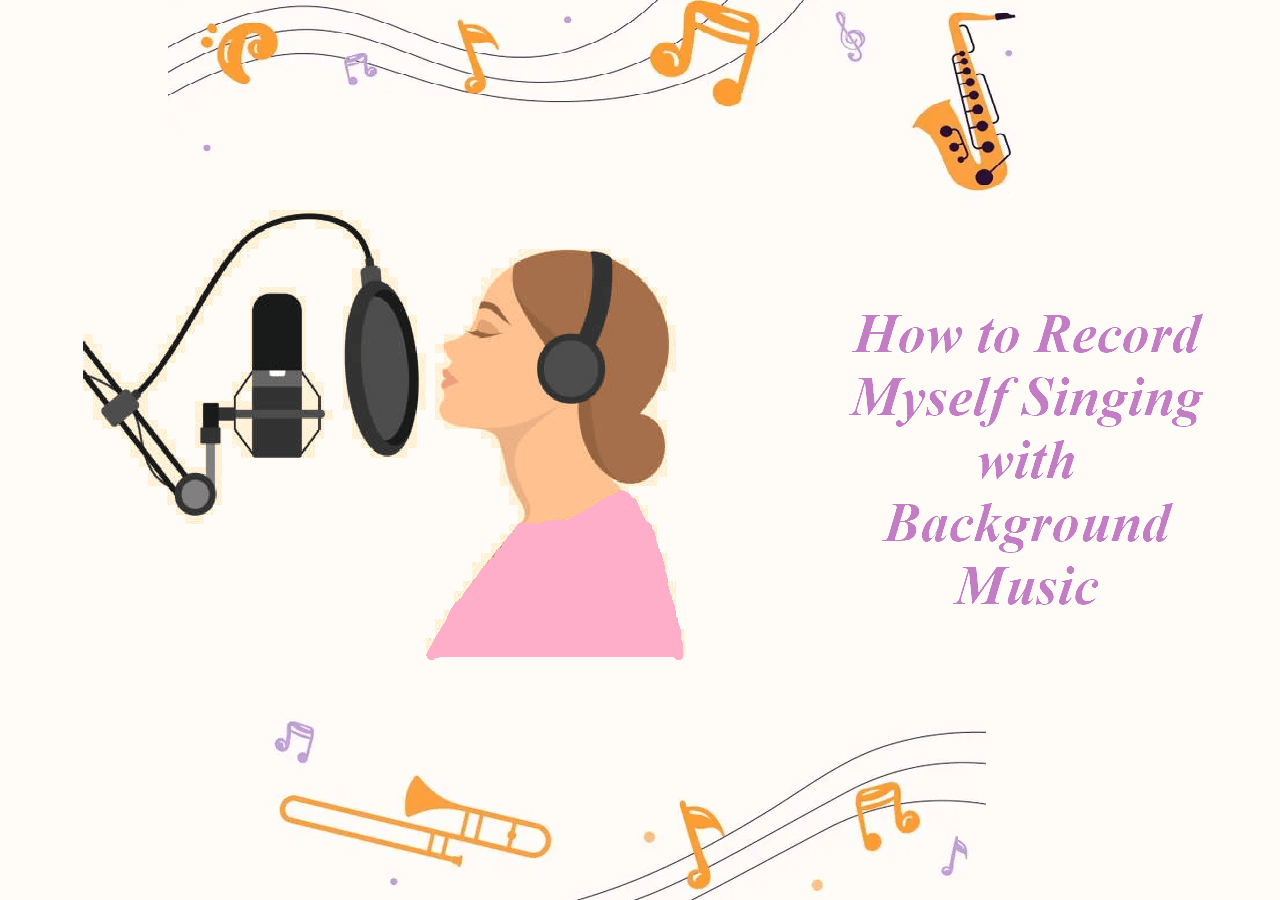
Recording yourself singing with background music can be a fun and rewarding experience. It allows you to showcase your talent and improve your skills.
But how can you do it effectively? Recording your voice with background music requires a few simple steps. It’s not as hard as it seems. First, you need the right equipment, like a good microphone and headphones. You also need software to mix your voice with the music.
Understanding these basics can help you achieve a clear, professional sound. This guide will walk you through the process, ensuring your recordings sound great and are easy to share. Whether you’re a beginner or looking to enhance your skills, this post will help you get started on the right note.
Credit: www.fineshare.com
Choosing The Right Equipment
Choosing the right equipment is crucial for recording high-quality singing with background music. Having the proper gear ensures your voice is clear, professional, and well-blended with the music. Let’s explore the essentials.
Microphone Options
A microphone is the most important tool in your recording setup. Choosing the right one can make a huge difference.
- Condenser Microphones: Ideal for studio recordings. They capture detailed and accurate sound.
- Dynamic Microphones: Great for live performances. They are durable and handle high sound pressure.
- USB Microphones: Perfect for beginners. They are easy to use and connect directly to your computer.
Consider your environment. If your room is not soundproof, choose a dynamic microphone to reduce background noise.
Audio Interface
An audio interface connects your microphone to your computer. It converts analog signals to digital. This ensures high-quality sound.
| Type | Features |
|---|---|
| Basic Models | Usually have 1-2 inputs. Suitable for solo recordings. |
| Advanced Models | Include multiple inputs, better preamps, and higher sampling rates. |
A basic audio interface is sufficient for most home recording needs. Make sure it is compatible with your computer and recording software.
High-quality recordings start with the right equipment. Invest in good gear to ensure your singing sounds professional and clear.
Setting Up Your Recording Space
Creating the perfect recording space is crucial for capturing great sound. A well-prepared space ensures your voice and background music blend smoothly. Let’s explore some steps to set up your recording space effectively.
Soundproofing Tips
Soundproofing your space minimizes unwanted noise. Use heavy curtains on windows to block outside sounds. Carpets and rugs can reduce echoes from floors. Consider adding foam panels to walls. These absorb sound and improve quality. A quiet room ensures clear recordings without distractions.
Optimal Microphone Placement
Microphone placement affects the quality of your recording. Keep the microphone at mouth level. This captures your voice accurately. Maintain a distance of 6 to 12 inches from the mic. Too close, and your voice may sound distorted. Too far, and it may lose clarity. Use a pop filter to reduce harsh sounds. This ensures smoother recordings.
Selecting Background Music
Choosing the right background music is essential for a great recording. It sets the mood and complements your singing. The right music can make your voice shine. Here are key points to consider.
Finding Royalty-free Music
First, you need to find royalty-free music. This means you can use it without paying fees. There are many websites offering royalty-free tracks. Some popular ones include Free Music Archive and YouTube Audio Library. Make sure to read the terms and conditions on these sites. This will help you avoid any legal issues.
Matching Music To Your Voice
Next, match the music to your voice. Think about the genre that suits your style. If you have a soft voice, choose mellow tunes. For powerful vocals, pick something more upbeat. The key is to enhance your voice, not overshadow it. Try singing along with different tracks. This will help you find the perfect match. Once you find the right track, practice with it. This will make your final recording sound professional.
Using Recording Software
Using recording software is a great way to record yourself singing with background music. It allows you to produce high-quality recordings at home. Whether you’re a beginner or an experienced singer, recording software can enhance your music.
Popular Recording Programs
Several recording programs are popular among singers. Audacity is free and user-friendly. It works on Windows, Mac, and Linux. GarageBand is another great option for Mac users. It offers many features and is easy to use. Adobe Audition is a professional choice with advanced tools. It is perfect for those who need more control over their recordings.
Basic Software Features
Most recording software includes basic features. Multi-track recording lets you record vocals and background music separately. This helps in mixing and editing later. Another feature is the audio effects. Reverb, delay, and equalization can improve your voice quality. Some software also offers pitch correction. This helps to fix any off-key notes in your singing.
Using these features, you can create a polished recording. Start by importing the background music. Then, record your vocals on a separate track. Adjust the levels to balance the music and vocals. Add effects to enhance the sound. Save and export your final recording.
Recording Your Vocals
Recording your vocals can be a fun and rewarding experience. It’s important to follow some key steps to ensure your recordings are clear and professional. Below, we will guide you through the process of preparing your voice and recording multiple takes to get the best results.
Warm-up Exercises
Before you start recording, it’s essential to warm up your voice. This helps to avoid strain and makes your voice sound better. Here are some simple warm-up exercises you can try:
- Humming: Start by humming gently for a few minutes. This helps to relax your vocal cords.
- Lip Trills: Blow air through your lips to make them vibrate. This exercise is great for breath control.
- Scales: Sing scales up and down. This expands your vocal range and improves pitch accuracy.
- Vowel Sounds: Practice singing vowel sounds like “ah,” “ee,” and “oo.” This improves clarity and diction.
Warming up prepares your voice and ensures a smoother recording session.
Multiple Takes
It’s rare to get a perfect recording on the first try. Recording multiple takes gives you more options to choose from. Here are some tips for making the most of your takes:
- Record in Sections: Instead of recording the entire song in one go, break it into sections. This makes it easier to focus on each part.
- Experiment with Style: Try different styles and dynamics in each take. This adds variety and helps you find the best version.
- Review Your Takes: Listen to each take and note what works and what doesn’t. This helps you improve with each attempt.
- Mix and Match: You can use the best parts from different takes to create a final version. This ensures the highest quality.
Recording multiple takes provides flexibility and improves the final result. Take your time and enjoy the process.
Credit: www.fineshare.com
Syncing Vocals With Background Music
Recording your vocals and syncing them with background music can be exciting. It gives your song a polished, professional sound. But how do you make sure your vocals align perfectly with the music track? Let’s break it down step by step.
Importing Music Track
The first step is to import your background music track into your recording software. Open your recording software and create a new project. Look for the option to import audio or music files. Select your background music file and import it into the project.
Once imported, place the music track on its own audio track. This will help you manage and edit it separately from your vocal recording. Ensure the music track starts at the beginning of your timeline.
Aligning Vocals
Next, you need to record your vocals. Create a new audio track for your vocals in the same project. Use headphones to listen to the background music while you sing. This helps you stay in sync with the music.
After recording your vocals, listen to both tracks together. Check if your vocals align well with the music. If they don’t, you can move the vocal track slightly left or right. This will help you find the perfect alignment.
Zoom in on the timeline for precise adjustments. Look at the waveforms of both tracks to match peaks and valleys. This visual aid can help you achieve better synchronization.
Editing And Mixing
After recording your vocals with background music, the next crucial step is editing and mixing. This process helps in refining your recording to achieve a professional sound. You need to adjust levels, add effects, and balance the overall mix.
Adjusting Levels
First, set the volume levels for each track. Ensure the vocal track is clear and not overshadowed by the background music. Balance is key. You can use a digital audio workstation (DAW) for this task. Most DAWs have meters to help you visually monitor the levels.
Here’s a simple way to adjust levels:
- Solo the vocal track.
- Set its volume to a comfortable listening level.
- Unmute the background music.
- Gradually increase the music volume until it complements the vocals.
Adding Effects
After adjusting levels, you might want to add effects to enhance your recording. Common effects include reverb, compression, and EQ. These can add depth and polish to your sound.
Follow these steps to add effects:
- Reverb: Adds a sense of space. Use it sparingly to avoid a muddy mix.
- Compression: Smooths out volume spikes. Set a low ratio for a natural sound.
- EQ: Adjusts the frequency balance. Boost the mids for vocal clarity.
Experiment with each effect to find what works best for your recording.
Credit: recorder.easeus.com
Exporting Your Final Track
Exporting your final track is the last step in recording yourself singing with background music. This step ensures your track is in the right format and quality for sharing. Let’s explore the key aspects of this process.
Choosing The Right Format
Choosing the correct format is vital for the final track. Common formats include MP3, WAV, and FLAC. Each has its own benefits.
- MP3: A popular format with good quality and small file size.
- WAV: Offers high-quality sound but larger file sizes.
- FLAC: Provides lossless compression and great quality.
Think about where you will share your track. Social media, streaming platforms, and personal use may require different formats.
Quality Settings
Quality settings impact how your track sounds. Higher quality settings mean larger file sizes but better sound. Here are some common options:
| Setting | Description |
|---|---|
| Bitrate | Measured in kbps. Higher bitrate means better quality. |
| Sample Rate | Measured in Hz. Common rates are 44.1 kHz and 48 kHz. |
| Bit Depth | Usually 16-bit or 24-bit. Higher bit depth means better sound. |
Adjust these settings based on your needs. For casual listening, 128 kbps MP3 may be enough. For professional use, consider 320 kbps MP3 or even WAV.
Frequently Asked Questions
How Can I Record Myself Singing With Background Music?
To record yourself singing with background music, use a DAW like Audacity or GarageBand. Connect a microphone and play the background music through headphones. Record your vocals while listening to the music. Mix and edit the final track.
What Equipment Do I Need To Record Singing?
You’ll need a microphone, headphones, and a computer with recording software. Optional equipment includes an audio interface and pop filter. Quality equipment ensures better sound recording and mixing capabilities.
Can I Use My Phone To Record Singing?
Yes, you can use your phone to record singing. Download a recording app like GarageBand or BandLab. Use headphones to play background music while recording your vocals. For best results, record in a quiet environment.
How Do I Mix Vocals With Background Music?
To mix vocals with background music, use a DAW. Import both tracks into the software. Adjust the volume levels, apply effects, and balance the mix. Ensure vocals are clear and blend well with the music.
Conclusion
Recording yourself singing with background music is easier than it seems. Follow the steps and practice often. Ensure your setup is ready and test your equipment. Focus on your voice and timing with the music. Edit your recording to improve quality.

Share your work with friends or online. Enjoy the process and keep learning. With time and effort, you’ll see great improvements. Happy singing!
{ “@context”: “https://schema.org”, “@type”: “FAQPage”, “mainEntity”: [ { “@type”: “Question”, “name”: “How can I record myself singing with background music?”, “acceptedAnswer”: { “@type”: “Answer”, “text”: “To record yourself singing with background music, use a DAW like Audacity or GarageBand. Connect a microphone and play the background music through headphones. Record your vocals while listening to the music. Mix and edit the final track.” } } , { “@type”: “Question”, “name”: “What equipment do I need to record singing?”, “acceptedAnswer”: { “@type”: “Answer”, “text”: “You’ll need a microphone, headphones, and a computer with recording software. Optional equipment includes an audio interface and pop filter. Quality equipment ensures better sound recording and mixing capabilities.” } } , { “@type”: “Question”, “name”: “Can I use my phone to record singing?”, “acceptedAnswer”: { “@type”: “Answer”, “text”: “Yes, you can use your phone to record singing. Download a recording app like GarageBand or BandLab. Use headphones to play background music while recording your vocals. For best results, record in a quiet environment.” } } , { “@type”: “Question”, “name”: “How do I mix vocals with background music?”, “acceptedAnswer”: { “@type”: “Answer”, “text”: “To mix vocals with background music, use a DAW. Import both tracks into the software. Adjust the volume levels, apply effects, and balance the mix. Ensure vocals are clear and blend well with the music.” } } ] }As an Amazon Associate, Cleanestor earns from qualifying purchases at no additional cost to you.