Want to use Spark Go as an audio interface? It’s easy and very useful.
This guide will help you do it step-by-step. Spark Go is a compact, versatile tool. It’s designed for guitarists but can serve as an audio interface. With it, you can record, practice, and even perform. Using Spark Go as an audio interface gives you quality sound and flexibility.
Whether you’re a beginner or a pro, this device can enhance your audio setup. Ready to learn how? Follow this guide, and you’ll be using Spark Go as an audio interface in no time. Let’s dive in and explore its potential together.
Credit: www.thatguitarlover.com
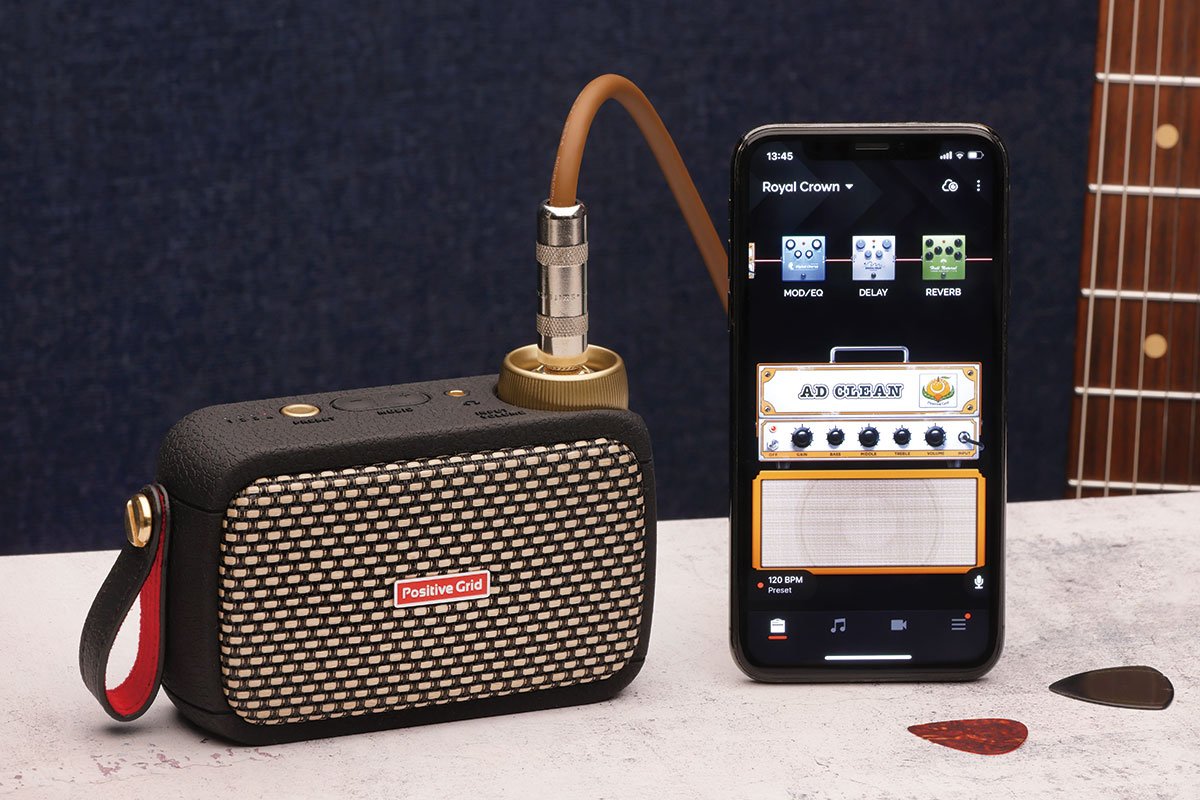
Initial Setup
To use Spark Go as an audio interface, connect it to your computer via USB. Open your audio software and select Spark Go as your input and output device. Adjust the settings for optimal sound quality.
Setting up your Spark Go as an audio interface can be exciting. This section will guide you through the initial steps to get started. Follow these simple steps to ensure everything is connected properly.Unboxing Your Spark Go
Begin by unboxing your Spark Go. Check the contents of the box. You should find the following items:- Spark Go device
- USB cable
- Quick start guide
Connecting To Your Computer
Once you have unboxed your Spark Go, the next step is to connect it to your computer. Follow these steps:- Power off your computer.
- Connect the USB cable to the Spark Go.
- Plug the other end into your computer’s USB port.
- Power on your computer.
Installing Drivers And Software
To ensure your Spark Go works correctly, you may need to install drivers. Follow these steps:- Visit the official website for Spark Go drivers.
- Download the latest driver for your operating system.
- Run the installer and follow the on-screen instructions.
Configuring Audio Settings
After installing the drivers, you need to configure your audio settings. Here’s how:- Open the sound settings on your computer.
- Select Spark Go as the default audio input device.
- Adjust the volume settings as needed.
Testing Your Setup
Finally, it’s time to test your setup. Play some audio and check if it’s coming through the Spark Go. Here are some steps:- Open a media player on your computer.
- Play a song or audio clip.
- Check the sound output through the Spark Go.
Installing Necessary Software
Installing the necessary software is crucial to use Spark Go as an audio interface. This step ensures your device communicates correctly with your computer. Follow these simple steps to get started.
Downloading The Drivers
First, visit the official Spark Go website. Look for the driver download section. Ensure you select the driver compatible with your operating system. Download the file to your computer.
Software Installation Guide
Locate the downloaded driver file on your computer. Double-click the file to start the installation process. Follow the on-screen instructions carefully. Ensure you complete each step before moving to the next.
Restart your computer after installing the driver. This step ensures all changes take effect. Your Spark Go is now ready to use as an audio interface.
Configuring Settings
Configuring your Spark Go as an audio interface can be a seamless process. It requires a few essential steps to ensure optimal performance. This guide will walk you through the necessary configurations. Properly adjusting these settings will enhance your overall audio experience.
Adjusting Audio Preferences
First, open your audio software. Go to the Preferences or Settings menu. Look for the Audio tab. Select Spark Go as your input and output device.
Ensure that the sample rate matches. Typically, a sample rate of 44.1 kHz or 48 kHz is suitable. Adjust the buffer size to a moderate level. This reduces the chances of audio dropouts.
Check the output channels. Ensure the left and right channels are mapped correctly. This ensures proper stereo sound.
Optimizing Latency
Latency is the delay between input and output. To optimize latency, return to the Preferences or Settings menu. Locate the Latency section.
Start by setting a low buffer size. A buffer size of 128 samples is a good starting point. Test your setup to check the performance.
If you experience issues, gradually increase the buffer size. This balance ensures smooth performance with minimal delay.
Use a direct USB connection. Avoid using USB hubs. This reduces latency and improves connection stability.
Lastly, close unnecessary background applications. This frees up system resources, enhancing overall performance.
| Setting | Recommended Value |
|---|---|
| Sample Rate | 44.1 kHz or 48 kHz |
| Buffer Size | 128 samples (adjust as needed) |

Credit: www.youtube.com
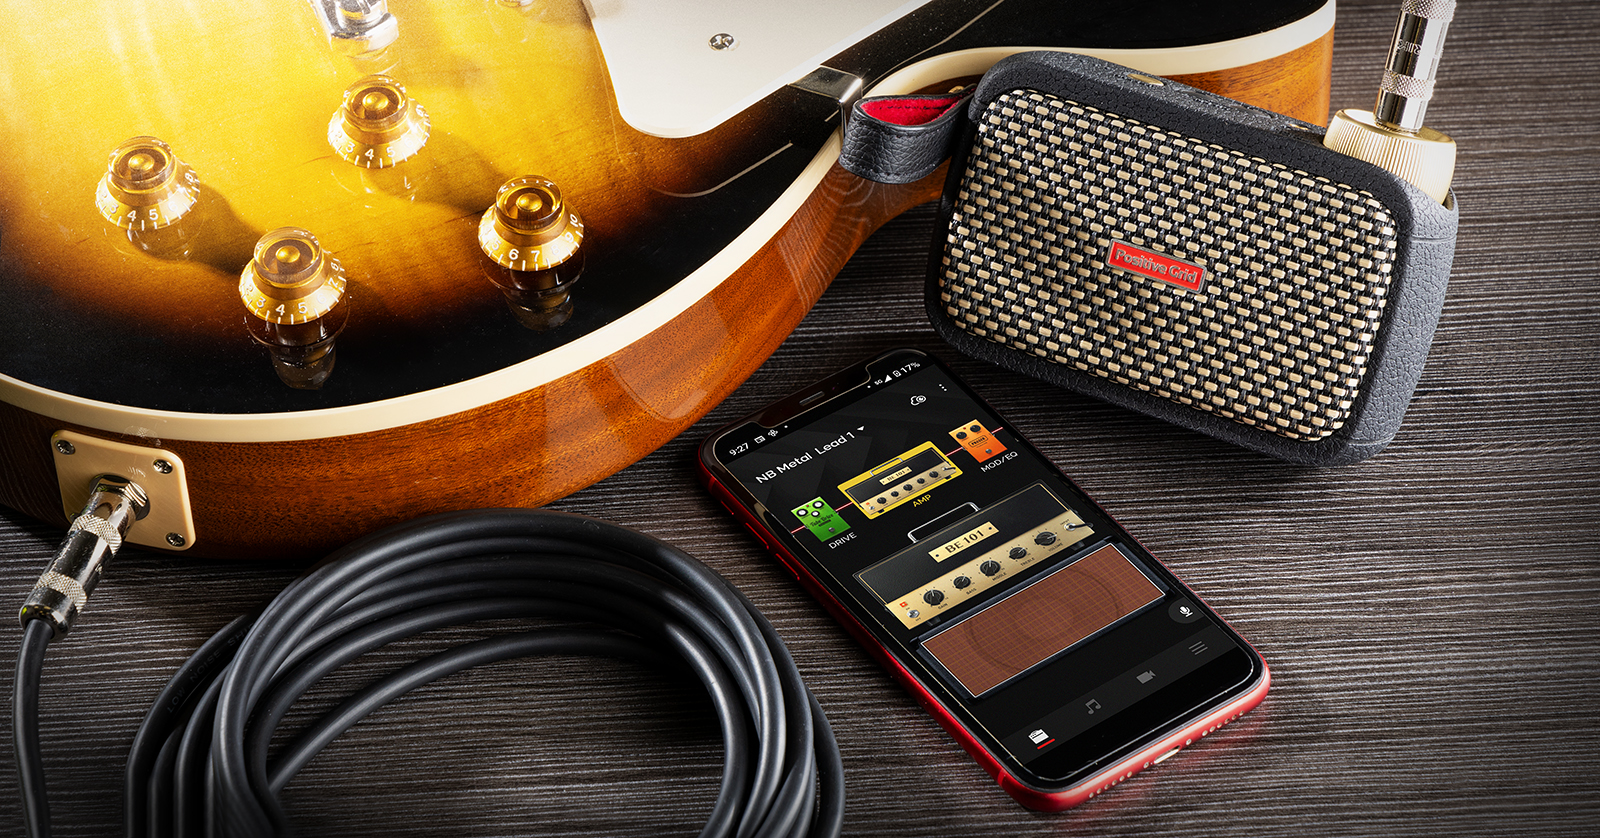
Using Spark Go With Daws
Using Spark Go as an audio interface with your Digital Audio Workstation (DAW) can enhance your recording experience. Spark Go offers high-quality audio input and output, making it a great tool for home studio enthusiasts. This guide will help you set up Spark Go with various DAWs, ensuring seamless integration and optimal performance.
Compatible Daws
Spark Go works with many popular DAWs. Some of the compatible DAWs include:
- Ableton Live
- Logic Pro X
- Pro Tools
- FL Studio
- GarageBand
- Studio One
These DAWs recognize Spark Go as an audio interface. This ensures smooth operation and high-quality sound recording. Make sure your DAW is updated to the latest version for the best experience.
Setting Up In Ableton Live
Follow these steps to set up Spark Go in Ableton Live:
- Connect Spark Go to your computer using the USB cable.
- Open Ableton Live and go to Preferences in the Options menu.
- Select the Audio tab in the Preferences window.
- In the Driver Type dropdown, select ASIO (Windows) or Core Audio (Mac).
- In the Audio Device dropdown, select Spark Go.
- Adjust the input and output configurations as needed.
- Close the Preferences window.
Your Spark Go is now set up in Ableton Live. You can start recording or playing back audio with ease. Remember to monitor your audio levels to avoid clipping and distortion.
Recording Audio
Recording audio with your Spark Go as an audio interface can be a great way to capture high-quality sound. Whether you’re a musician or a podcaster, understanding the recording process can help you get the best results. Let’s dive into the steps you need to follow for optimal audio recording.
Setting Input Levels
First, connect your Spark Go to your computer. Open your recording software and locate the input settings. Adjust the input levels to ensure your sound is clear and free from distortion. If the levels are too high, your recording will clip. If they are too low, you might have to boost the volume later, which can add noise.
Test your input levels by playing or speaking into the Spark Go. Watch the level meters in your software. Aim for a level that peaks around -6dB. This gives you a good balance between volume and headroom. Make small adjustments until you are satisfied with the levels.
Monitoring Your Recording
Monitoring your recording is crucial for ensuring quality. Plug your headphones into the Spark Go. This allows you to hear what is being recorded in real-time. Check that your headphones are comfortable and provide a clear sound.
While recording, listen carefully for any issues. This could be background noise, distortion, or unwanted sounds. Address these issues as soon as you hear them. Pause the recording, make the necessary adjustments, and resume. This will save you time during the editing process.
By setting input levels correctly and monitoring your recording, you can achieve professional-quality audio with your Spark Go. Happy recording!
Credit: www.sweetwater.com
Troubleshooting Common Issues
When using the Spark Go as an audio interface, users may face some common issues. This section will help you troubleshoot those problems and ensure smooth operation.
No Sound Issue
Sometimes, you might not hear any sound from the Spark Go. First, check all connections. Ensure cables are plugged in properly. Next, verify the volume levels. Both on your device and the Spark Go. Low volume settings can cause this issue.
Another step is to check the input and output settings. Ensure the Spark Go is selected as the audio device. This can be done in your computer’s sound settings. If the problem persists, restart the device. Sometimes, a simple reboot fixes many issues.
Driver Problems
Driver issues can also affect the Spark Go’s performance. First, ensure you have the latest driver installed. Visit the manufacturer’s website. Download the latest driver for your operating system. Install the driver following the instructions.
If you still face problems, check for driver conflicts. Open the device manager on your computer. Look for any yellow exclamation marks. This indicates a conflict or problem. Right-click on the device and select “Update Driver”. Follow the prompts to update.
In some cases, uninstalling and reinstalling the driver can help. Right-click on the Spark Go device in the device manager. Select “Uninstall Device”. Restart your computer. The driver should reinstall automatically.
Advanced Tips
Welcome to the advanced tips section on using Spark Go as an audio interface. This section is for those who want to take their sound to the next level. Whether you are a budding musician or an experienced producer, these tips will help you get the most out of your Spark Go.
Using Effects And Plugins
Enhance your sound by using effects and plugins. Spark Go supports various plugins that can add depth and richness to your audio. Here are some tips:
- Reverb and Delay: Use reverb to create a sense of space. Delay can add an echo effect, making your sound more interesting.
- Compression: This plugin helps to balance the loud and soft parts of your audio. It ensures a consistent sound level.
- EQ (Equalization): Adjust the bass, mid, and treble frequencies. Customize your audio to suit your style.
Experiment with different combinations of effects and plugins. Find the perfect mix that enhances your music.
Customizing Your Sound
Customization is key to making your sound unique. Here are some advanced tips:
| Feature | Description |
|---|---|
| Presets | Save your favorite settings and switch between them easily. |
| Modulation | Add movement to your sound with chorus, flanger, or phaser effects. |
| Looper | Record and loop your playing. Create complex layers of sound. |
Use the looper to practice solos or create new compositions. Save different presets for various genres. This flexibility allows you to adapt quickly to different musical styles.
Remember to experiment and have fun. The more you play around with Spark Go, the more you will discover its potential.
Frequently Asked Questions
What Is Spark Go?
Spark Go is a portable audio interface designed for musicians. It connects instruments to digital devices. It offers high-quality sound and easy integration with audio software.
How To Set Up Spark Go?
To set up Spark Go, connect it to your device using USB. Install the necessary drivers and software. Follow the on-screen instructions to complete the setup.
Can Spark Go Be Used With Mobile Devices?
Yes, Spark Go can be used with mobile devices. It supports both iOS and Android systems. Ensure your device has the required app installed.
Is Spark Go Compatible With All Daws?
Spark Go is compatible with most Digital Audio Workstations (DAWs). Check the compatibility list on the official website. It works seamlessly with popular DAWs like Ableton Live, Logic Pro, and FL Studio.
Conclusion
Using Spark Go as an audio interface is straightforward and effective. Follow the steps, and you’ll enjoy clear sound. This simple guide helps you connect and set up easily. Now, your recording sessions can be smoother. No more complicated setups.

Just plug in Spark Go and start creating. Whether you’re a beginner or experienced, this tool will suit your needs. So, get the most out of your Spark Go. Your audio projects deserve great quality. Happy recording!
{ “@context”: “https://schema.org”, “@type”: “FAQPage”, “mainEntity”: [ { “@type”: “Question”, “name”: “What is Spark Go?”, “acceptedAnswer”: { “@type”: “Answer”, “text”: “Spark Go is a portable audio interface designed for musicians. It connects instruments to digital devices. It offers high-quality sound and easy integration with audio software.” } } , { “@type”: “Question”, “name”: “How to set up Spark Go?”, “acceptedAnswer”: { “@type”: “Answer”, “text”: “To set up Spark Go, connect it to your device using USB. Install the necessary drivers and software. Follow the on-screen instructions to complete the setup.” } } , { “@type”: “Question”, “name”: “Can Spark Go be used with mobile devices?”, “acceptedAnswer”: { “@type”: “Answer”, “text”: “Yes, Spark Go can be used with mobile devices. It supports both iOS and Android systems. Ensure your device has the required app installed.” } } , { “@type”: “Question”, “name”: “Is Spark Go compatible with all DAWs?”, “acceptedAnswer”: { “@type”: “Answer”, “text”: “Spark Go is compatible with most Digital Audio Workstations (DAWs). Check the compatibility list on the official website. It works seamlessly with popular DAWs like Ableton Live, Logic Pro, and FL Studio.” } } ] }As an Amazon Associate, Cleanestor earns from qualifying purchases at no additional cost to you.