Using the Zoom R8 as an audio interface is easy. It connects your instruments and microphones to your computer.
This guide will show you how to set it up. The Zoom R8 is a versatile tool for musicians and podcasters. It combines recording, mixing, and interface capabilities in one device. Setting it up as an audio interface lets you record directly to your computer.
This is great for home studios and mobile setups. In this guide, we will explain each step in detail. You will learn how to connect the Zoom R8, install drivers, and start recording. Whether you are a beginner or experienced, this guide is for you. Let’s get started with transforming your Zoom R8 into a powerful audio interface.
Introduction To Zoom R8
The Zoom R8 is a versatile and compact digital recorder. It is popular among musicians and podcasters. This device serves multiple functions. It can be a recorder, audio interface, controller, and sampler. Its small size makes it portable. Yet, it offers a range of powerful features. This guide will help you understand how to use the Zoom R8 as an audio interface.
Key Features
The Zoom R8 boasts many features. It includes eight tracks for recording and playback. You can record in high-quality WAV format. The device supports two simultaneous inputs. It has built-in stereo mics for quick recording. Also, there are two mic/line/instrument inputs with phantom power.
The R8 comes with 150 built-in effects. These include guitar amp models and mastering tools. You can use it as a pad sampler with eight voices. It supports SD cards up to 32GB. This ensures ample storage for your projects. The device can also function as a control surface for DAWs.
Basic Functions
The Zoom R8 is easy to use. Start by connecting it to your computer via USB. This will enable its audio interface mode. You can then use it with your DAW. The R8 will handle recording and playback tasks.
To record, select an input source. Use the built-in mics or connect external ones. Adjust the input levels using the knobs. Press the record button to start capturing audio. Playback is simple too. Select a track and press play. You can mix and edit directly on the device.
The R8’s control surface mode helps with DAW navigation. It gives you hands-on control. You can use faders and transport buttons. This makes the workflow smoother. The R8 truly simplifies the recording process.
Setting Up The Zoom R8
The Zoom R8 is a versatile device that serves as an audio interface, recorder, and controller. Setting it up is simple and can be done quickly. This guide will walk you through the initial steps of unboxing and powering on the Zoom R8.
Unboxing And Contents
When you open the box, you will find several items. Check that you have everything:
- Zoom R8 Recorder
- USB Cable
- AC Adapter
- SD Card
- Quick Start Guide
Ensure all these items are present. If anything is missing, contact your seller immediately.
Powering On
To start, connect the AC adapter to the Zoom R8 and plug it into a power outlet. You can also use batteries if you prefer.
Next, insert the SD card into the slot provided. The SD card is essential for recording and storage. Make sure it clicks into place.
Press the power button on the side of the device. The screen should light up, and the Zoom R8 will start. Follow the on-screen instructions to set the date and time.
Once powered on, connect the USB cable to your computer. This will allow the Zoom R8 to function as an audio interface.
You are now ready to use the Zoom R8 as an audio interface. Your computer should recognize it automatically. If not, you may need to install drivers from the Zoom website.
Setting up the Zoom R8 is straightforward. Follow these steps to get started quickly and easily.
Connecting To Computer
To use the Zoom R8 as an audio interface, you need to connect it to your computer. This process involves a USB connection and installing the necessary drivers. Follow these steps to ensure a smooth connection and optimal performance.
Usb Connection
First, find a suitable USB cable. The Zoom R8 comes with a USB cable, but any standard USB cable will work. Plug one end of the cable into the Zoom R8’s USB port. Then, connect the other end to your computer’s USB port. Ensure the Zoom R8 is powered on. Your computer should recognize the device.
Driver Installation
Once connected, you need to install the drivers. These drivers allow your computer to communicate with the Zoom R8. Visit the Zoom website and go to the support section. Look for the latest drivers for the Zoom R8. Download the appropriate driver for your operating system.
After downloading, open the driver file. Follow the on-screen instructions to install the driver. The process is straightforward and should take only a few minutes. Once installed, restart your computer to ensure the driver works correctly.
After restarting, open your preferred digital audio workstation (DAW). In the settings, select the Zoom R8 as your audio interface. Your Zoom R8 is now ready to use as an audio interface.
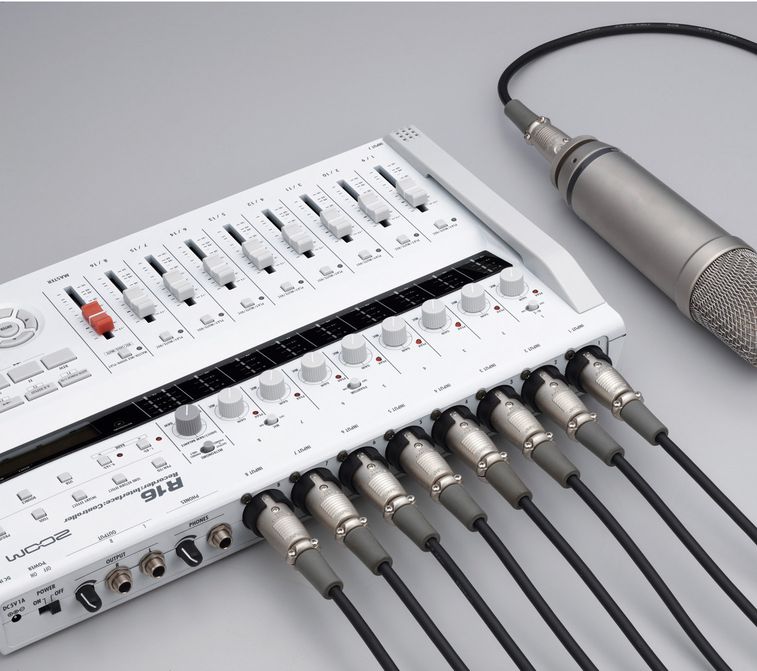
Credit: zoomcorp.com
Configuring Audio Settings
Configuring audio settings on the Zoom R8 is crucial for optimal performance. This process ensures the correct input and output, as well as the right sample rates. These settings directly impact the quality of your recordings. With the right configuration, you can achieve clear and professional audio. Let’s dive into the steps to configure your Zoom R8 audio settings.
Selecting Input And Output
To start, connect your Zoom R8 to your computer using a USB cable. Open your Digital Audio Workstation (DAW) software. Navigate to the audio settings menu. Here, you will select the Zoom R8 as your audio interface.
- Go to Preferences or Settings in your DAW.
- Select Audio Devices or Audio Setup.
- Choose Zoom R8 as both input and output device.
This setup allows your DAW to send and receive audio through the Zoom R8. Ensure that your monitors or headphones are connected to the Zoom R8 for playback.
Adjusting Sample Rates
Sample rates determine the quality of your recordings. Higher rates capture more detail but use more storage. The Zoom R8 supports various sample rates.
- Open your DAW’s audio settings menu.
- Locate the sample rate option.
- Choose a sample rate that suits your project needs.
Common sample rates include 44.1kHz and 48kHz. For most music projects, 44.1kHz is sufficient. For video, 48kHz is often used. Once selected, ensure the Zoom R8 is set to the same sample rate.
| Sample Rate | Use Case |
|---|---|
| 44.1kHz | Music recording |
| 48kHz | Video production |
Matching the sample rates between your DAW and Zoom R8 prevents audio issues. This step is essential for smooth recording and playback.
Recording With Zoom R8
The Zoom R8 is a versatile and compact device. It serves as an audio interface, controller, and sampler. Whether you’re a beginner or a pro, it makes recording easy and fun. This guide will walk you through the essential steps for recording with the Zoom R8.
Setting Up Tracks
Before you start recording, you need to set up your tracks. Follow these steps:
- Turn on your Zoom R8 and connect it to your computer.
- Select the ‘Audio Interface’ mode from the main menu.
- Open your preferred Digital Audio Workstation (DAW) on your computer.
- In your DAW, create a new project and add tracks as needed.
- In the track settings, choose ‘Zoom R8’ as your input device.
This setup ensures that your DAW recognizes the Zoom R8. You are now ready to record.
Monitoring Audio Levels
Monitoring audio levels is crucial for a clear recording. Here’s how to do it:
- Press the ‘Rec’ button to arm the track you want to record.
- Use the ‘Gain’ knob to adjust the input level.
- Check the level meters on the Zoom R8. They should peak around -6 dB to -3 dB.
- If the levels are too high, lower the ‘Gain’. If they are too low, increase it.
- Keep an eye on the clipping indicator. Avoid letting it light up.
Proper audio level monitoring ensures your recordings are clean and free of distortion.
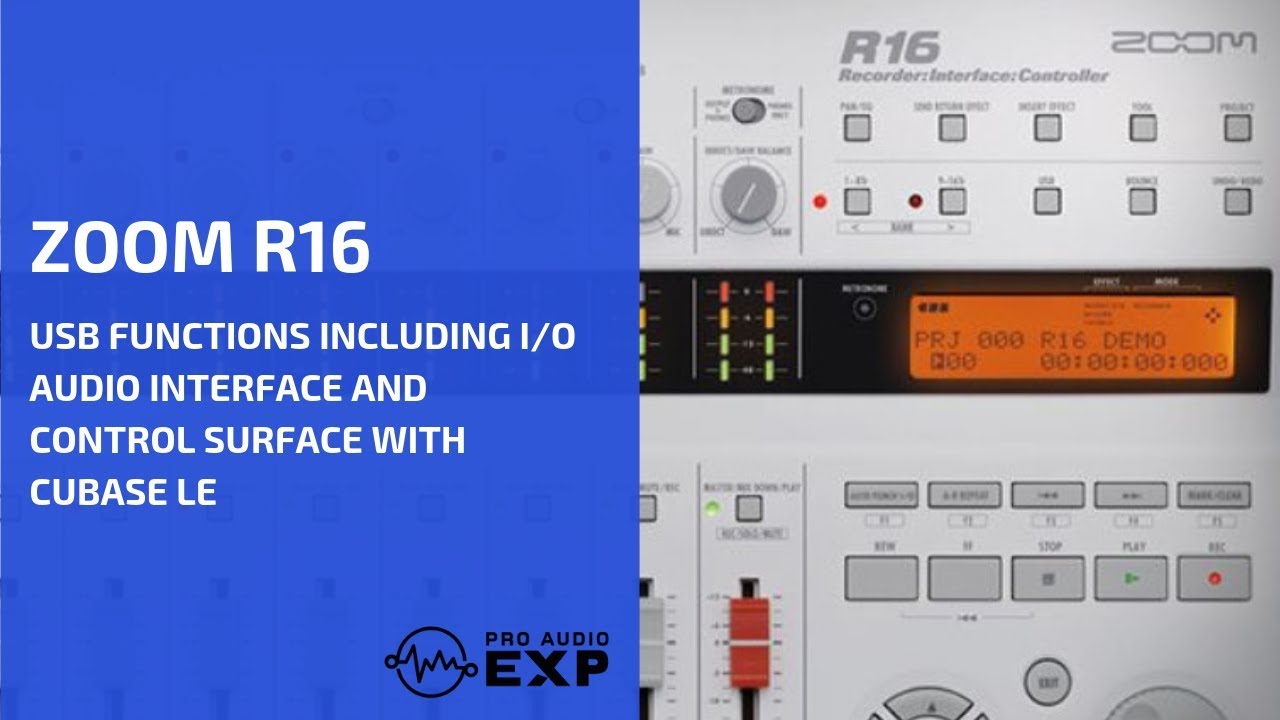
Credit: www.youtube.com
Using Effects And Preamps
The Zoom R8 is a versatile tool for musicians and podcasters. It can serve as an audio interface, recorder, and controller. One of its standout features is its built-in effects and preamps. These tools can enhance your recordings and give them a professional touch. Let’s explore how to use these features effectively.
Applying Built-in Effects
The Zoom R8 comes with a variety of built-in effects. These include reverb, delay, chorus, and more. To apply an effect, first, select the track you want to enhance. Then, press the ‘Effect’ button. Use the dial to navigate through the different effects. Choose one that suits your recording. Each effect has adjustable parameters. Experiment with these settings to find the perfect sound.
Remember to listen to your changes in real-time. This helps you understand how the effect alters your track. Save your settings once you are satisfied. The right effect can add depth and character to your recording.
Utilizing Preamps
The preamps in the Zoom R8 are designed to boost weak signals. This is crucial for recording vocals and instruments. To use a preamp, connect your microphone or instrument to the input jack. Next, select the track you are recording to. Adjust the gain knob to increase the signal strength. Be careful not to set it too high. This can cause distortion and clipping.
Monitor your levels using the built-in meters. Aim for a strong signal without peaking. The preamp can make a big difference in sound quality. It ensures your recordings are clear and detailed. With the right settings, you can achieve a professional sound even at home.
Troubleshooting Common Issues
The Zoom R8 is a versatile tool, but users may face issues. This section covers common problems and their solutions.
No Sound Output
Experiencing no sound can be frustrating. Follow these steps to troubleshoot:
- Check Connections: Ensure all cables are securely connected. Verify that your speakers or headphones are plugged in properly.
- Volume Levels: Confirm that the volume levels on both the Zoom R8 and your computer are not muted or too low.
- Audio Settings: Go to your computer’s sound settings. Make sure the Zoom R8 is selected as the default playback device.
- Firmware Update: Check if your Zoom R8 firmware is up to date. An outdated firmware can cause compatibility issues.
Driver Conflicts
Driver issues can prevent the Zoom R8 from functioning correctly. Here are steps to resolve them:
- Uninstall Conflicting Drivers: Remove any old or conflicting audio drivers. Go to Device Manager on your computer, find the problematic drivers, and uninstall them.
- Install Latest Drivers: Download and install the latest drivers from the Zoom official website. Follow the instructions provided to ensure proper installation.
- Restart Your Computer: After installing the drivers, restart your computer. This ensures all changes take effect.
- Check Device Manager: Ensure the Zoom R8 is recognized correctly in Device Manager. If there is an error, try reinstalling the drivers.
Addressing these common issues can help you get the most out of your Zoom R8 as an audio interface. Proper troubleshooting ensures smooth operation, enhancing your recording experience.
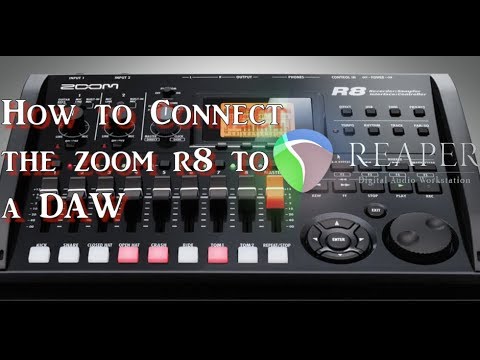
Credit: www.youtube.com
Advanced Tips And Tricks
Unlocking the full potential of your Zoom R8 as an audio interface requires some advanced tips and tricks. These techniques will help you optimize performance and seamlessly integrate with your DAWs. Whether you are a beginner or a seasoned professional, these insights will enhance your recording and production experience.
Optimizing Performance
To achieve the best performance from your Zoom R8, you need to focus on a few key areas. Here are some tips:
- Update Firmware: Ensure your Zoom R8 has the latest firmware installed. This can fix bugs and add new features.
- Proper Connections: Use high-quality cables and connectors. This reduces noise and ensures a clear signal.
- Power Supply: Use the AC adapter instead of batteries. This provides consistent power and avoids interruptions.
- Buffer Settings: Adjust the buffer size in your DAW to balance between latency and performance.
Each of these steps will help you get the most out of your Zoom R8.
Integrating With Daws
Integrating the Zoom R8 with your Digital Audio Workstation (DAW) can streamline your workflow. Here are some essential steps:
- Install Drivers: Download and install the latest drivers for your operating system from the Zoom website.
- DAW Setup: Open your DAW and select the Zoom R8 as your audio interface in the audio settings.
- Track Configuration: Set up your tracks in the DAW to correspond with the inputs on the R8. This ensures each input is correctly mapped.
- MIDI Control: Use the Zoom R8’s transport controls to start, stop, and navigate your DAW. This improves efficiency and workflow.
Following these steps will make sure your Zoom R8 and DAW work together seamlessly. This integration is vital for a smooth recording process.
Frequently Asked Questions
How Do I Connect Zoom R8 To My Computer?
To connect the Zoom R8 to your computer, use a USB cable. Ensure the R8 is in Audio Interface mode. Open your DAW to confirm the connection.
Can Zoom R8 Be Used As A Daw Controller?
Yes, the Zoom R8 can be used as a DAW controller. Enable the Control Surface mode to manage your DAW.
What Drivers Are Needed For Zoom R8?
You need the Zoom R8 ASIO driver for Windows. Mac users don’t need additional drivers. Download the driver from the Zoom website.
Does Zoom R8 Support Phantom Power?
Yes, the Zoom R8 supports phantom power. You can enable it for condenser microphones using the switch on the device.
Conclusion
Using the Zoom R8 as an audio interface is simple and effective. Connect your devices, adjust the settings, and you’re ready to record. This tool offers great sound quality and is easy to use. Perfect for both beginners and seasoned users.

With practice, you’ll get the best results. Enjoy creating and recording your music with ease. Zoom R8 makes the process smooth and enjoyable. Happy recording!
{ “@context”: “https://schema.org”, “@type”: “FAQPage”, “mainEntity”: [ { “@type”: “Question”, “name”: “How do I connect Zoom R8 to my computer?”, “acceptedAnswer”: { “@type”: “Answer”, “text”: “To connect the Zoom R8 to your computer, use a USB cable. Ensure the R8 is in Audio Interface mode. Open your DAW to confirm the connection.” } } , { “@type”: “Question”, “name”: “Can Zoom R8 be used as a DAW controller?”, “acceptedAnswer”: { “@type”: “Answer”, “text”: “Yes, the Zoom R8 can be used as a DAW controller. Enable the Control Surface mode to manage your DAW.” } } , { “@type”: “Question”, “name”: “What drivers are needed for Zoom R8?”, “acceptedAnswer”: { “@type”: “Answer”, “text”: “You need the Zoom R8 ASIO driver for Windows. Mac users don’t need additional drivers. Download the driver from the Zoom website.” } } , { “@type”: “Question”, “name”: “Does Zoom R8 support phantom power?”, “acceptedAnswer”: { “@type”: “Answer”, “text”: “Yes, the Zoom R8 supports phantom power. You can enable it for condenser microphones using the switch on the device.” } } ] }As an Amazon Associate, Cleanestor earns from qualifying purchases at no additional cost to you.