Are your plugins in FL Studio not working? This can be really frustrating.
Let’s find out why. FL Studio, a popular digital audio workstation, is known for its versatility and user-friendly interface. Yet, encountering plugin issues can disrupt your creative flow. Understanding why your plugins aren’t working is crucial. It could be due to compatibility issues, incorrect installation, or software conflicts.
In this blog post, we will explore common reasons for plugin problems in FL Studio. We will also provide solutions to help you get back on track. Whether you are a beginner or an experienced producer, solving these issues will enhance your music production experience. So, let’s dive in and troubleshoot your FL Studio plugins!
Credit: forum.image-line.com
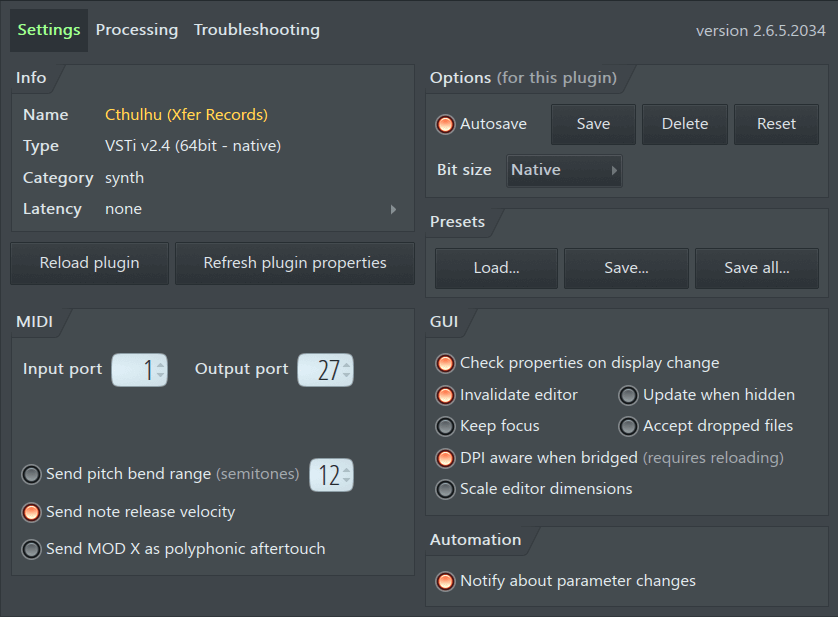
Common Plugin Issues
FL Studio is a popular choice for music producers. But sometimes, plugins do not work as expected. This can be frustrating. Let’s explore some common plugin issues you might face.
Compatibility Problems
Plugins might not work due to compatibility issues. Different versions of FL Studio support different plugins. Make sure your plugin is compatible with your FL Studio version. Check the plugin’s system requirements too. Sometimes, operating system updates can cause issues. Always keep your software updated.
Installation Errors
Incorrect installation can cause plugins to fail. Follow the installation instructions carefully. Some plugins require extra steps. Ensure you place the plugin files in the correct folder. Verify the plugin path in FL Studio settings. Restart FL Studio after installing new plugins. This helps the software recognize the new additions.
Credit: support.image-line.com
System Requirements
Many users face issues with FL Studio plugins not working. Often, this is due to not meeting the system requirements. Ensuring your system meets these requirements is crucial for smooth operation.
Operating System
FL Studio supports both Windows and macOS. For Windows, you need at least Windows 8.1. Windows 10 is recommended for better performance. Mac users should have macOS 10.13.6 or later. Always check for the latest compatible version.
Hardware Specifications
Hardware plays a key role in plugin performance. A minimum of 4 GB RAM is necessary. However, 8 GB or more is advisable for complex projects. Your CPU should be a dual-core at 2 GHz or faster. For the best experience, a quad-core processor is ideal. Ensure your hard drive has enough space. At least 4 GB is required for installation, but more is better for additional plugins and samples.
Graphics also matter. A DirectX 9 compatible graphics card is needed for Windows. Mac users should have a graphics card that supports OpenGL 2.1. These ensure smooth interface rendering and plugin displays.
Meeting these system requirements can solve many plugin issues. Always keep your system updated for the best FL Studio experience.
Plugin Installation
Installing plugins in FL Studio can be a bit tricky. If not done correctly, your plugins might not work. This guide will help you understand the correct installation steps and common mistakes to avoid.
Correct Installation Steps
To ensure your plugins work properly in FL Studio, follow these steps:
- Download the Plugin: Get the plugin from a reputable source.
- Extract Files: Unzip or extract the downloaded files.
- Install the Plugin: Run the installer file if available. If not, move the plugin files to the correct folder.
- Locate Plugin Folder: Common folders are C:\Program Files\VSTPlugins or C:\Program Files\Common Files\VST2.
- Rescan Plugins: Open FL Studio, go to Options > Manage Plugins, and click on ‘Find Plugins’.
Common Mistakes
Users often make mistakes during plugin installation. Here are some frequent errors:
- Wrong Folder: Plugins not placed in the correct folder.
- Missing Files: Not extracting all files from the zip folder.
- Outdated Version: Using an incompatible plugin version with FL Studio.
- Skipped Rescan: Forgetting to rescan plugins in FL Studio.
- 32-bit vs 64-bit: Confusion between 32-bit and 64-bit versions.
Avoid these mistakes to ensure smooth plugin functionality. Proper installation is crucial for a seamless music production experience in FL Studio.
Plugin Scanning
Are your FL Studio plugins not working? Plugin scanning is a key step to troubleshoot this issue. FL Studio uses plugin scanning to detect and organize your plugins. Let’s explore how to ensure your plugins are correctly scanned and functioning.
Manual Scanning
Manual scanning allows you to add plugins one by one. This is useful when FL Studio misses some plugins during automatic scans. To manually scan plugins, go to the Options menu. Click on Manage Plugins. Then, select the plugin folder and click on Start Scan. This helps to identify and add missing plugins.
Manual scanning is ideal for plugins stored in non-default locations. It gives you more control over which plugins to include. Remember to re-scan the folder if you add new plugins.
Automatic Scanning
Automatic scanning is the default method in FL Studio. This process scans all plugin folders automatically. It is faster and requires less effort from the user. To enable automatic scanning, go to Options and click on File Settings. Make sure the plugin search paths are correctly set.
FL Studio will scan these paths for new plugins each time it starts. If your plugins are in the default folders, automatic scanning should detect them without issues. Regularly check and update your plugin paths to ensure smooth detection.
Plugin Compatibility
Understanding plugin compatibility is vital in ensuring a smooth experience in FL Studio. Compatibility issues can prevent plugins from working correctly. These issues often arise due to differences in system architecture or outdated plugin versions.
32-bit Vs 64-bit
FL Studio supports both 32-bit and 64-bit plugins. However, using the wrong version can cause problems. A 64-bit plugin may not work in a 32-bit version of FL Studio. The same applies to 32-bit plugins in a 64-bit environment.
To avoid issues, match the plugin version with your FL Studio version. For instance, use 64-bit plugins with the 64-bit FL Studio. This helps in achieving optimal performance and stability.
Plugin Updates
Outdated plugins can also cause compatibility issues. Newer versions of FL Studio may not support older plugin versions. Regular updates fix bugs and improve performance.
Check for updates on the plugin developer’s website. Install the latest versions to ensure compatibility with FL Studio. Most developers provide update notifications within the plugin interface.
Updating plugins is straightforward. Follow these steps to update:
- Visit the plugin developer’s website.
- Download the latest version.
- Install the update, following the provided instructions.
- Restart FL Studio to apply changes.
Keep your plugins up-to-date to avoid compatibility problems. This helps in maintaining a smooth workflow in FL Studio.
Managing Plugin Paths
Are your plugins not working in FL Studio? Managing plugin paths might be the key to solving this issue. Understanding how to manage your plugin paths can help you get your plugins working smoothly. Let’s dive into the specifics.
Default Paths
FL Studio installs plugins in default directories. These are pre-set paths where the software looks for plugins automatically. If your plugins aren’t working, check these default paths first:
- Windows:
C:\Program Files\VstPlugins - Mac:
/Library/Audio/Plug-Ins/VST
Ensure the plugins are installed in these locations. If not, reinstall them to these default paths.
Custom Paths
Sometimes, you may prefer to use custom paths for your plugins. This can help organize them better. To set custom paths in FL Studio:
- Open FL Studio and go to Options.
- Select File Settings.
- Under VST plugins extra search folder, add your custom paths.
After setting these paths, perform a plugin scan. This ensures FL Studio recognizes your plugins. If the plugins are still not working, double-check the paths and repeat the scan.
Managing plugin paths properly can save you a lot of trouble. Whether using default or custom paths, ensure FL Studio knows where to find your plugins. This simple step can resolve many issues and get your plugins working perfectly.
Troubleshooting Tips
Having trouble with your plugins not working in FL Studio? Don’t worry. You’re not alone. Many users face issues with plugins from time to time. Here are some troubleshooting tips to help you get your plugins back up and running.
Reinstalling Plugins
Sometimes, plugins can become corrupted or outdated. This can cause them to stop working. Reinstalling the plugin can often fix this issue. First, uninstall the problematic plugin from FL Studio. Then, download the latest version from the official website. Finally, install the plugin again and restart FL Studio. This simple step can resolve many plugin issues.
Checking Plugin Settings
Plugin settings can sometimes cause problems. Ensure the plugin is correctly configured. Open the plugin settings in FL Studio. Check if the paths and other settings are correct. Ensure the plugin is activated and not in demo mode. Adjust any incorrect settings and apply the changes. This can often solve the issue.
Support And Resources
Support and resources are vital when plugins in FL Studio stop working. Knowing where to get help can save you time and frustration. This section provides insights on where to find help and resources to resolve plugin issues.
Fl Studio Help
FL Studio has a comprehensive help section. The official website offers tutorials and FAQs. The online manual is detailed and user-friendly. It covers common issues and their solutions. The Image-Line forums are another great resource. Here, you can ask questions and share experiences with other users. FL Studio support can also be reached directly. They offer email support for specific problems.
Plugin Manufacturer Support
If your plugin is from a third-party, check the manufacturer’s website. Most provide detailed documentation and troubleshooting guides. Many have dedicated support teams. You can submit a support ticket for help. Some offer live chat or phone support. Forums and user communities can also be valuable. Users often share solutions to common problems. Check for updates or patches for the plugin. Manufacturers often release these to fix bugs.

Credit: www.reddit.com
Frequently Asked Questions
Why Are My Plugins Not Showing In Fl Studio?
Your plugins might not be installed correctly or the file paths may be incorrect. Ensure that you’ve added the correct directories in the Plugin Manager.
How Do I Fix Missing Plugins?
Rescan your plugin database in FL Studio. Check if the plugins are in the correct folder and restart the software.
Why Do My Plugins Crash Fl Studio?
Plugins might crash due to compatibility issues or outdated versions. Ensure your plugins and FL Studio are updated to the latest versions.
Why Is There No Sound From My Plugins?
Check if the plugin output is routed correctly. Also, verify that the audio settings and drivers are correctly configured.
Conclusion
Solving plugin issues in FL Studio can be straightforward. Start by checking compatibility. Ensure your plugins and FL Studio versions match. Also, verify proper installation paths. Sometimes, a simple restart helps. Regular updates are essential. Keep both FL Studio and plugins up to date.
If issues persist, consult online forums and support. Many users share solutions. Troubleshooting takes patience but leads to smoother music production. Happy creating!

As an Amazon Associate, Cleanestor earns from qualifying purchases at no additional cost to you.