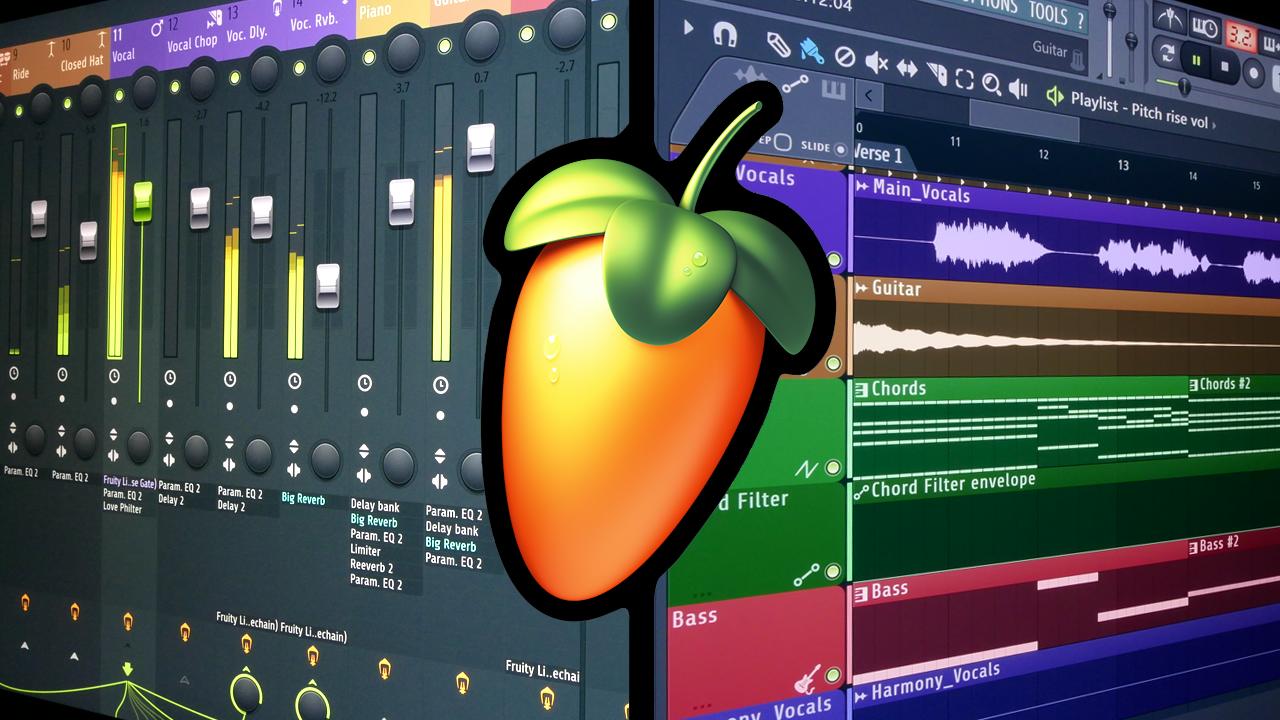
Using FL Studio 12 can seem challenging at first. But with the right guidance, it becomes an enjoyable experience.
FL Studio 12 is a popular digital audio workstation (DAW). It’s used by many music producers around the world. This software offers a wide range of tools and features for creating music. Understanding how to use FL Studio 12 can open up many possibilities for your music projects.
Whether you’re a beginner or have some experience, this guide will help you navigate the basics. We’ll cover essential functions, from setting up your first project to using various plugins and effects. By the end, you’ll be ready to create your own tracks with confidence. So, let’s get started on your journey with FL Studio 12.
Getting Started
FL Studio 12 is a powerful music production software. It is used by beginners and professionals alike. This guide helps you get started with FL Studio 12. Follow these steps to start your music creation journey.
System Requirements
Before installing FL Studio 12, ensure your computer meets these system requirements:
- Operating System: Windows 7, 8, 10 or later
- Processor: Intel or AMD, 2 GHz or higher
- RAM: 4 GB minimum (8 GB recommended)
- Free Disk Space: 4 GB
- Sound Card with ASIO driver support
Check your computer’s specifications. Make sure it meets or exceeds these requirements. This ensures smooth performance while using FL Studio 12.
Installation Process
The installation process of FL Studio 12 is simple. Follow these steps:
- Download the FL Studio 12 installer from the official Image-Line website.
- Run the installer file.
- Accept the license agreement.
- Select the installation folder.
- Click on the Install button.
- Wait for the installation to complete.
- Launch FL Studio 12.
Once installed, open FL Studio 12. Begin exploring its features and interface. Enjoy creating your first music track.

Credit: www.youtube.com
User Interface
FL Studio 12 offers a user-friendly interface that helps create music easily. Understanding the interface can improve your workflow and creativity. Let’s explore the main parts of the user interface.
Main Window
The Main Window is the heart of FL Studio 12. It contains the Channel Rack, Playlist, and Mixer. Each part has a specific role. The Channel Rack houses your instruments and patterns. The Playlist is where you arrange your music. The Mixer is for adjusting levels and effects. These elements work together to create your project.
Menu Navigation
The Menu Navigation helps you access different features. The top menu bar has several options like File, Edit, and View. The File menu lets you open, save, and export projects. The Edit menu provides tools to modify your work. The View menu allows you to customize the interface layout. Each menu option offers various commands to enhance your project.
Creating A Project
Creating a project in FL Studio 12 is an exciting journey. This software offers a range of tools to bring your musical ideas to life. Let’s dive into the first steps of creating your project.
Starting A New Project
Open FL Studio 12. Click on ‘File’ in the top menu. Choose ‘New from template’. Select a template that fits your needs. You can start with a blank project or use a pre-made one. This sets up your workspace. Now, you are ready to add your sounds and instruments.
Saving Your Work
Saving your work is crucial. Click on ‘File’ in the top menu. Select ‘Save As’. Choose a location on your computer. Name your project. Click ‘Save’. Save regularly to avoid losing your progress. This ensures your hard work is preserved.
Credit: www.image-line.com
Working With Channels
Working with channels in FL Studio 12 is essential for creating music. Channels help organize your sounds and instruments. This section will guide you through adding channels and understanding the channel rack.
Adding Channels
Adding channels in FL Studio 12 is simple. Follow these steps:
- Click on the plus (+) button at the bottom of the channel rack.
- Select the type of channel you want to add. Options include sampler, synth, or audio.
- Customize your channel settings by adjusting parameters.
Adding channels allows you to mix different sounds. This helps create complex tracks.
Channel Rack Overview
The channel rack is the heart of FL Studio 12. It displays all your channels.
Let’s break down the key parts of the channel rack:
| Part | Description |
|---|---|
| Channel Name | The name of the channel. Click to rename it. |
| Step Sequencer | Allows you to create patterns by clicking on steps. |
| Mute/Solo Buttons | Mute or solo the channel with one click. |
| Pan and Volume | Adjust the pan and volume of each channel. |
Understanding these parts helps you control your music better. Each channel can be customized to fit your needs.
Remember to use the channel rack efficiently. It keeps your project organized and manageable.
Using The Piano Roll
The Piano Roll in FL Studio 12 is a powerful tool. It allows you to create and edit melodies with precision. Beginners and professionals can both benefit from its features. Let’s dive into how you can use the Piano Roll effectively.
Creating Melodies
Start by opening the Piano Roll. Click on the channel you want to use. Then, click the Piano Roll icon. You will see a grid with piano keys on the left. You can click anywhere on the grid to add notes. Each square represents a different pitch.
Drag the note right or left to adjust its length. Longer notes will play for a longer time. You can also move notes up or down to change their pitch. Experiment with different notes to create your melody. Try listening to the melody as you go. Make changes if it doesn’t sound right. This helps in fine-tuning your creation.
Editing Notes
Editing notes in the Piano Roll is simple. Click on a note to select it. You can then drag it to a new position. You can also resize it by dragging its edges. This allows you to adjust the timing and length of each note easily.
To delete a note, right-click on it. You can also use the “Select” tool to highlight multiple notes. Then, move, resize, or delete them all at once. This is useful for making big changes quickly. The Piano Roll also has tools like “Quantize.” This helps in aligning notes perfectly.
Another useful feature is the “Snap to Grid.” This ensures your notes stay in time. You can also use the “Chop” tool. It splits notes into smaller pieces. This helps in creating more complex rhythms. These features make editing efficient and precise.
Mixing And Effects
FL Studio 12 is a fantastic tool for music production. One of its key features is Mixing and Effects. This process is crucial for achieving a polished sound. You can balance levels, pan sounds, and apply various effects to enhance your mix.
Mixer Functions
The Mixer in FL Studio 12 is your control center for audio tracks. Each track has its own fader for volume control. You can also mute, solo, and pan tracks here. The Insert Tracks in the Mixer allow you to add effects to individual sounds. This helps in shaping the sound to your liking.
You can also group tracks in the Mixer. This is useful for applying effects to multiple tracks at once. For example, you can group all your drum tracks and add a reverb effect to them. This saves time and ensures a cohesive sound.
Applying Effects
Applying effects in FL Studio 12 is straightforward. Each Insert Track in the Mixer has slots for adding effects. These slots are called Effect Slots. You can add effects like reverb, delay, and EQ to shape your sound.
To add an effect, click on an empty slot in the Effect Chain. A menu will appear with a list of available effects. Choose the effect you want, and it will be applied to the track. You can adjust the parameters of each effect to fine-tune your sound.
Here is a simple example to illustrate:
| Effect | Purpose |
|---|---|
| Reverb | Adds space and depth |
| EQ | Balances frequencies |
| Delay | Creates echo effects |
You can stack multiple effects in the Effect Chain. This allows for complex sound design. For instance, you might start with an EQ to balance frequencies, then add reverb for space, and finish with a compressor to control dynamics.
The order of effects in the Effect Chain matters. Effects process the sound from top to bottom. Experiment with different orders to see how it changes the sound.
Understanding Mixing and Effects in FL Studio 12 is essential for creating professional-sounding tracks. The Mixer and its effect slots give you powerful tools to shape and enhance your music.
Automation
Automation in FL Studio 12 adds dynamic changes to your music. It can control volume, panning, effects, and other parameters over time. This feature brings life to your tracks, making them more engaging and professional-sounding.
Creating Automation Clips
To create automation clips, right-click on the knob or slider you want to automate. Select “Create automation clip” from the menu. This action will generate an automation clip in the playlist. You can now see a new lane with your automation clip. It is represented as a line which you can adjust.
You can add points to the automation clip by right-clicking on the line. Move these points up or down to change the parameter value over time. This allows for precise control of the automation. The more points you add, the more detailed the automation can be.
Editing Automation
Editing automation clips is straightforward. You can click and drag points to adjust their position. To delete a point, right-click on it and select “Delete.” To smooth out transitions, you can right-click on a point and select “Smooth points.”
You can also adjust the shape of the automation curve. Right-click on a point and choose from different curve shapes like “Hold,” “Single curve,” and “Double curve.” These options help in creating smoother or more abrupt changes in your automation.
For more complex edits, you can use the “Automation Clip Editor.” Open this by double-clicking the automation clip. This editor provides more tools for fine-tuning your automation. You can copy and paste points, change the snap settings, and more.
Remember to listen to your track while editing. This ensures the automation enhances the music naturally. Small adjustments can make a big difference in the final sound.
Exporting Your Project
Exporting your project is the final step in FL Studio 12. This process converts your project into a playable audio file. Understanding the export settings and rendering options is crucial for achieving the best sound quality.
Export Settings
First, navigate to File in the top menu. Then select Export. Choose from WAV, MP3, or other formats. Each format has its own advantages.
- WAV: High quality, large file size
- MP3: Compressed, smaller file size
For most purposes, MP3 is sufficient. WAV is better for professional needs.
Rendering Your Track
Once you select your format, configure the rendering settings. These settings impact the final audio quality.
| Setting | Description |
|---|---|
| Bitrate | Higher bitrate means better quality. Choose 320 kbps for MP3. |
| Sample Rate | 44.1 kHz is standard. Use higher for better clarity. |
| Stereo Separation | Adjust for wider or narrower stereo image. |
Click Start to render your track. Wait for the process to finish. Listen to the final file to ensure quality.
Credit: forums.sonicacademy.com
Frequently Asked Questions
How To Install Fl Studio 12?
To install FL Studio 12, download the installer from the official website. Run the installer and follow the on-screen instructions. Once installed, open the software and activate it using your license key.
How To Add Plugins In Fl Studio 12?
To add plugins, open the Plugin Manager from the Options menu. Click “Add Path” to locate your plugin folder. Rescan the plugin directory to include new plugins.
How To Create A New Project In Fl Studio 12?
Open FL Studio 12 and click on “File” in the top menu. Select “New” to create a new project. Set your desired project settings and start creating.
How To Export A Track In Fl Studio 12?
To export a track, go to “File” and select “Export”. Choose your desired format (e. g. , WAV, MP3). Set your export settings and click “Start”.
Conclusion
FL Studio 12 is user-friendly and powerful for music production. Follow the steps we discussed to create your own tracks. Experiment with different features to find your unique sound. Practice regularly to improve your skills. Stay patient, and enjoy the process of making music.

Remember, creativity has no limits. Keep exploring and pushing your musical boundaries. Happy producing!
As an Amazon Associate, Cleanestor earns from qualifying purchases at no additional cost to you.